In this missive Martin modifies all his O scale buildings so they suit his American layout.
If you missed his first post, it’s here.
“Hi Al,
Part two as promised…
Once the final decision had been made, I sold most of the British locomotives, I’ve kept the cement works engines and rolling stock just in case I do decide to build another British layout, and started buying US outline as a replacement.
One very strong piece of advice, RESEARCH! This is vital if you want to get things right. Watch as many videos of US railways as you can. Anything almost goes with American railroads, but the basics are there to be obeyed.
There are basically two kinds of railroads in the states.
Class 1 lines, which are mainly the big ones, Union Pacific, BNSF (formed by the merger of Burlington Northern and the Santa Fe), Canadian Pacific and Canadian National, CSX etc…Connecting with but separately owned and managed are the short lines of which there are very many.
These can range from one loco short line with services 2 days a week to almost major companies with hundreds of miles of track and large locomotive rosters.
I decided the Empire Midland and Lake Shore RR would be a short line.
Now take the real places of Syracuse, Oswego and Watertown in New York State, and substitute them with Midland, Lake Shore and Empire respectively and you have the basis of the line.
The part we are interested in is the section to Lake Shore (Oswego) running some 40 miles south to Midland (Syracuse).
Using a short line principle I can run fairly modern engines with 1950’ streamliners and early 1st generation diesels to go with my O scale buildings.
Railway operators in America are more accustomed to rebuilding and re-engining old locomotives a lot more than in the UK. It’s a fascinating subject and well worth researching.
Now running east from Midland (Syracuse), is the main CSX and Amtrak line to Troy and onto New York.
This line runs along the side of the Mohawk River and Erie Canal. But… there was also another line that ran on the eastern side of the valley, connecting Syracuse and Troy.
The latter was lifted some time ago and is now, for the majority of it, a linear parkway and walk. The route can easily be followed on Google Earth, great for building O scale buildings.
If in the wonderful fertile imagination of every modeller, abandoned lines were never abandoned, here is where a secondary and much larger concern came to fruition, the Mohawk Valley Railway.
This line has running rights over the EM&LSRR and there is talk of a merger to stave off competition from CSX, a Class 1 railroad that runs in the area. In reality, the EM&LSRR is a CSX line, but in my world!
One of the wonderful things about shortlines, and mainlines for that matter is the interchanging and leasing of motive power. Quite often, a shortline will buy a surplus class 1 engine, paint out the road names in what ever colour they can lay their hands on and either substitute their own name or simply leave it blank.
Running numbers are very often kept the same as the original number. This is called patching and is very common on shortlines.
There is also a locomotive interchange system between companies where motive power is short. These are charged as hours worked and although no cash is exchanged for this, the lending company will expect to have the use of motive power from the borrowing company to match the deal. This works very well for most of the time.
There are also leasing companies who lease engines to companies for money. All in all it leads to a fascinating and colourful system, where it seems that anything goes… within reason!
Now back to the model. To change everything over, there was not a lot of work involved.
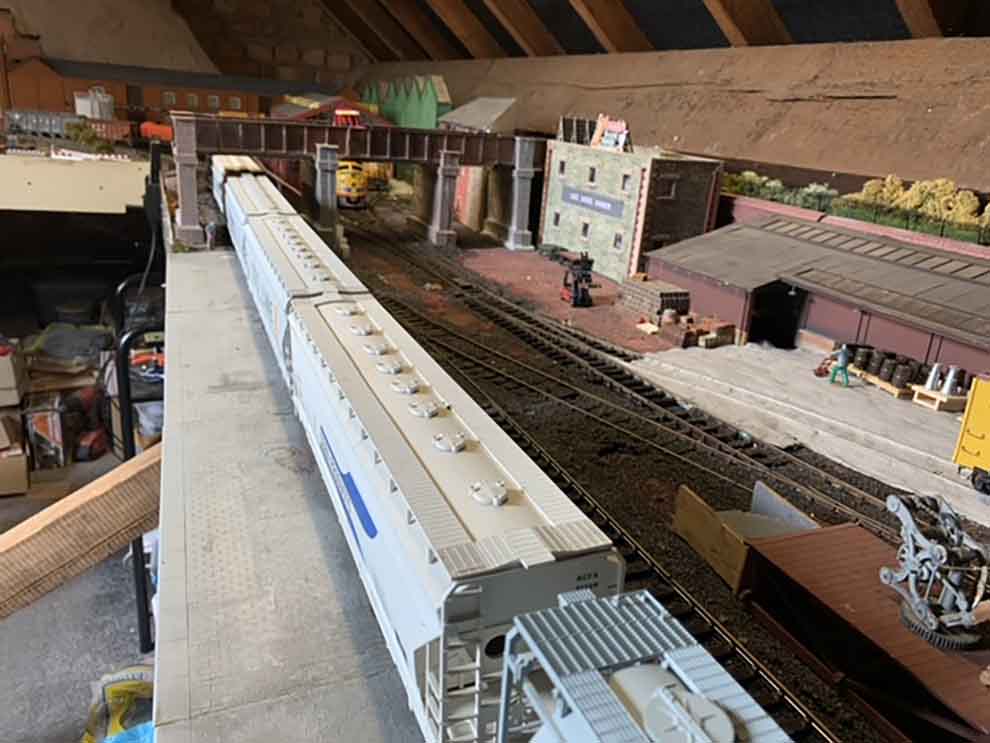
Locomotives and rolling stock are inherently longer, despite US O scale being 1/50 in comparison to the UK 1/43.5.
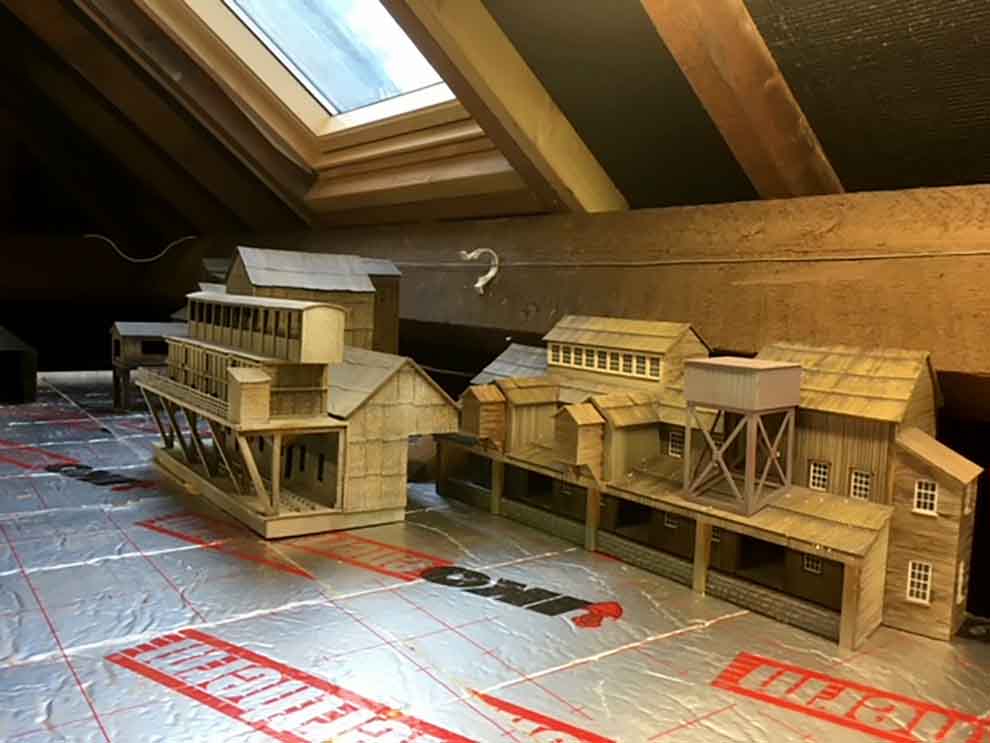
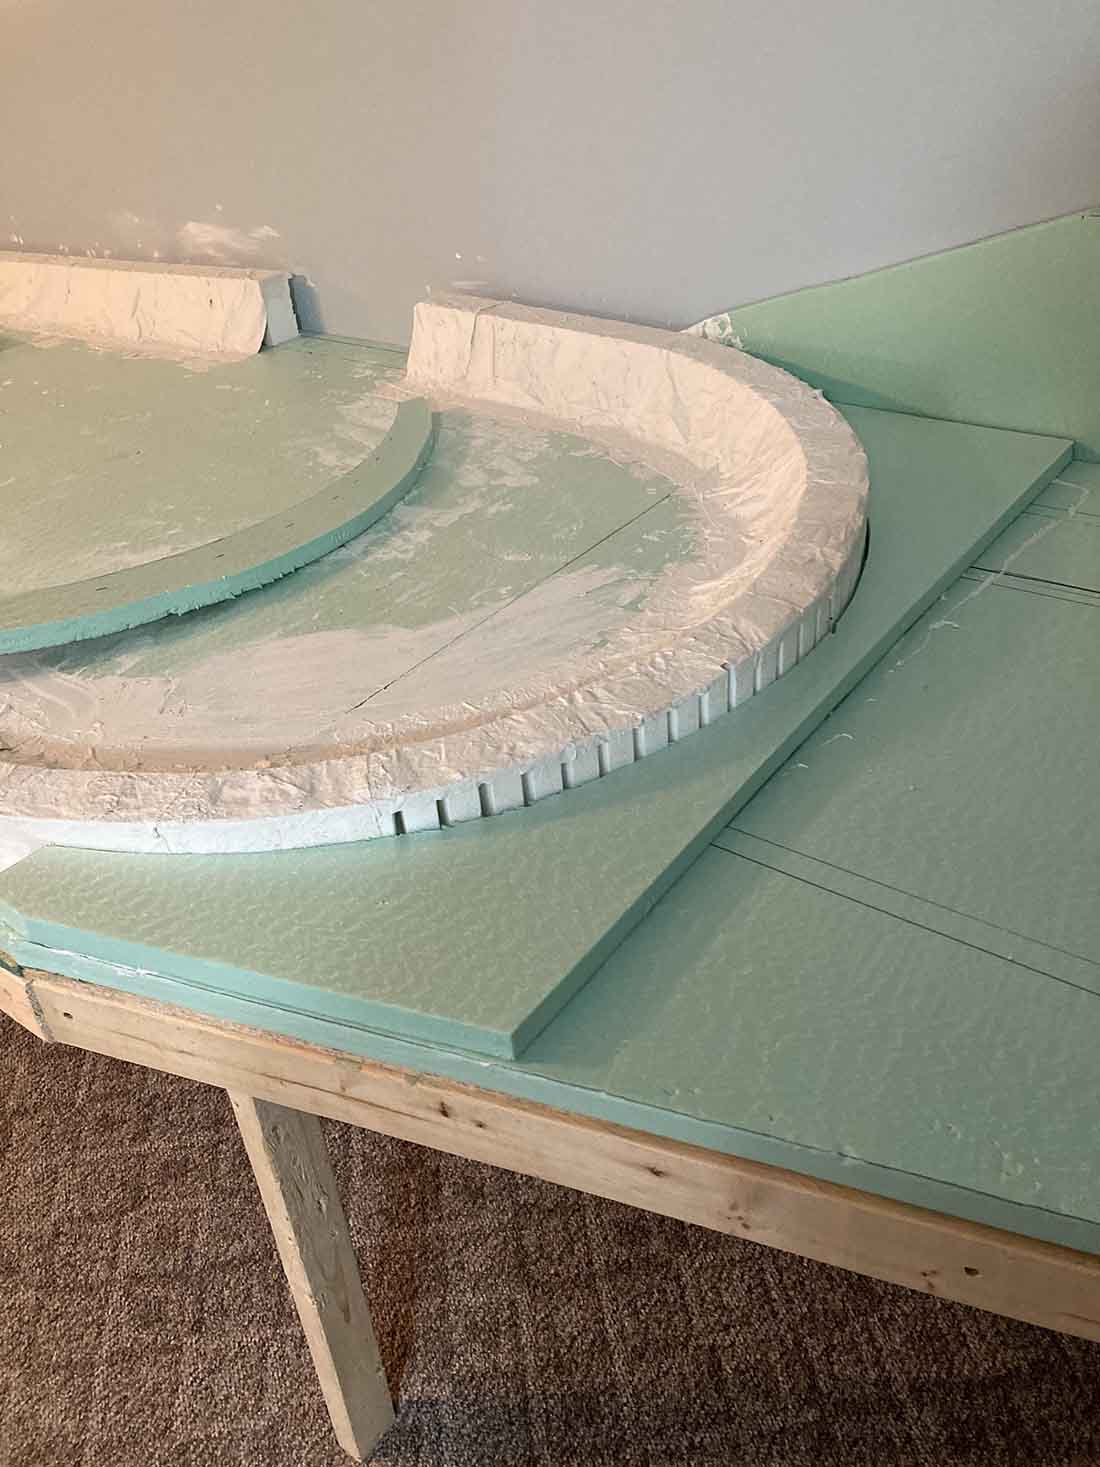
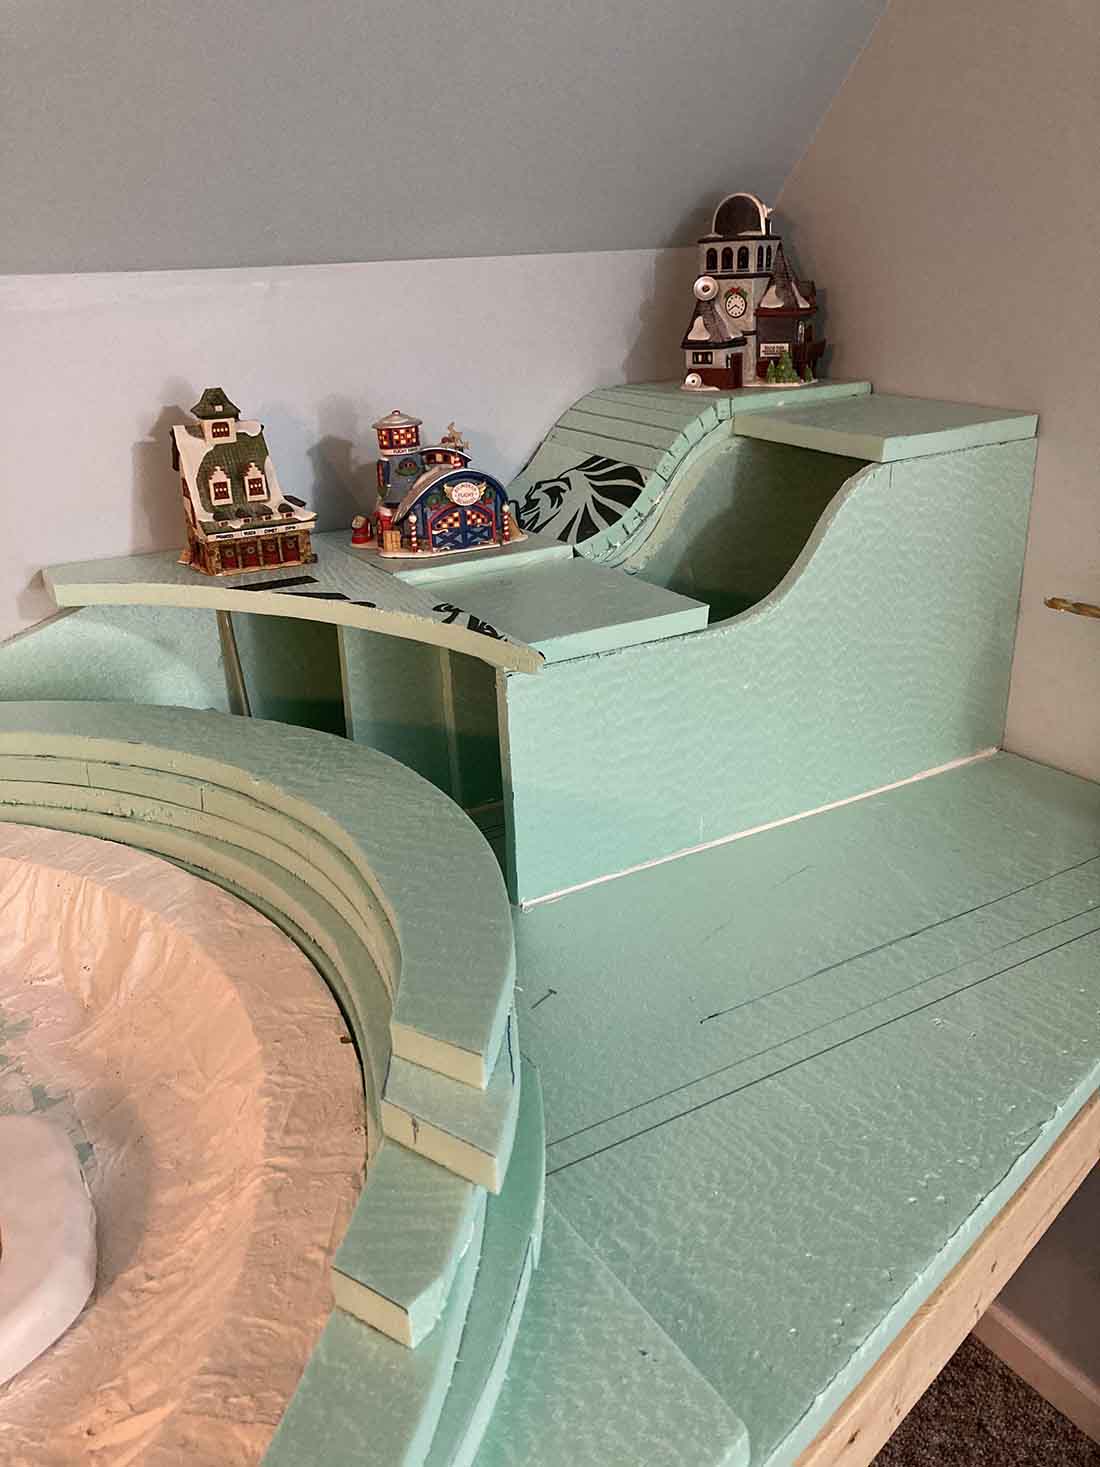
O scale buidlings
Some of the O scale buildings had to be moved due to the overhang of larger stock. Some had to be raised, again!
Some trackwork had to be relaid, especially around the loco sheds.
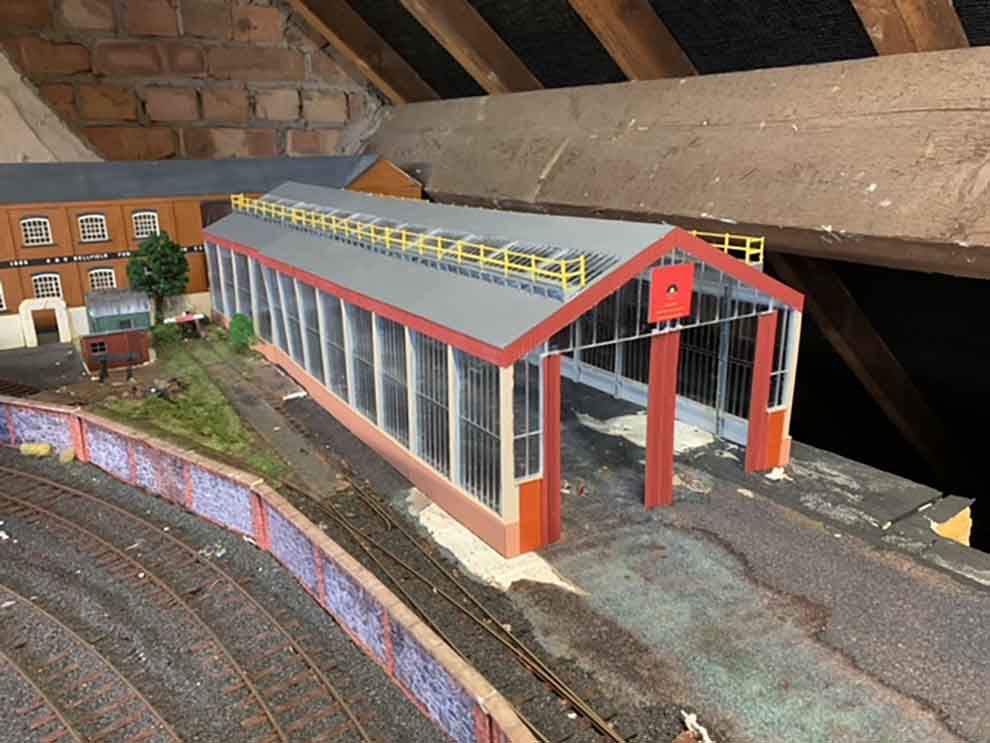
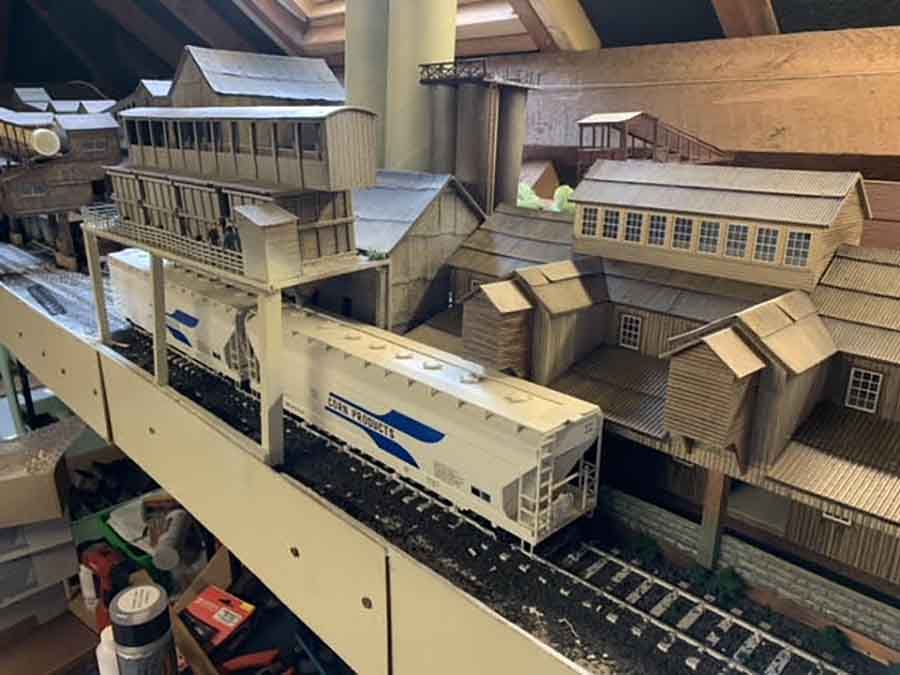
The harbour station was removed and replaced by the Ace Feed and Grain Stores. The biggest change came with the works changing from a cement plant to a flour and grain mill, the Fanny Frobisher Finest Flour Company. At long last, the line was ready for operations.
Now Kadee couplings are virtually standard on 2 rail US model lines, and I really recommend if you are thinking of going down the same lines as I have to make them your standard fitting…no more fiddling around with 3 links and a pole with a bent piece of wire attached to it… wonderful, just get your coupling heights correct and all the same.
The line has certainly grown from its intended origin, I now have more locos and rolling stock than I know what to do with, but it’s probably about right for a 40 mile shortline with several very large industrial customers along its route.
Being situated where it is, I can also run other companies locomotives like BNSF and Santa Fe, yes the merger was in 1996, but there are still locomotives running today in Santa Fe war bonnet livery, albeit very faded. Yes, US railways really are a prototype for everything setup.
I’ve started converting some engines to EM&LSRR livery of Regal Red and using a simplified Midland road name. There are also patched locomotives.
Recently, I’ve experimented with my own water slide transfers with some success and these can be seen on several wagons and the latest engine to the fleet, a GP38-2 which was in Burlington Northern colours and has been repainted into Mohawk Valley livery along with homemade decals, the results of which I’m very pleased with.
The acquisition of a 0-6-0 steam engine and a few coaches has brought about a heritage service, the first passenger trains since 1957, which run on the first Sunday of each month. There are also a couple of heritage diesels that have retained their original road names, numbers and livery, a poignant reminder to the fallen flags of yesterday.
In the future, I am thinking of introducing a card system for the consist of trains, which with the line having no run around loop will make spotting cars so much more interesting, as if it wasn’t complex enough getting engines to the correct end of trains…
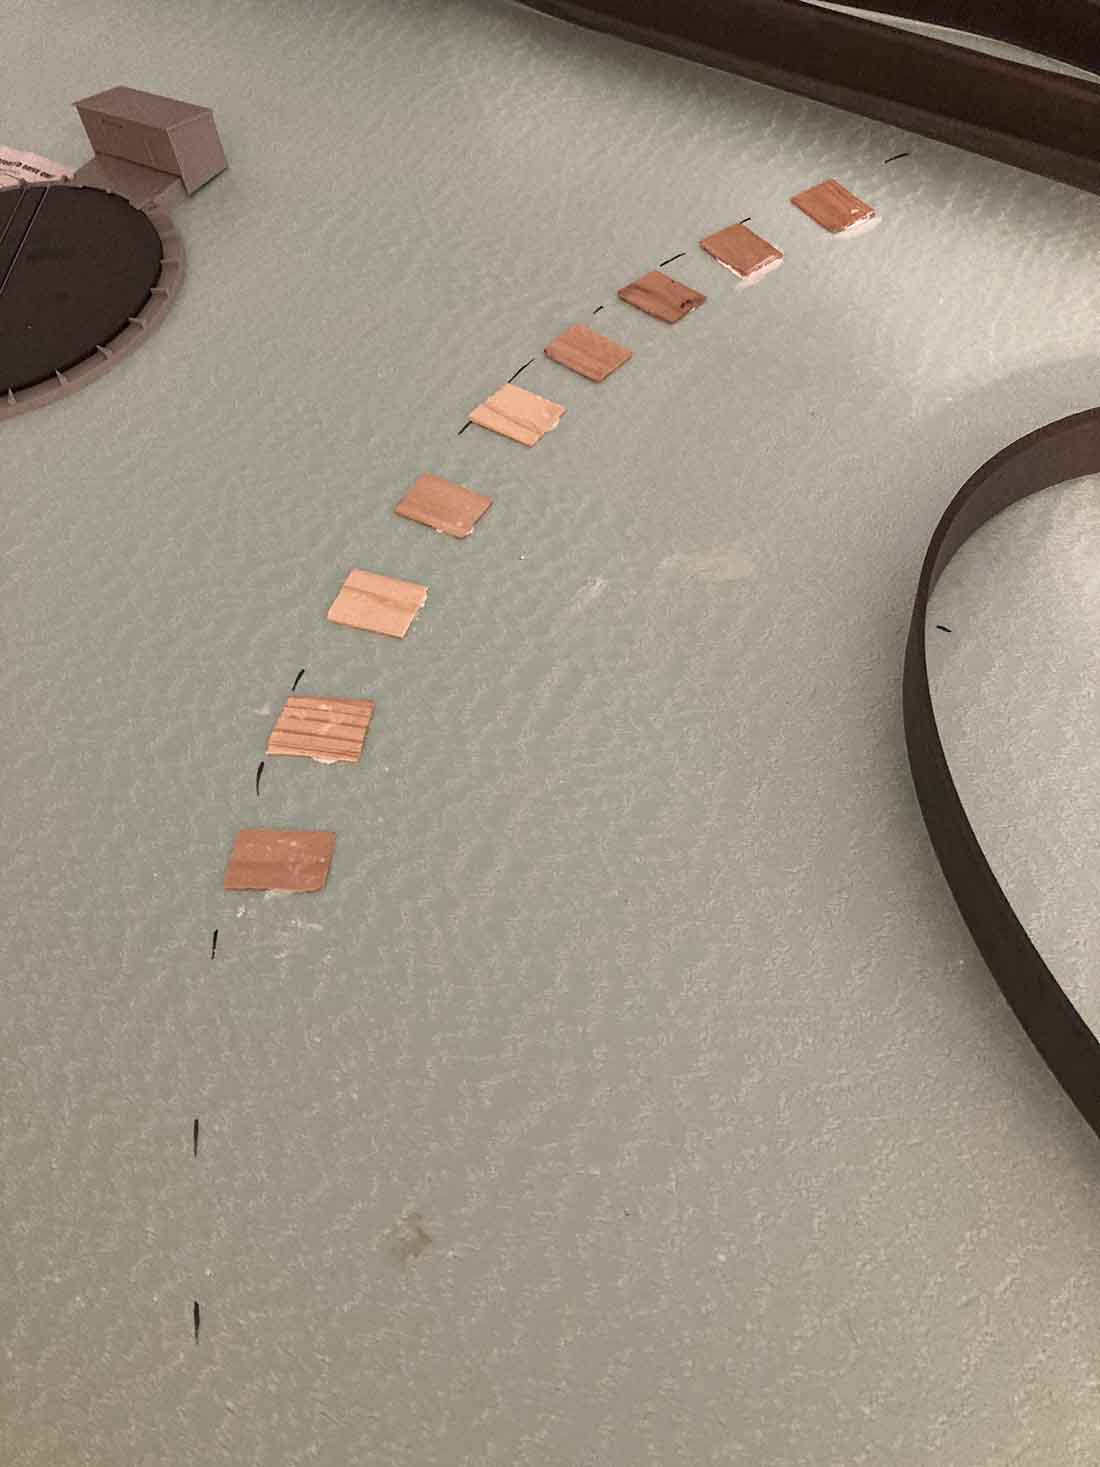
Clearance testing meant some changes to track and building location.

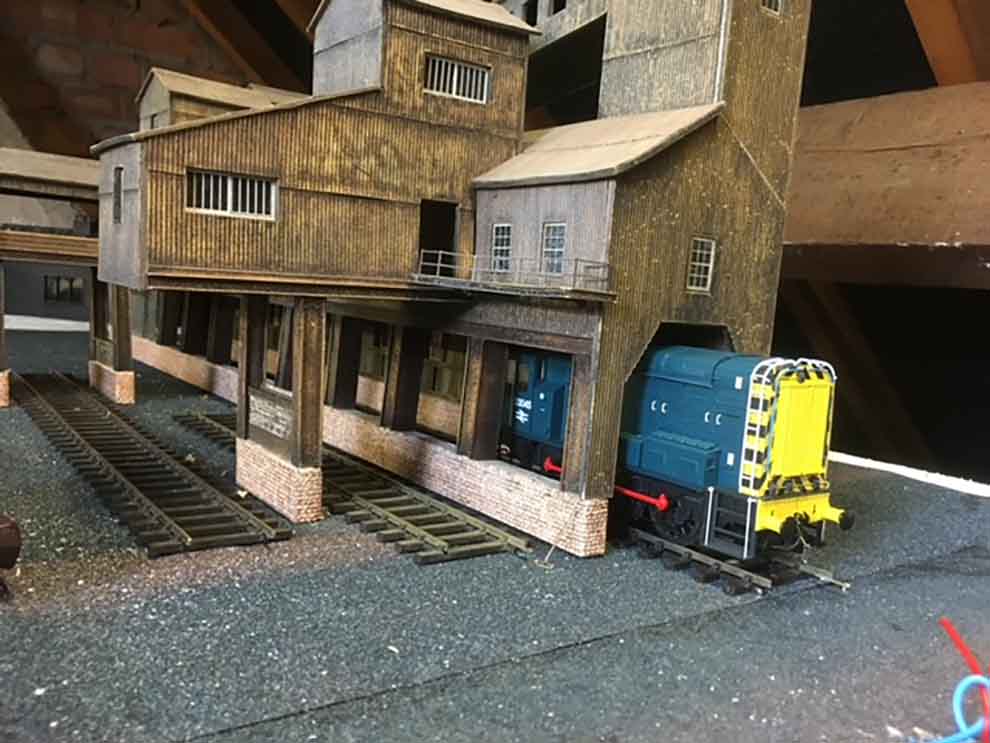
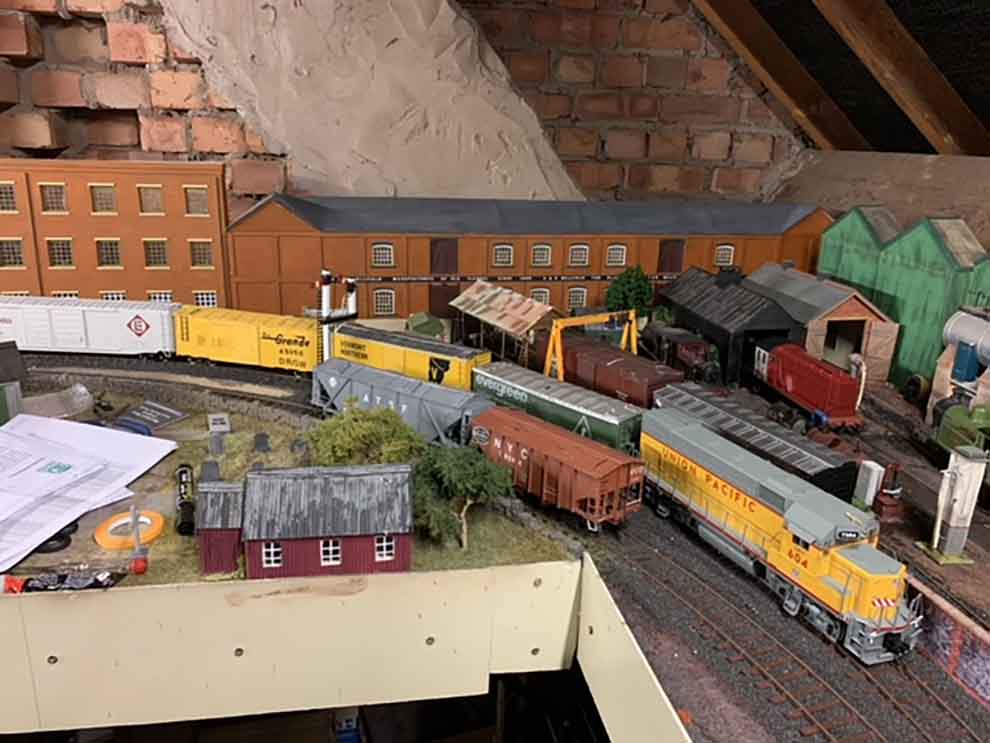
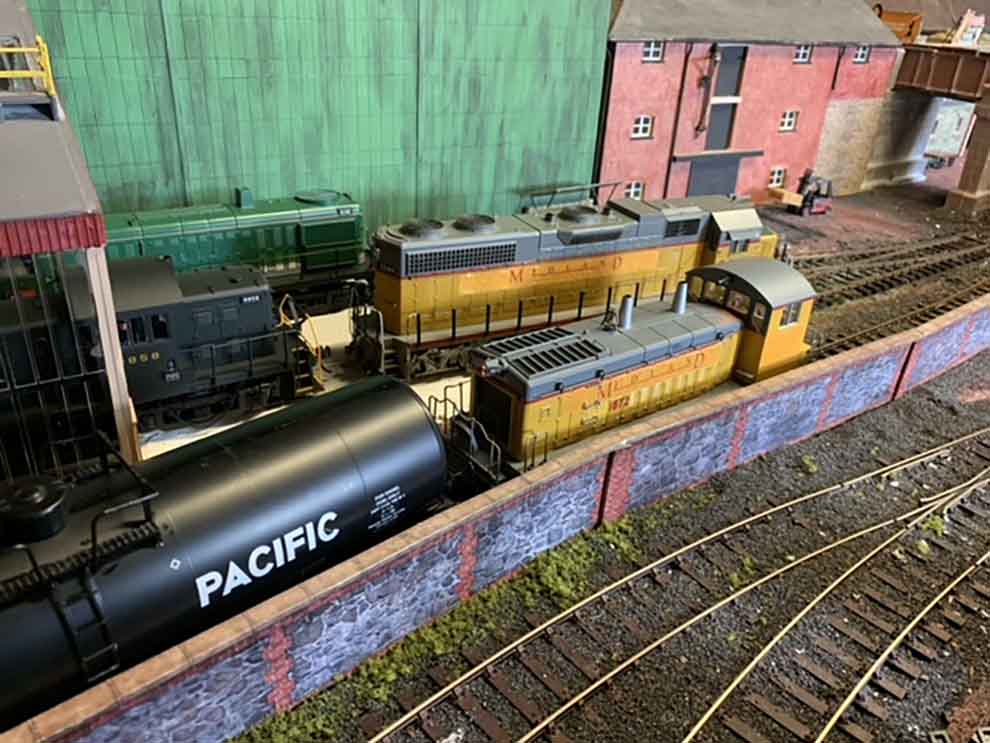
The new engine facility with several ‘foreign’ locomotives being serviced.
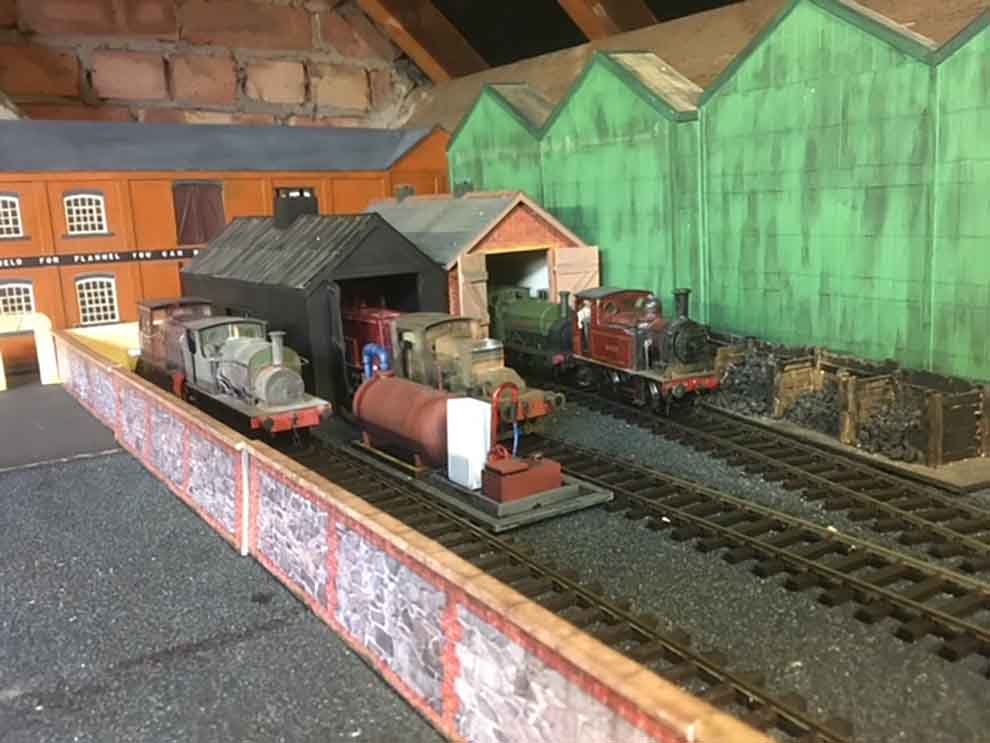
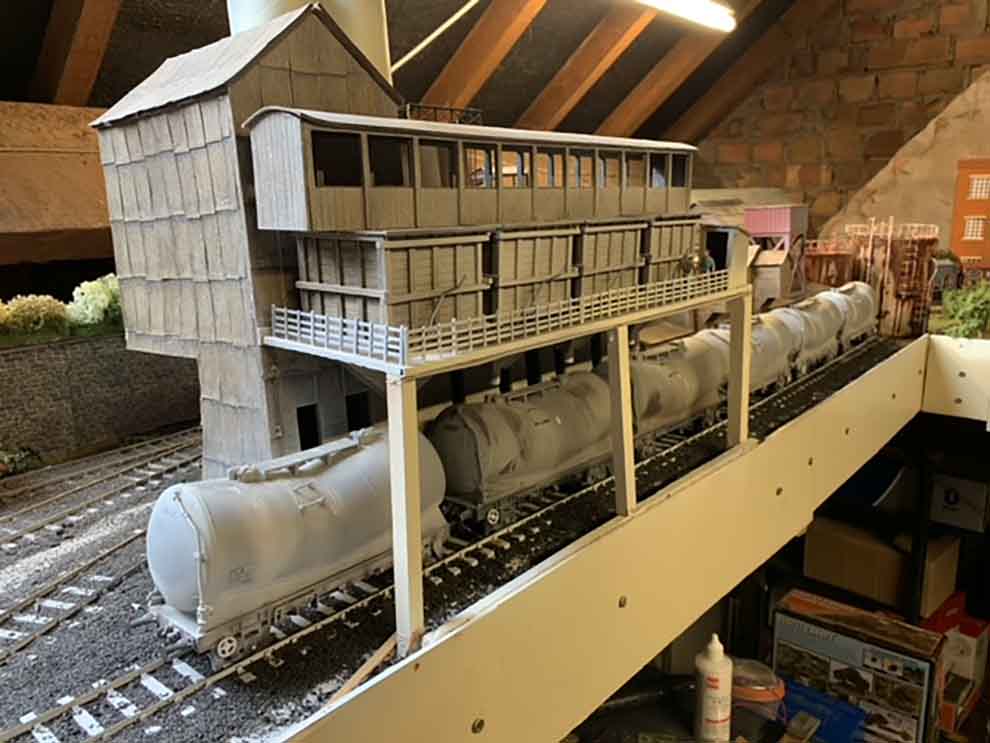
Lake Shore Harbor.
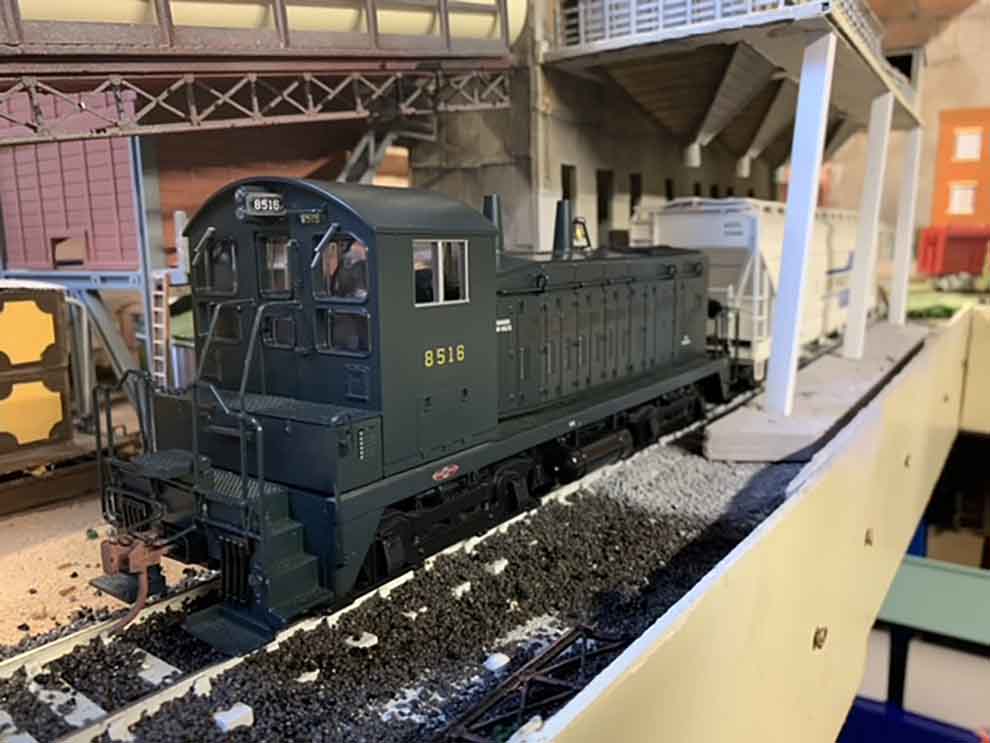
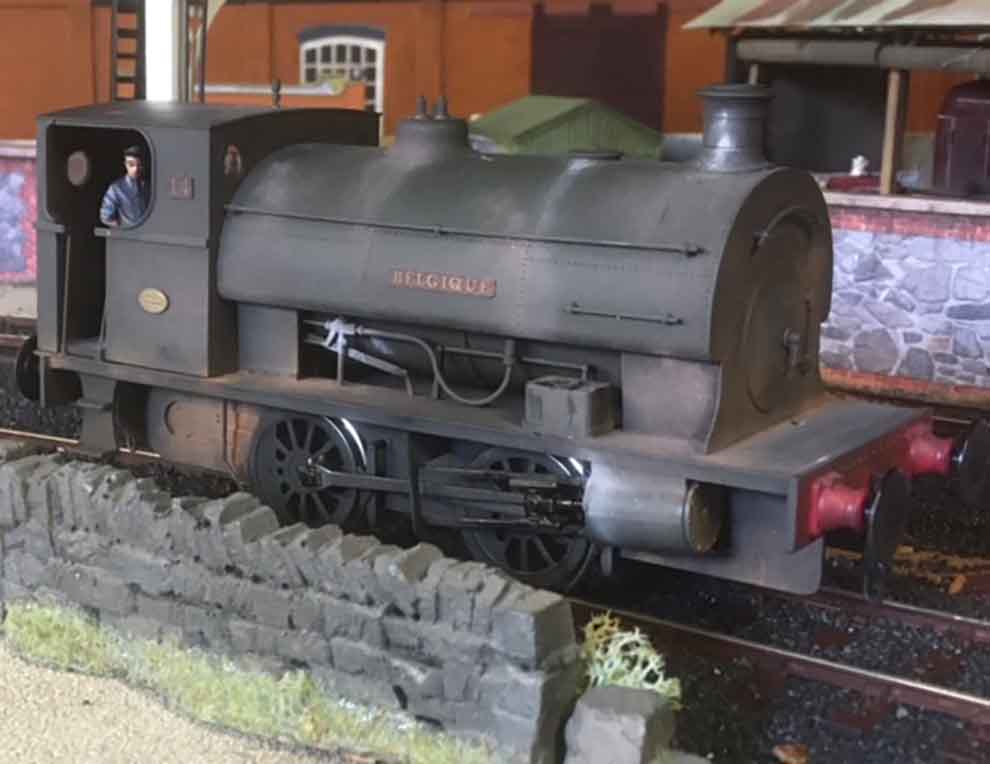
Fanny Frobisher’s resident locomotive ex PRR SW9 #8516
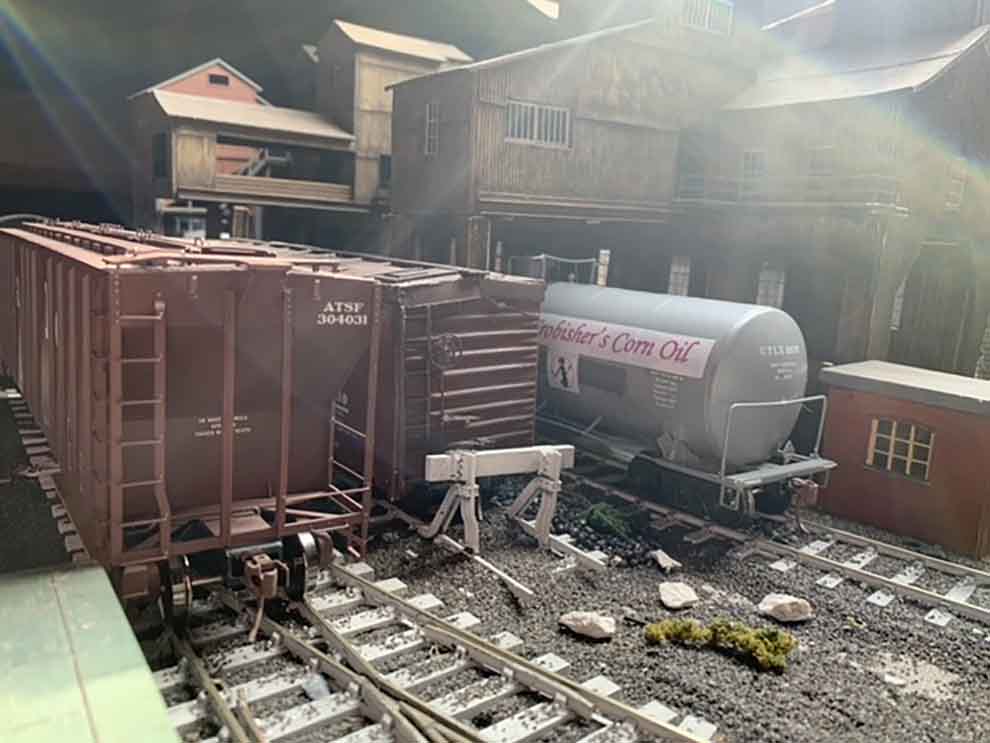
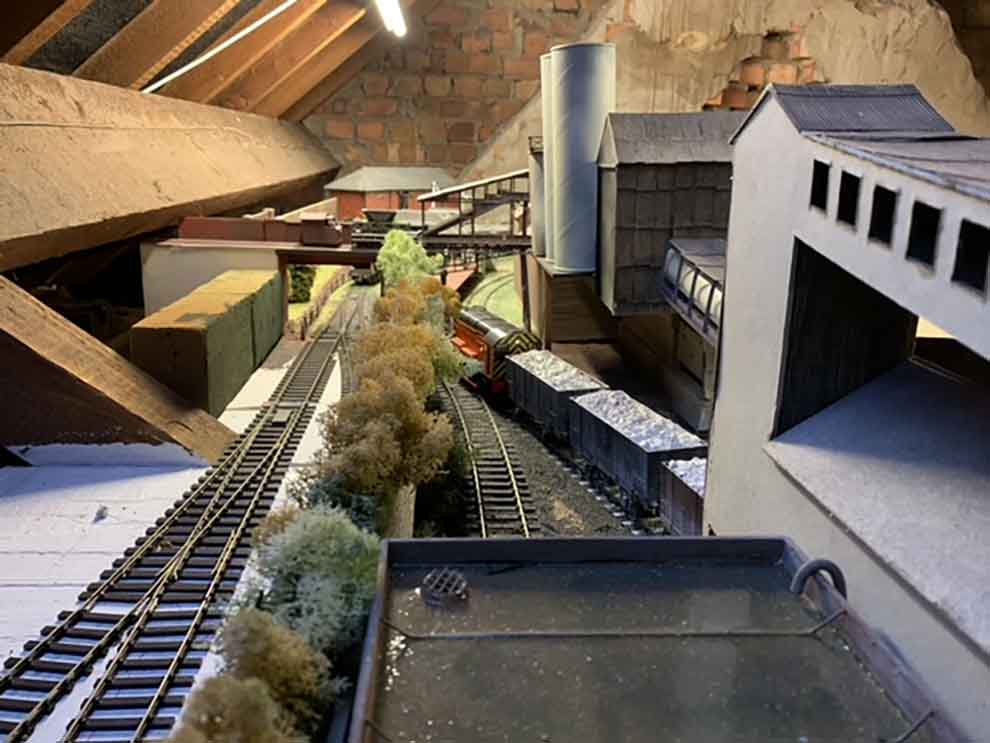
Corn oil loading plant, note the home made water slide transfers…
Patching road names on two ex UP locomotives.
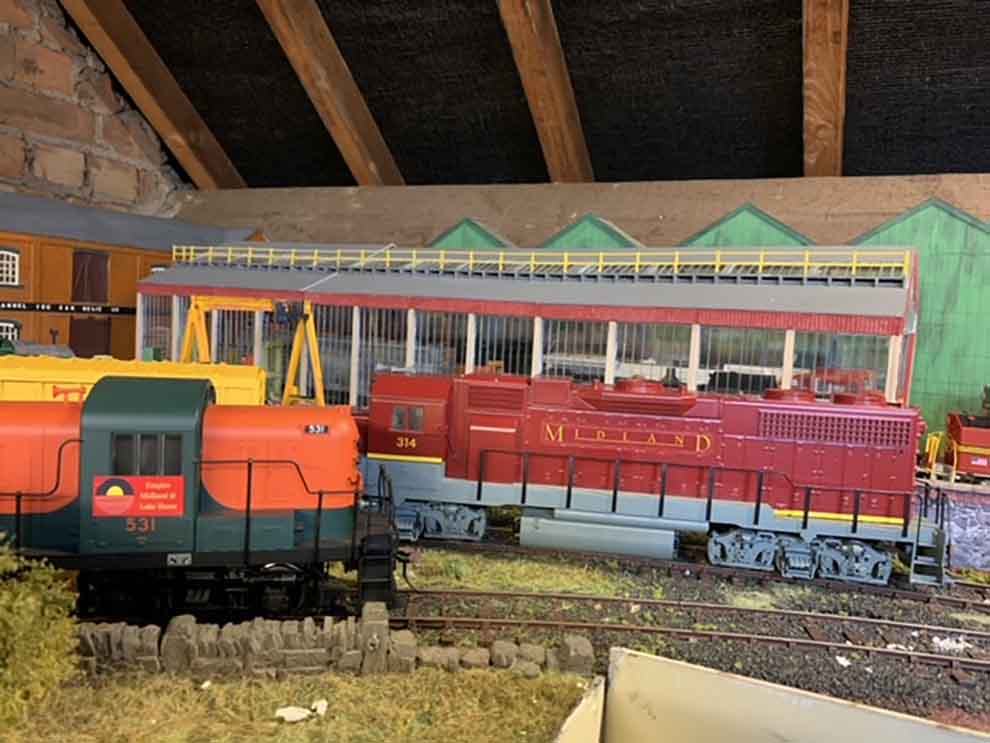
New Midland livery and decals applied to #314.

Monthly heritage train, which has now increased to four coaches.
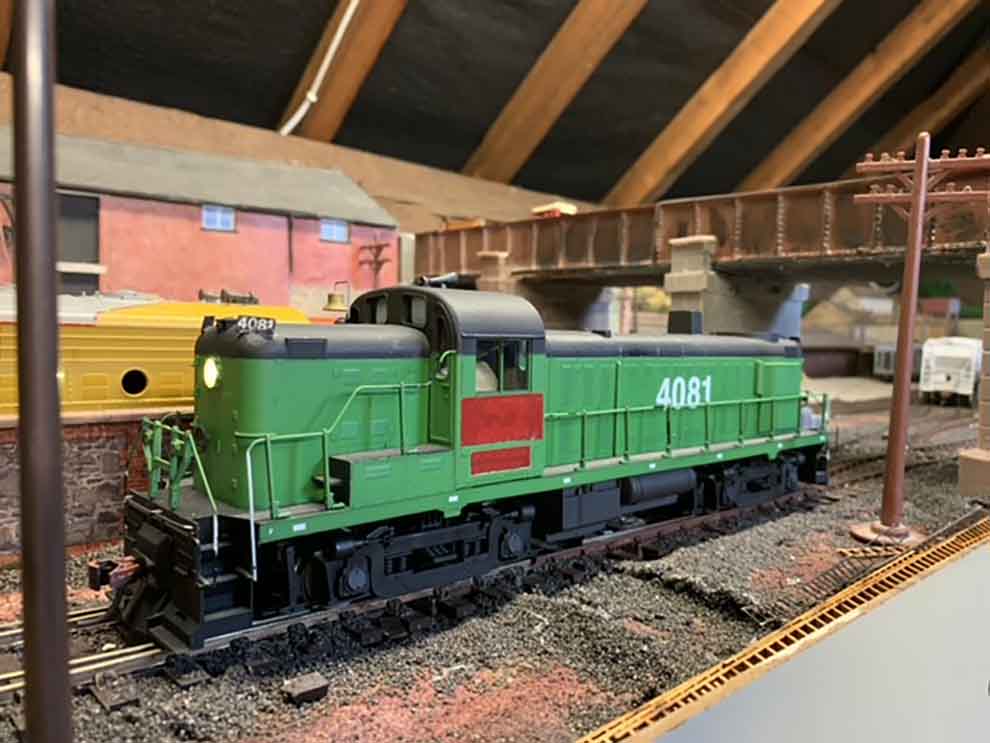
More patching…
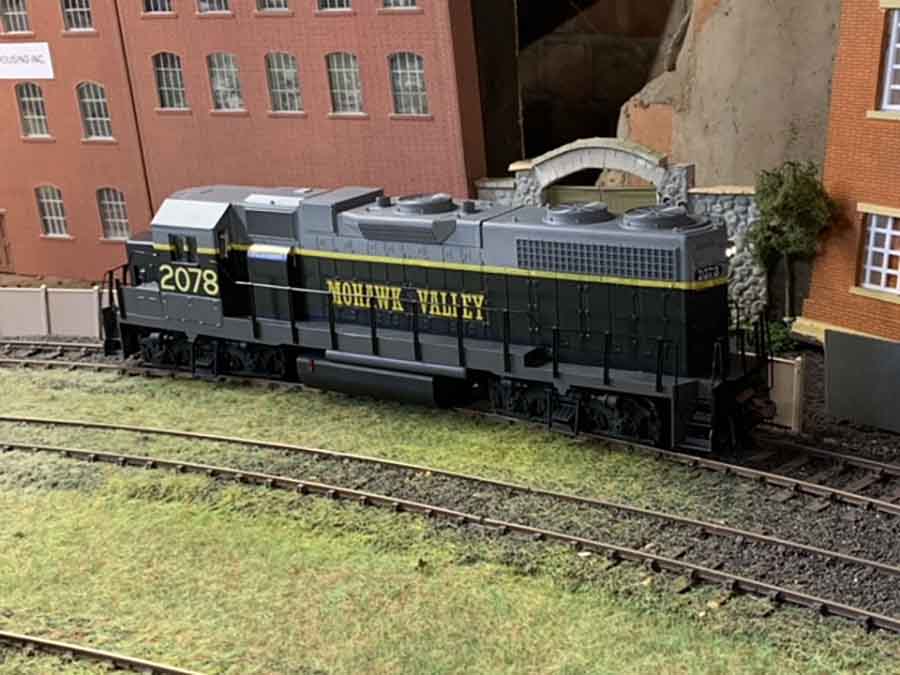
Mohawk Valley Railway GP38-2 #2078 on a rare visit due to motive power shortage on the line.
I’m so pleased I made the change, and even though the price of US stock is rising, you can still pick up great bargains, even from sellers across the pond, though make sure you understand the extra fees and taxes that might apply.
I use eBay’s global shipping program, which, although is a bit more expensive, it does cover all those hidden taxes and charges making the importation fuss free.
Do remember though to research what you want to run… 3 rail or 2 rail.
If you want to go down the fictitious railway route, then again research how the system works.
Above all though, go and make a start. Google and YouTube are great places to fire your imaginations.
Cheers
Martin
A little but of North Eastern America in Coventry UK”
Love what Martin has done with his O scale buildings and his whole layout.
I’m often saying the layouts with a theme always look the best, and I think Martin’s is another example of this.
I thanked Martin for taking the time to write such a wonderful narrative, and he came back with this:
“Hi Al,
Many thanks for the quick reply and comments. I feel it’s like giving something back as a lot of layouts you have featured have given me a lot of inspiration, especially ones like Dangerous Daves’ and Farland Howe.
To me, there has to be a purpose to a model railway. I’m so pleased to see so many layouts actually being built and that is the main and important thing, making a start… there is also the question of space…in the UK is very much of a premium, whilst in the US…
Seeing so many youngsters being encouraged to take up the hobby is also absolutely brilliant.
I do enjoy seeing all the different layouts by people and some of the tips are so simple, you wonder why you never thought of them yourself…
Being in the UK, it’s difficult to accurately build an American line. Buildings differed greatly from state to state, but I’ve had several American colleagues comment, which have said that I’ve managed to come pretty close to the mark. As I keep on saying, it’s all about research if you want to be realistic.
I’d be very happy to have a follow up post where I can answer any questions as sharing knowledge is probably the greatest part of this hobby.

Cheers
Martin”
I hope you enjoyed Martin’s posts as much as I did, and it’s good to know the blog is still inspiring some.
That’s all for today folks.
A big thanks to Martin and his O scale buildings and layout – can’t wait to see more.
That’s all for this time folks.
Please do keep ’em coming.
And if today is the day you blow the dust of your old locos and find some track too, the Beginner’s Guide is here.
Best
Al
PS More HO scale train layouts here if that’s your thing.
Need buildings for your layout? Have a look at the Silly Discount bundle.