Dave’s been back in touch with a wonderful step by step video on scenery for model trains.
And best of all, you can see him running his trains at the start of the vid.
The end is quite entertaining too, as you’ll see.
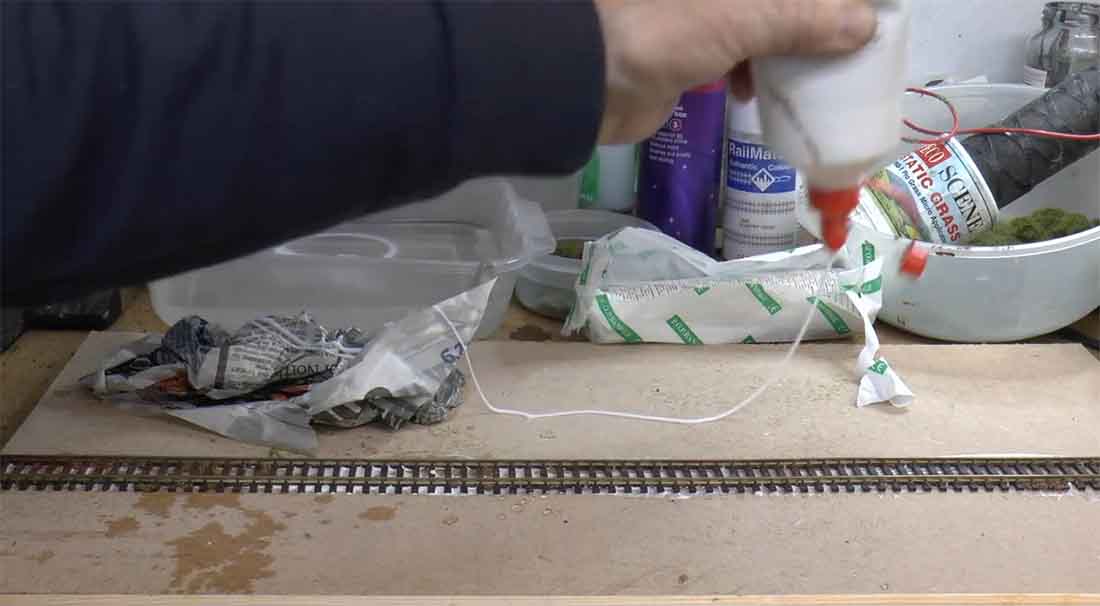
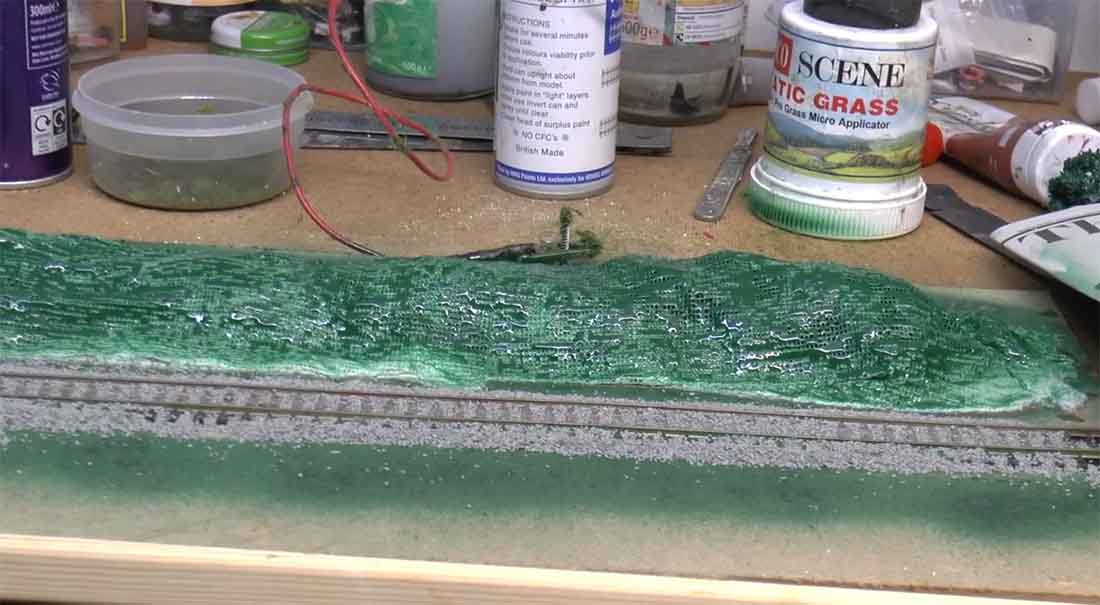
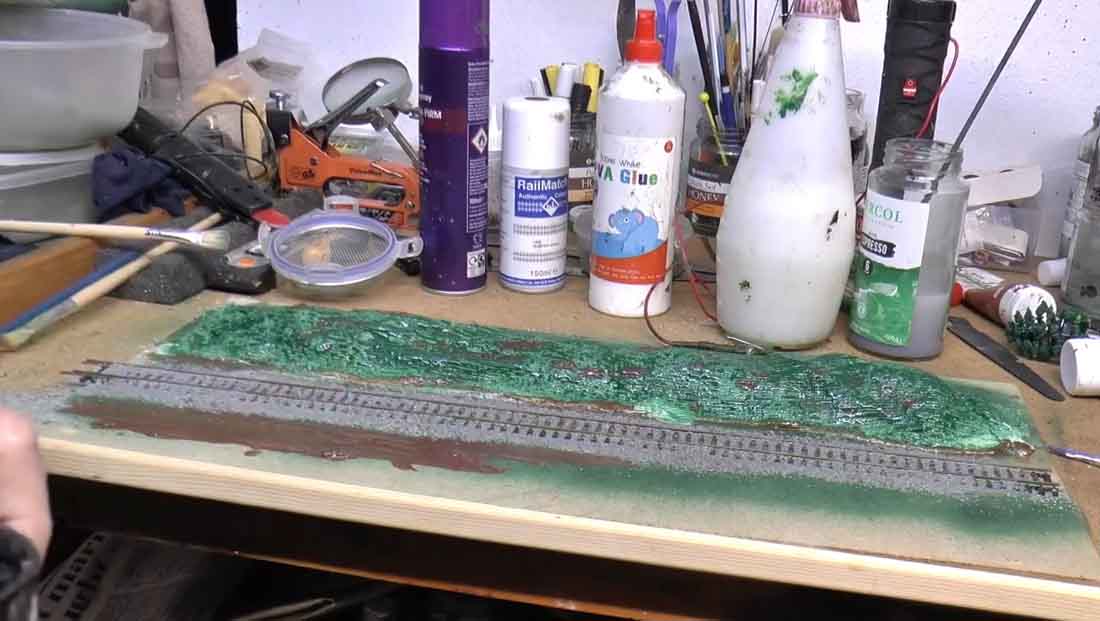
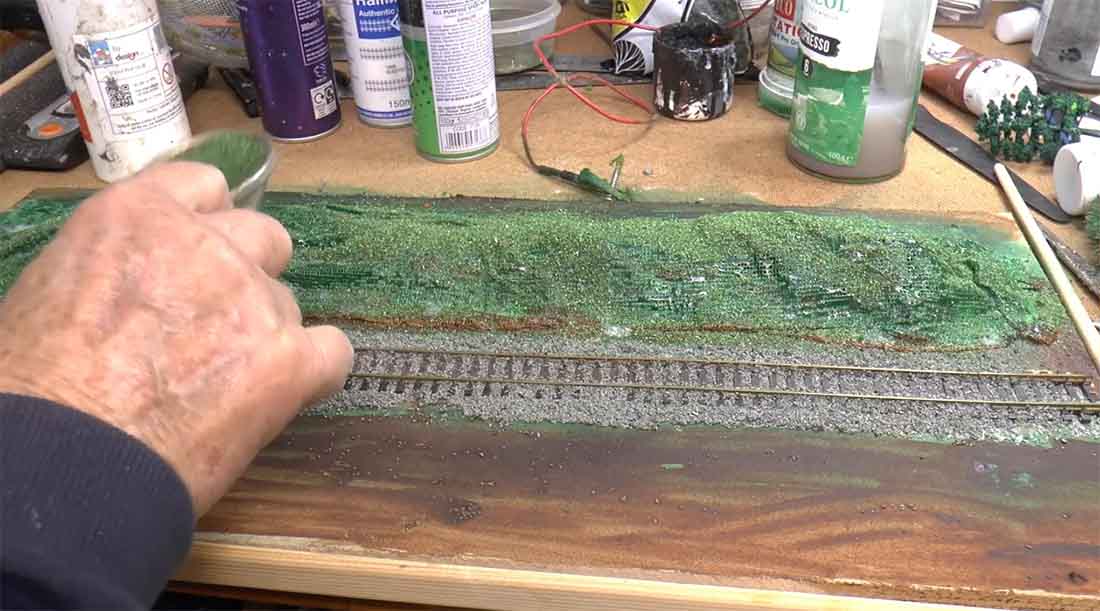
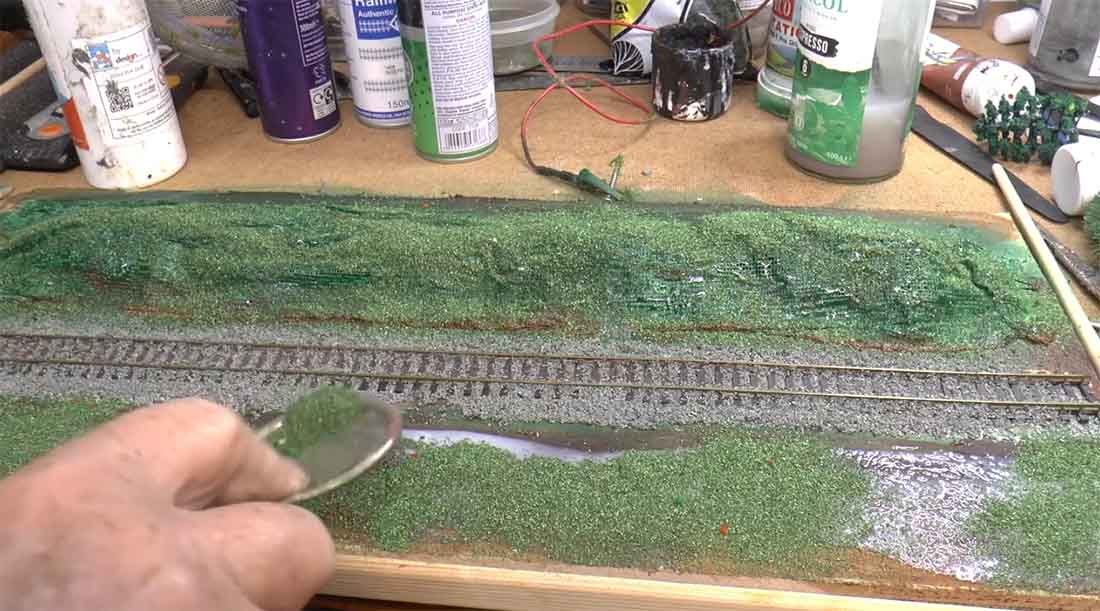
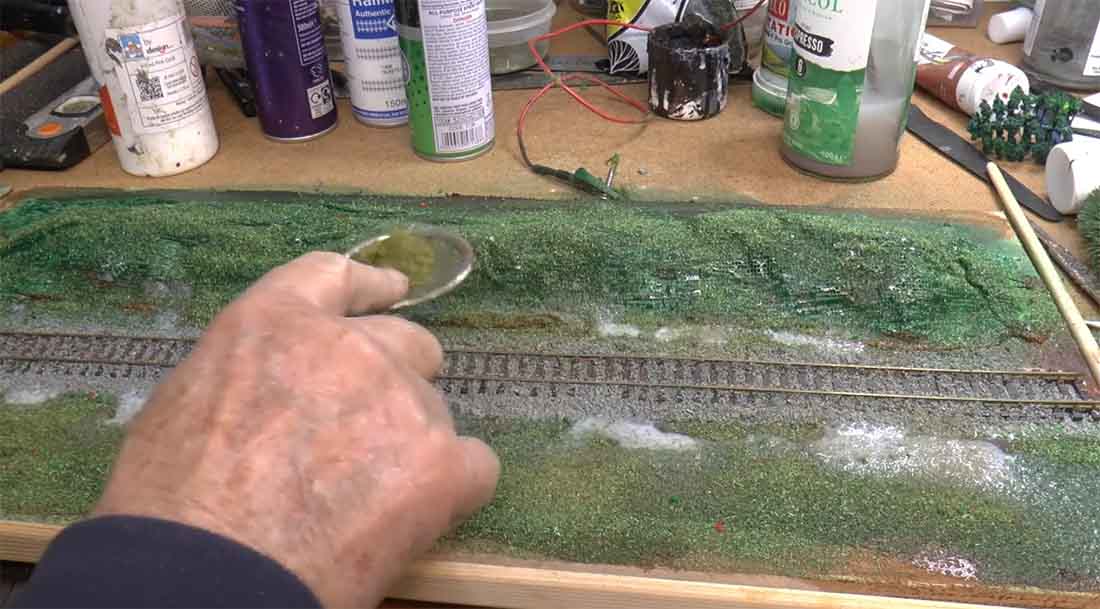
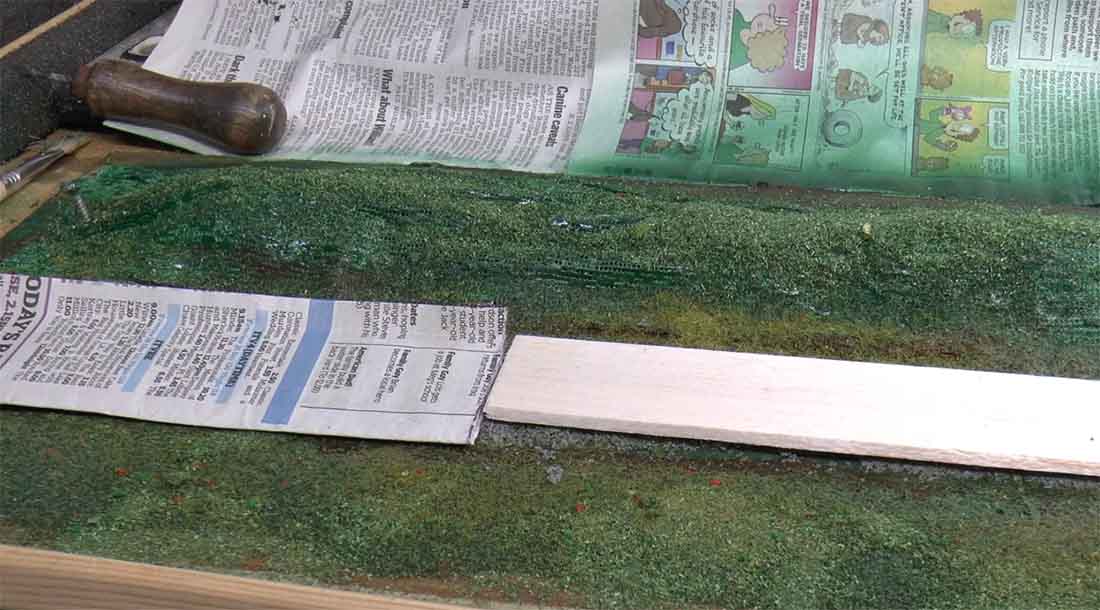
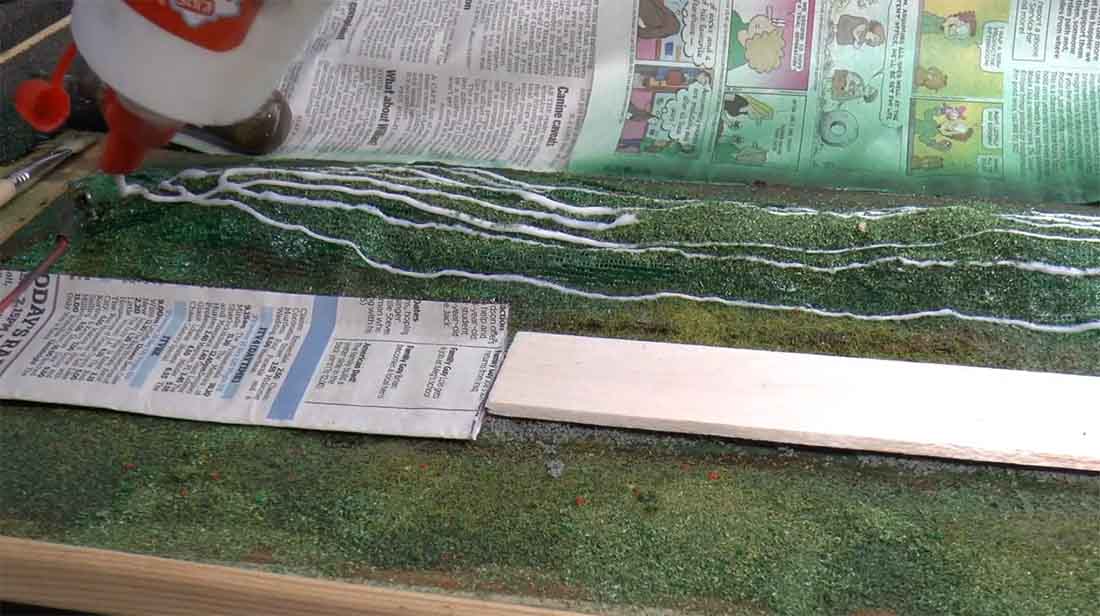
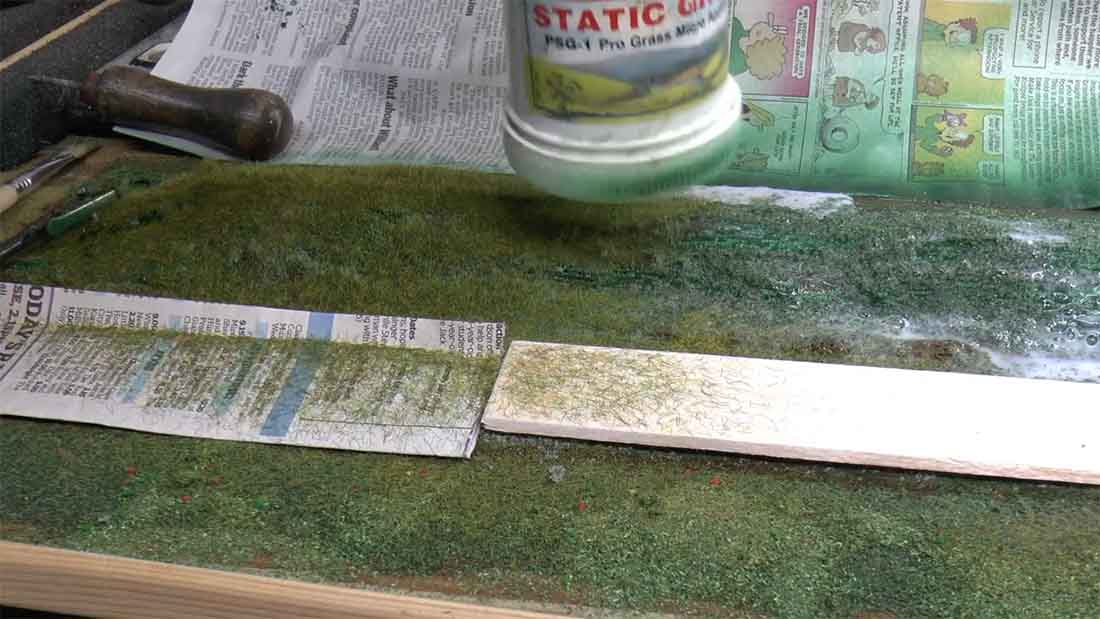
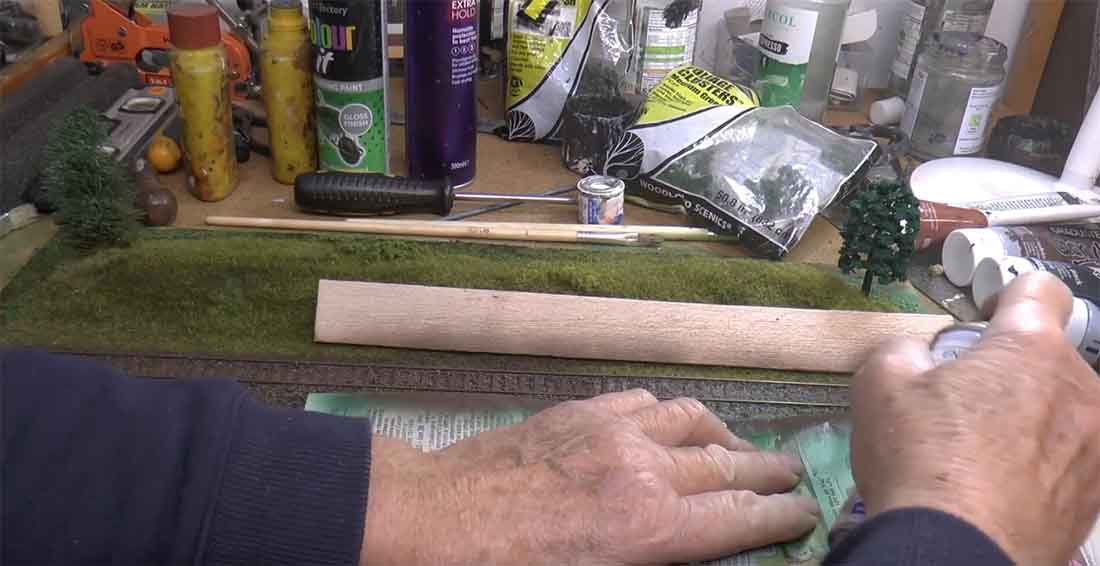
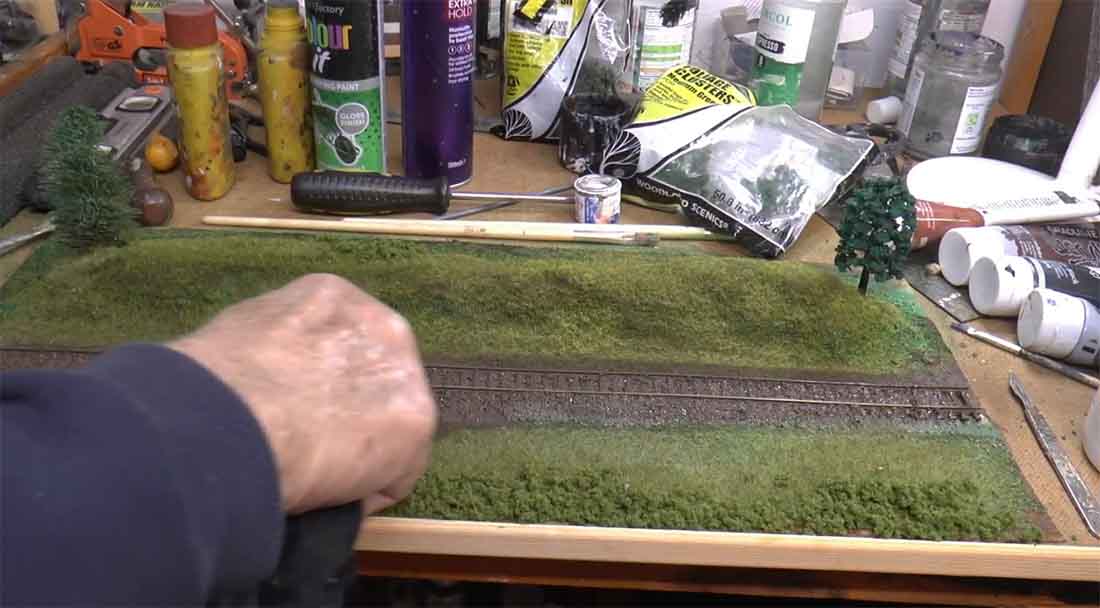
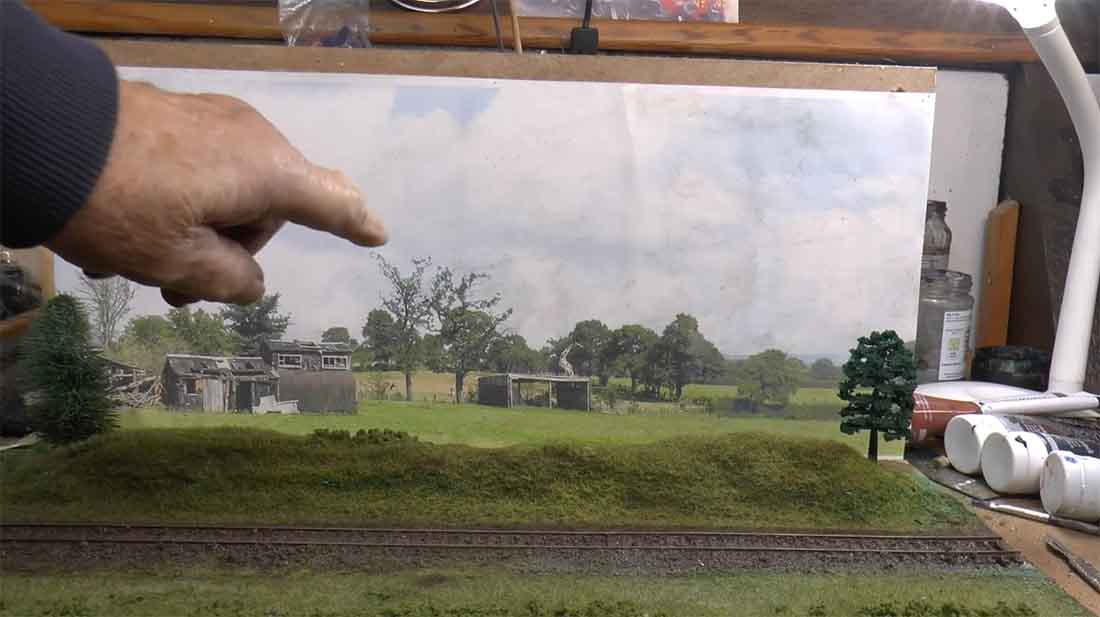
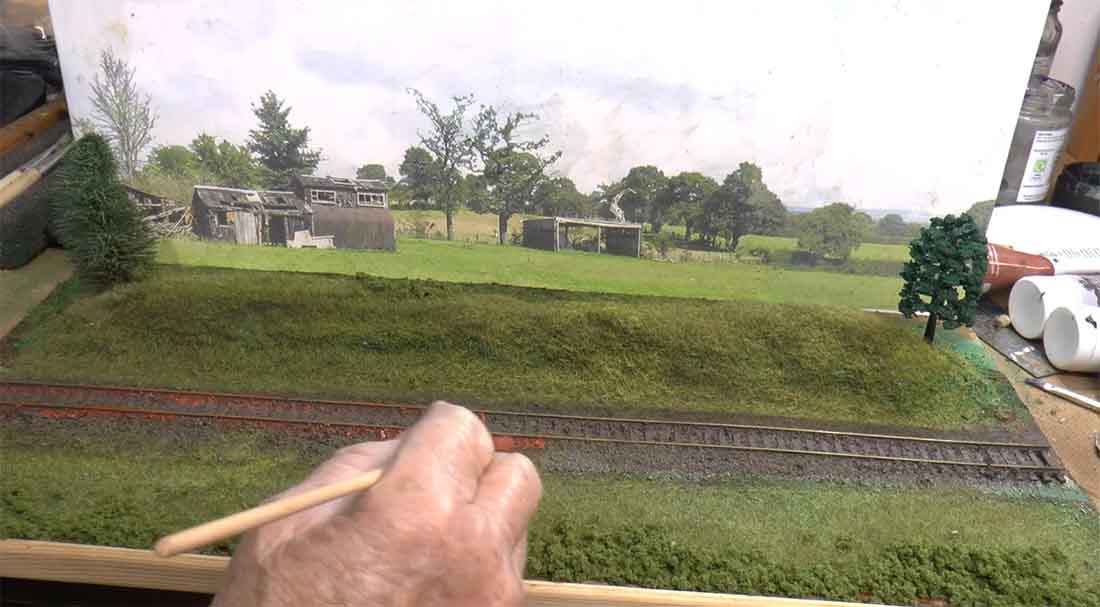
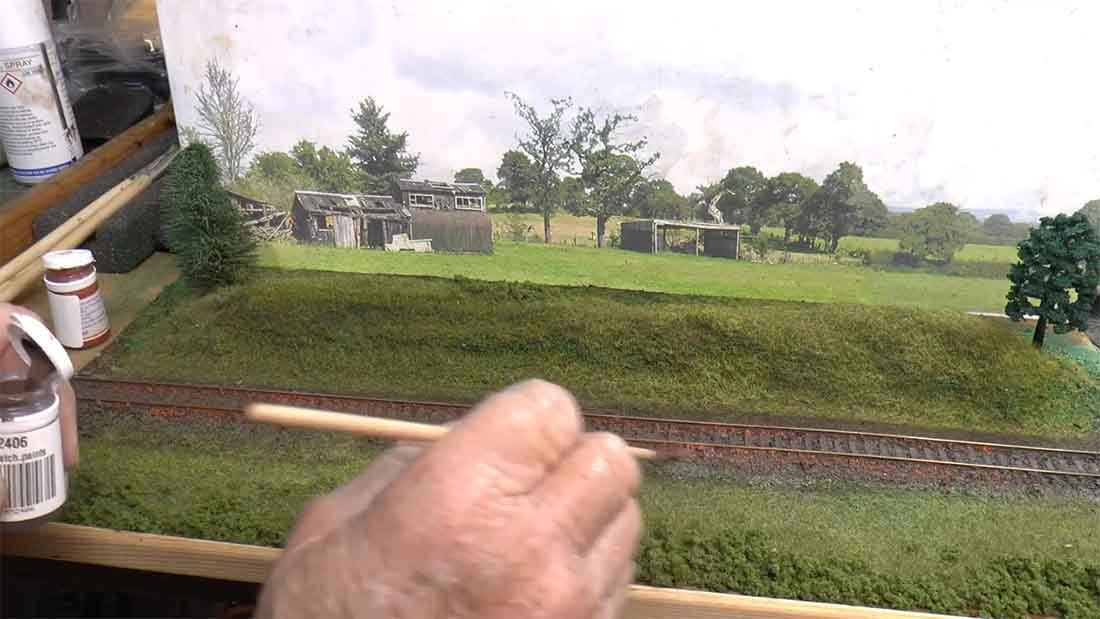
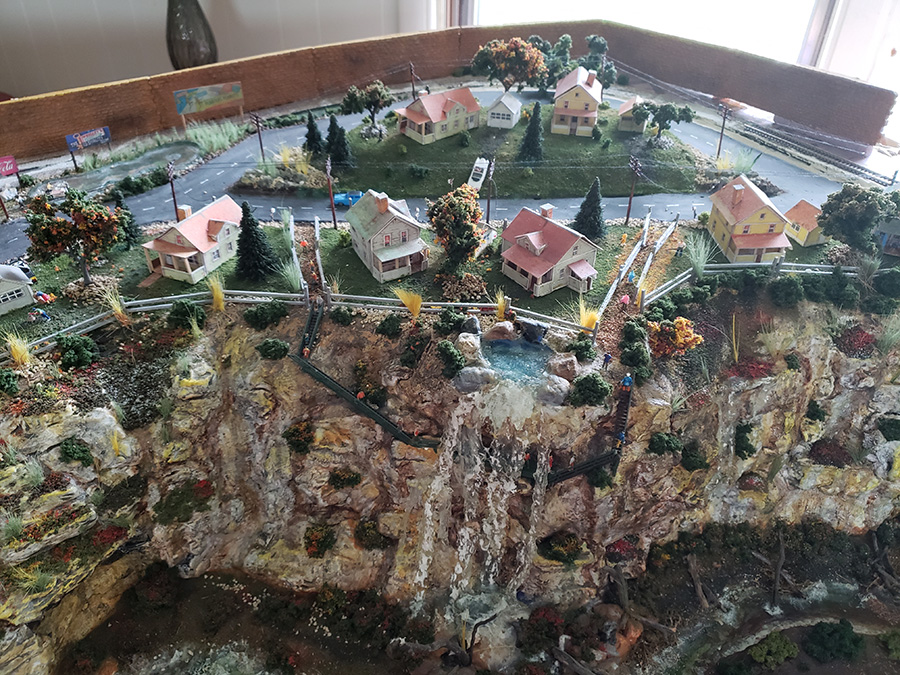
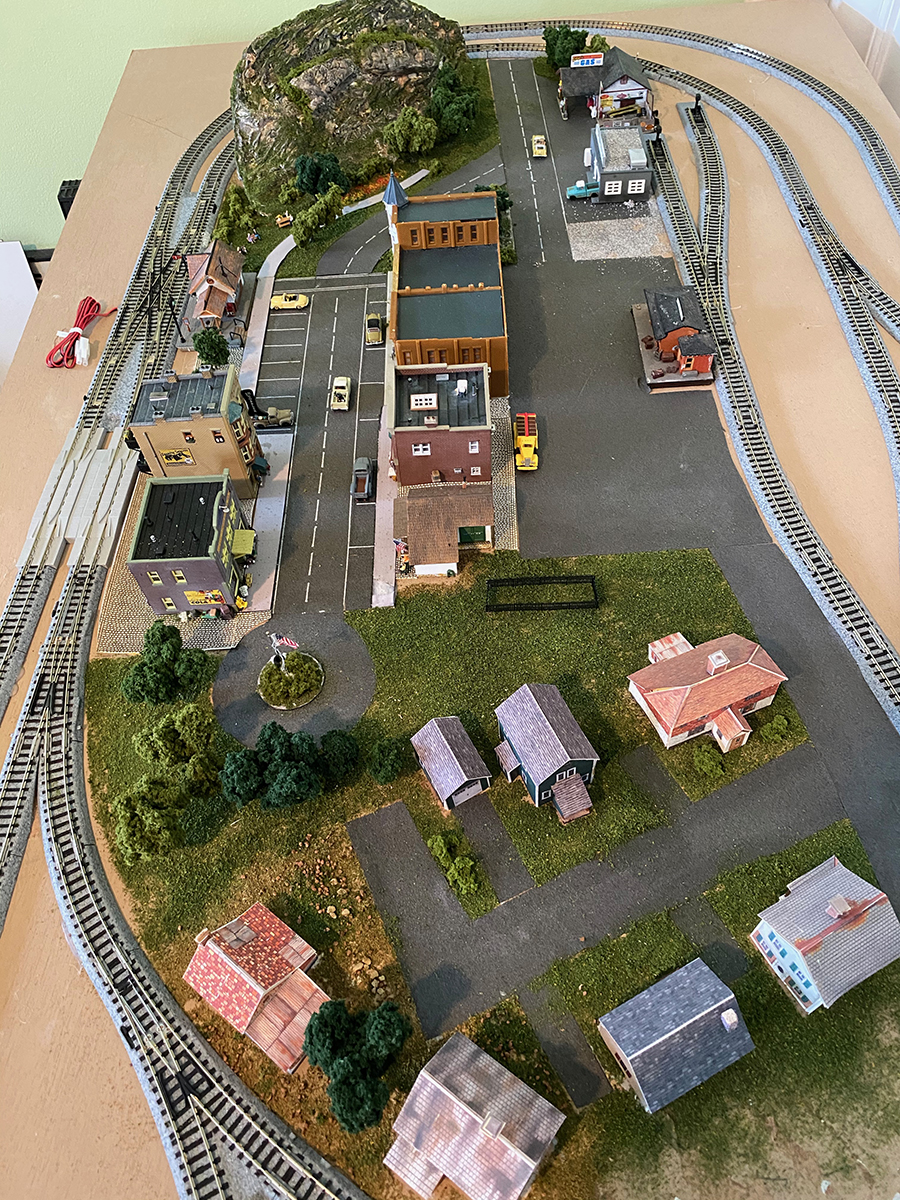
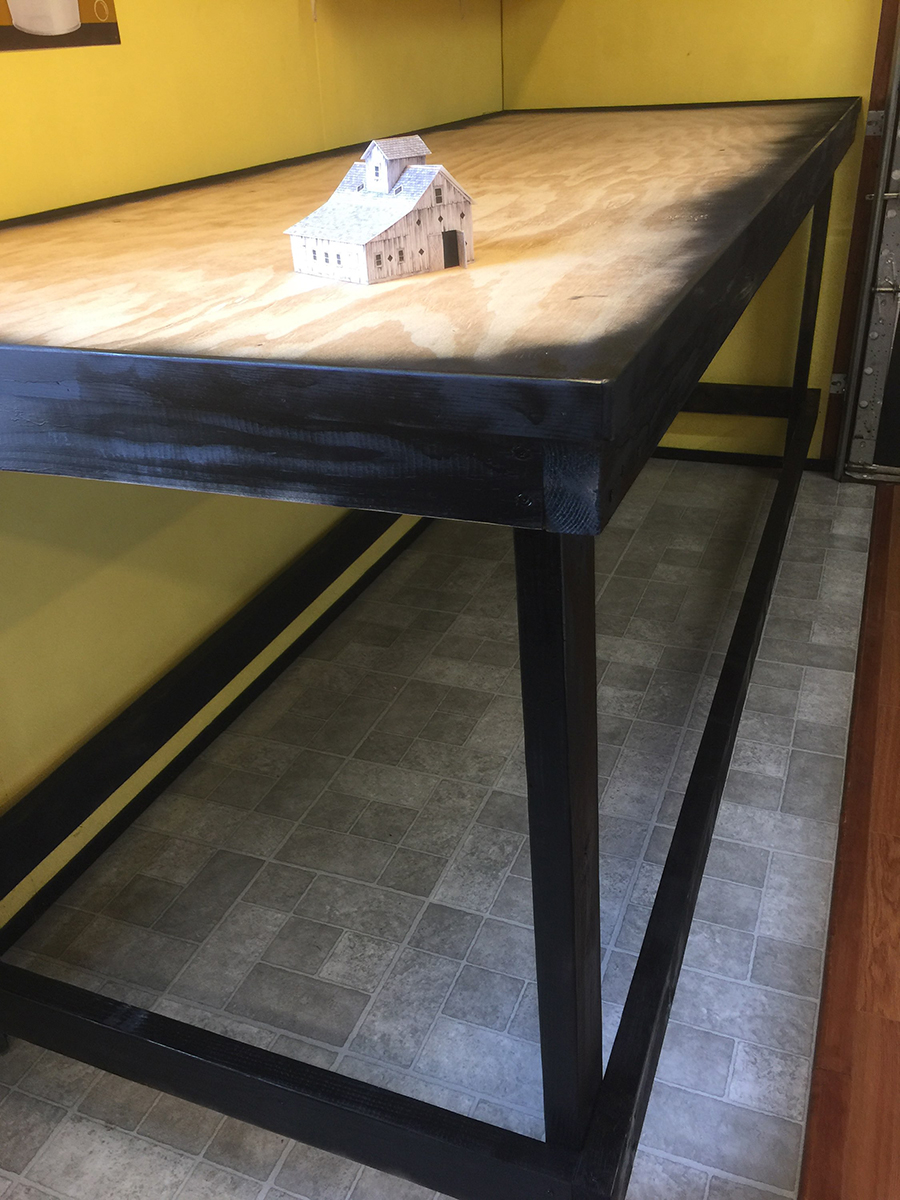
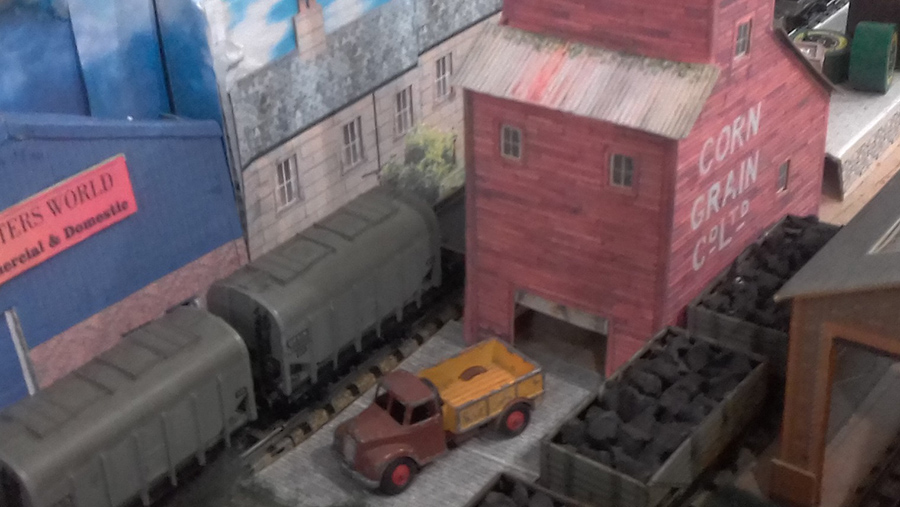
I’ve added pics, but they don’t really get across hoe Dave does his does stuff, it’s wonderful to watch.
(Vidos is below the pics.)
“Al…
I have just uploaded a new video showing step by step how to add scenics to a model Railway.
I tried to speak slower as a few have problems understanding my Yorkshire acent on the last one, but I am sure that they will understand and realise how easy it is to add scenics to a layout.
I have started out with a piece of plain board and built up a Diorama with a hillside, ballasting, adding static Grass, shrubbery, etc.
Its step by step, just sorry it is a bit of a long one but I tried to get everything in to it…
Regards
Dave”
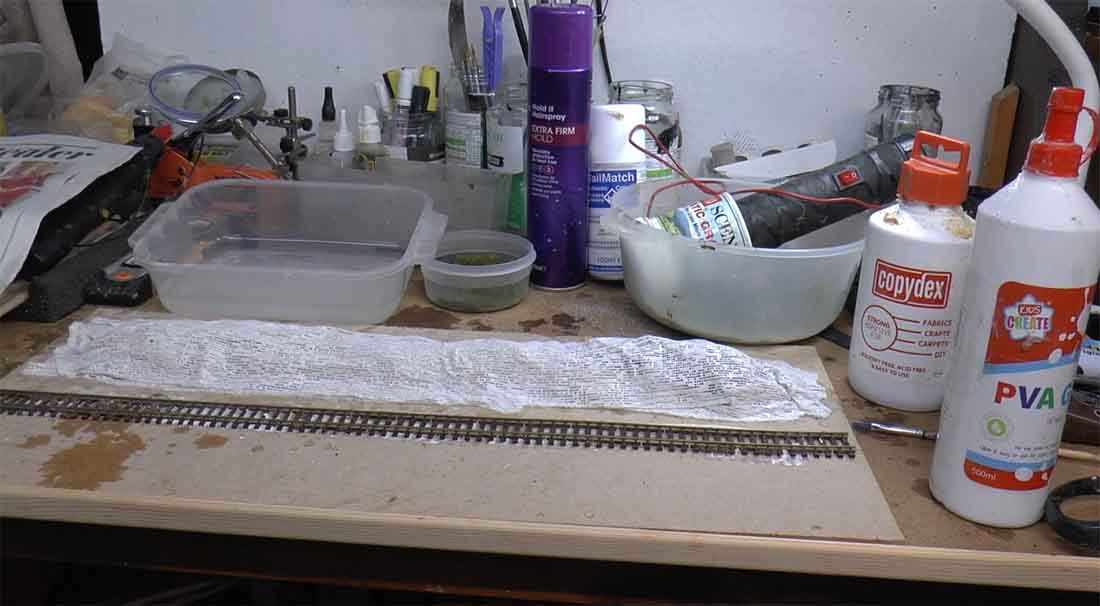
From this..
… to this.
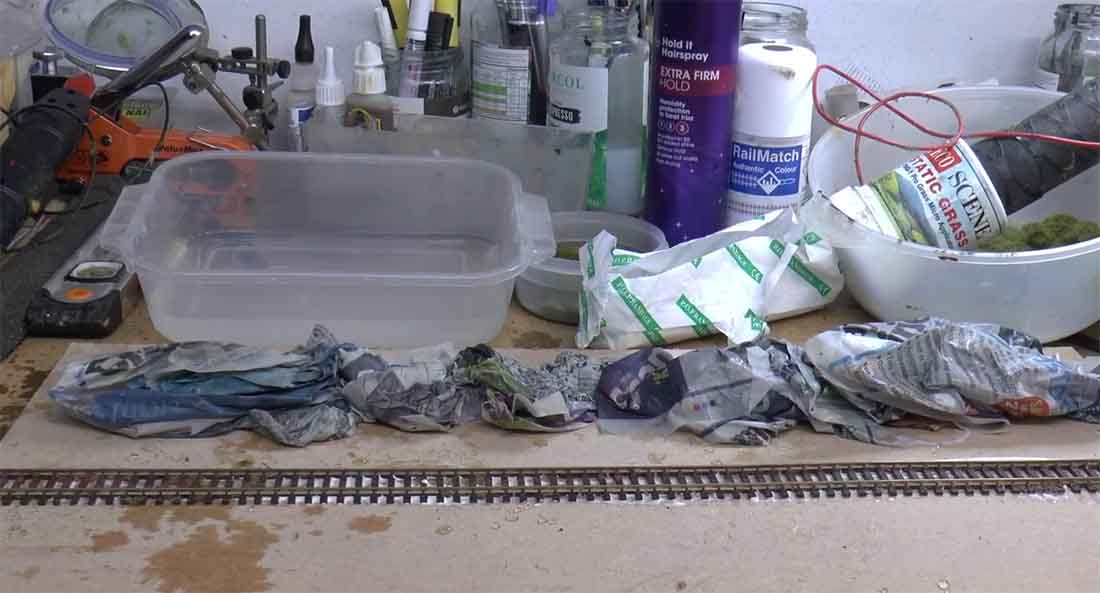
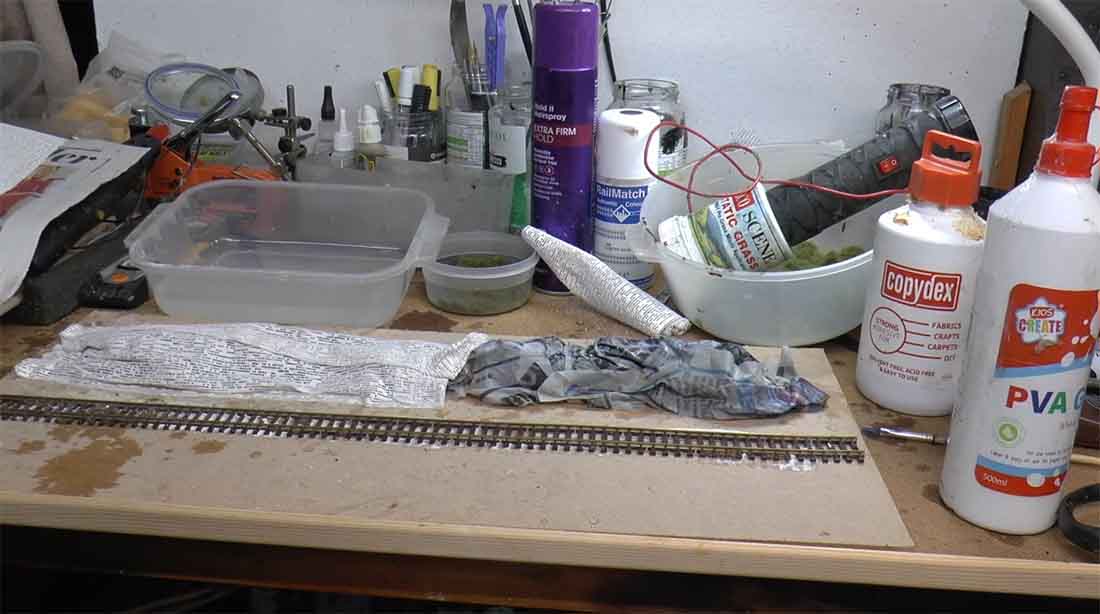
Crumple up newspaper in water to create the embankment.
Add as many as you need for you scene.
Add Mudrock.
Tap it down and leave to dry.
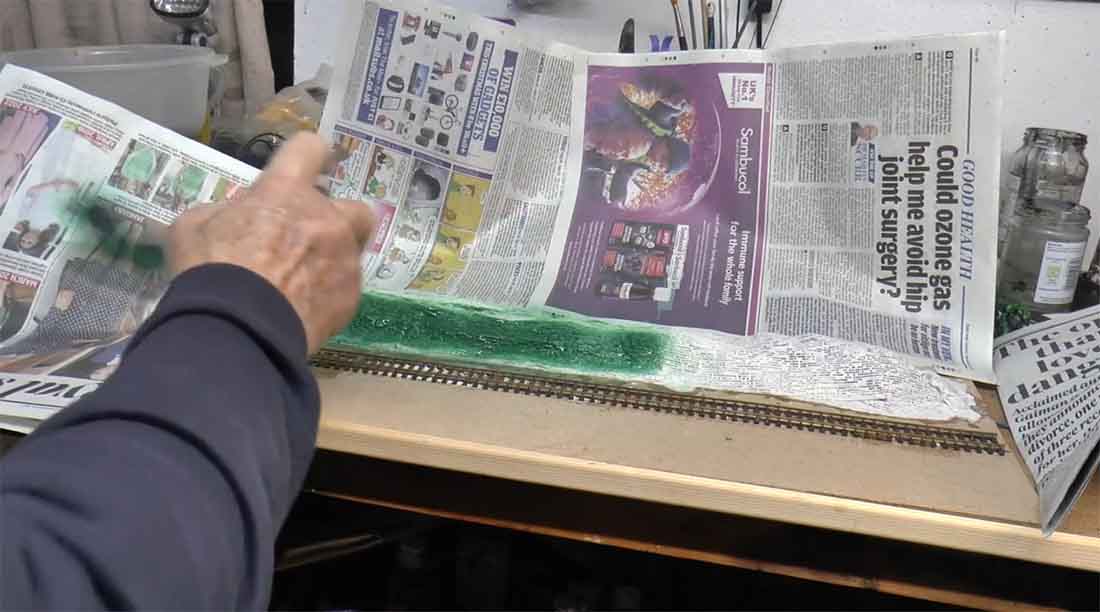
Add base coat for the static grass.
Add the base coat on the front too.
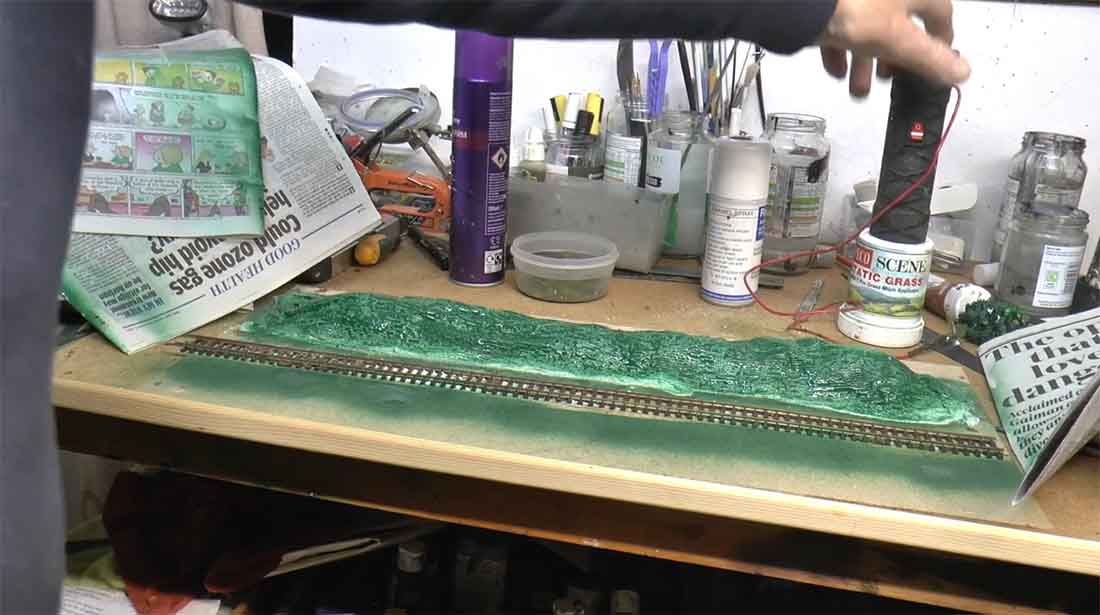
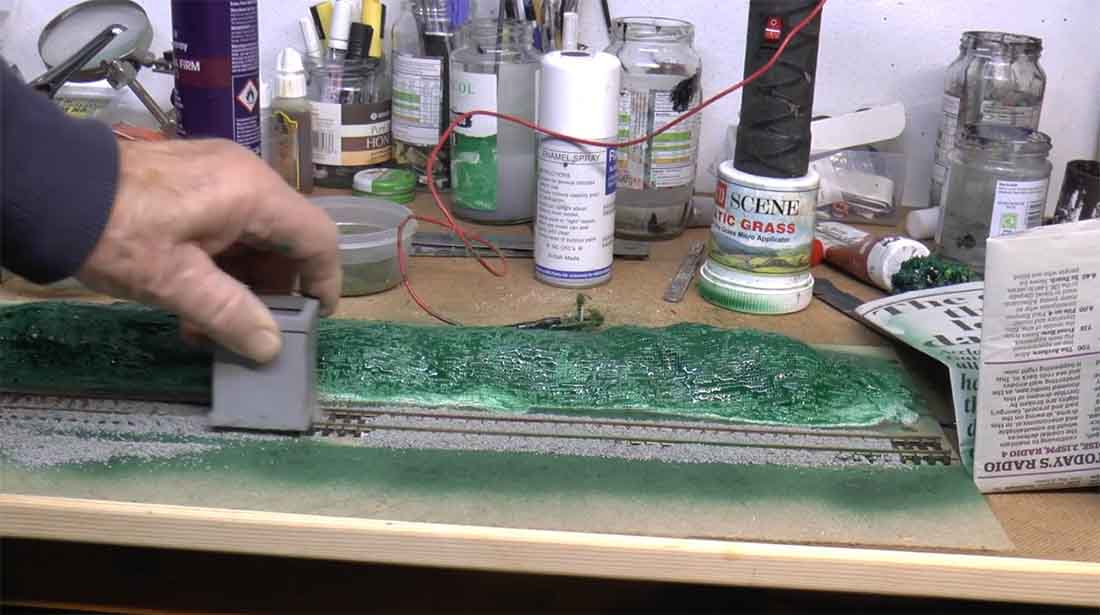
Add ballast.
Even out the ballast with your finger.
Add some brown to the base coat.
Add green and some glue.
Do the same all over the scene.
Add different shades of ground cover.
Cover up the tracks.
And the screw, add glue…
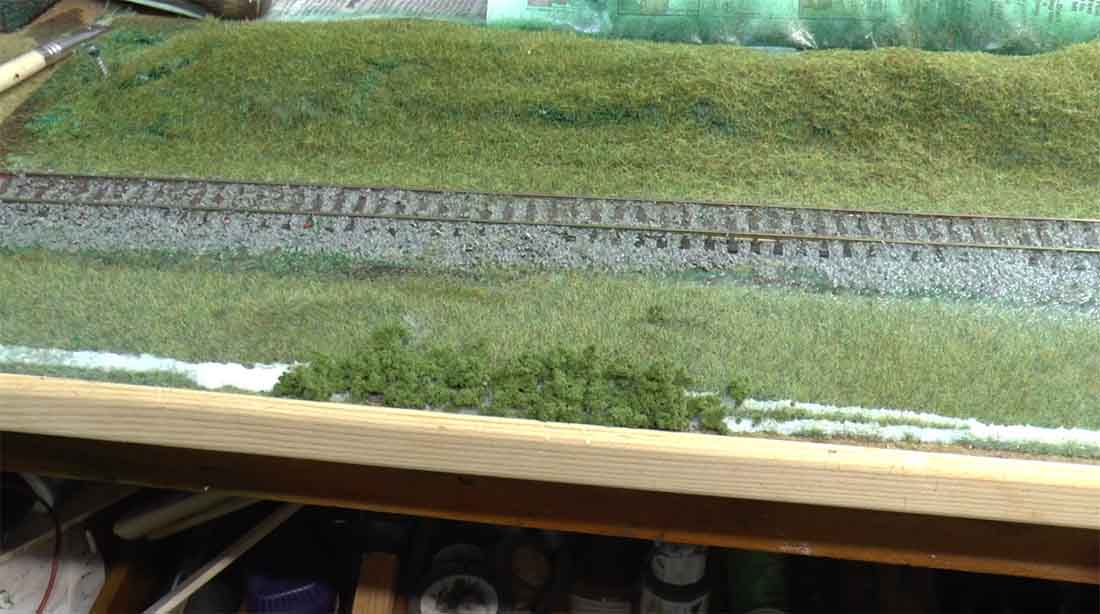
Get busy with the static grass – you can see it stands up nicely.
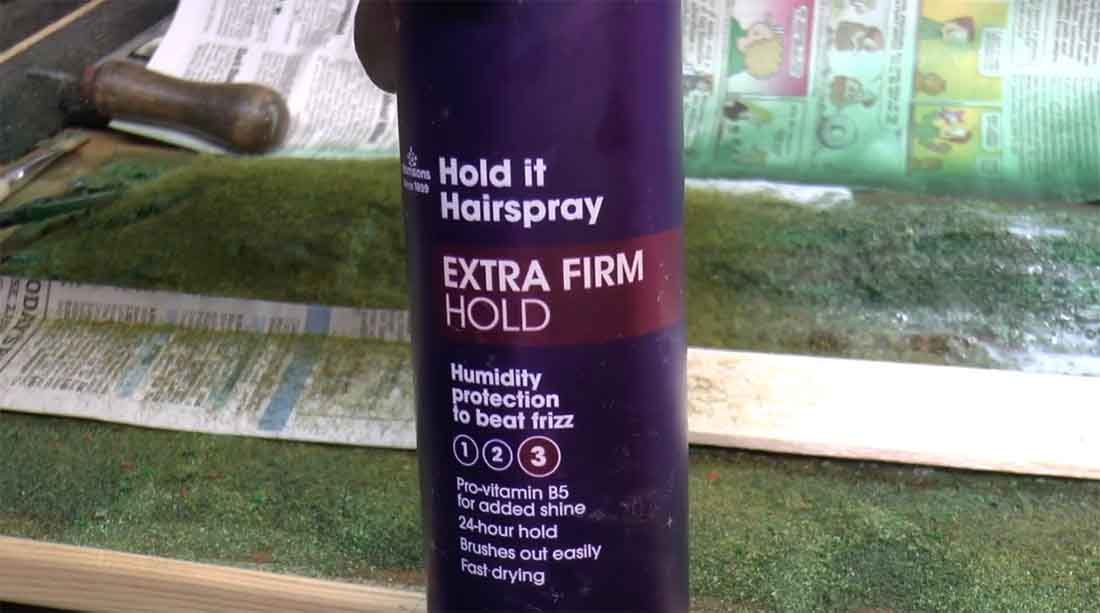
Hairspray will keep it in place.
Shake on more static grass.
Add brush and brambles to the edges.
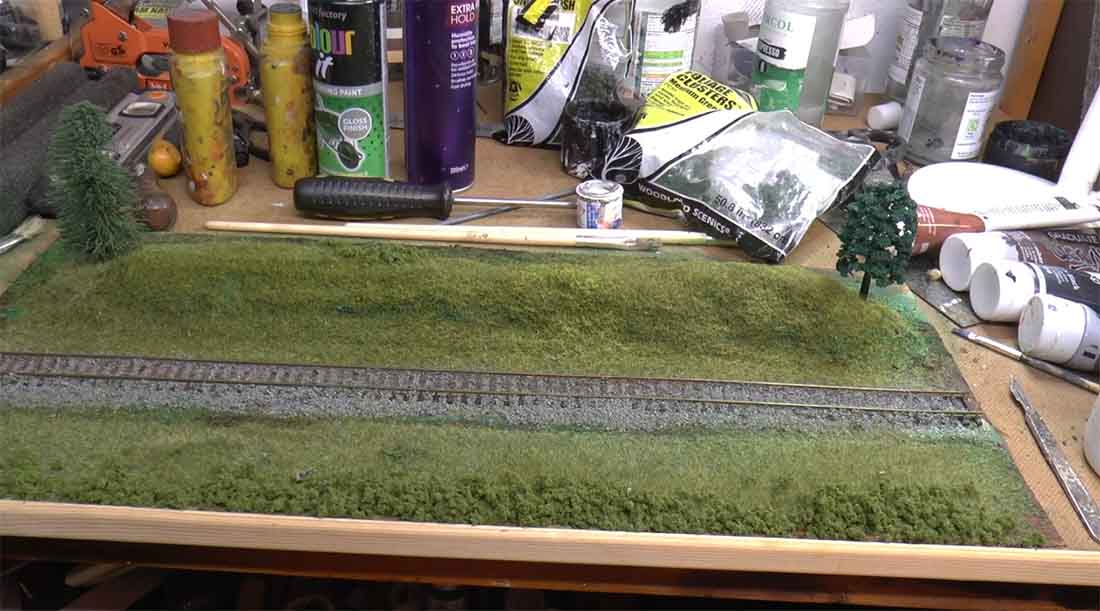
Add trees and more brush cover.
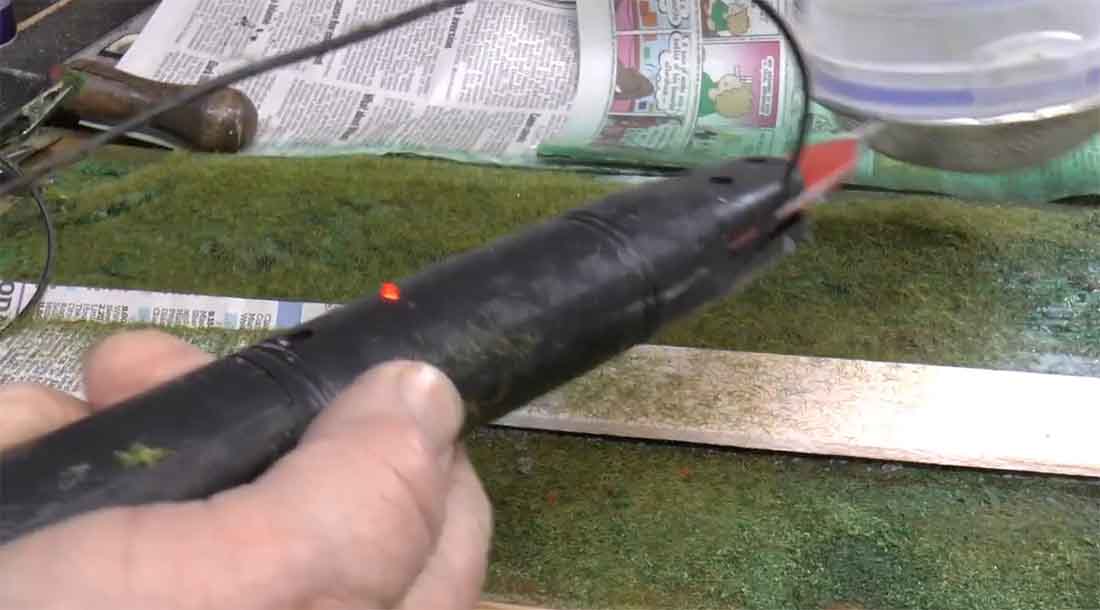
Spray on the sleeper grime.
Wipe the rails clean.
Add backdrop.
Add rust pain to the rails.
Touch up with different shades.
The finished scene… but the pics don’t do it justice, have a look at the vid, it’s really worth watching:
A huge big thanks to Dave for sharing his Scenery for model trains vid.
I’m always banging on about making a start and I think a diorama is an excellent way to dip your toe in the water.
A layout, is not different to a ‘large’ diarama. When it comes to wiring, just start simple.
Best of all, a diorama can be anythign you like, an engine shed, a railway hut by some track… anything:
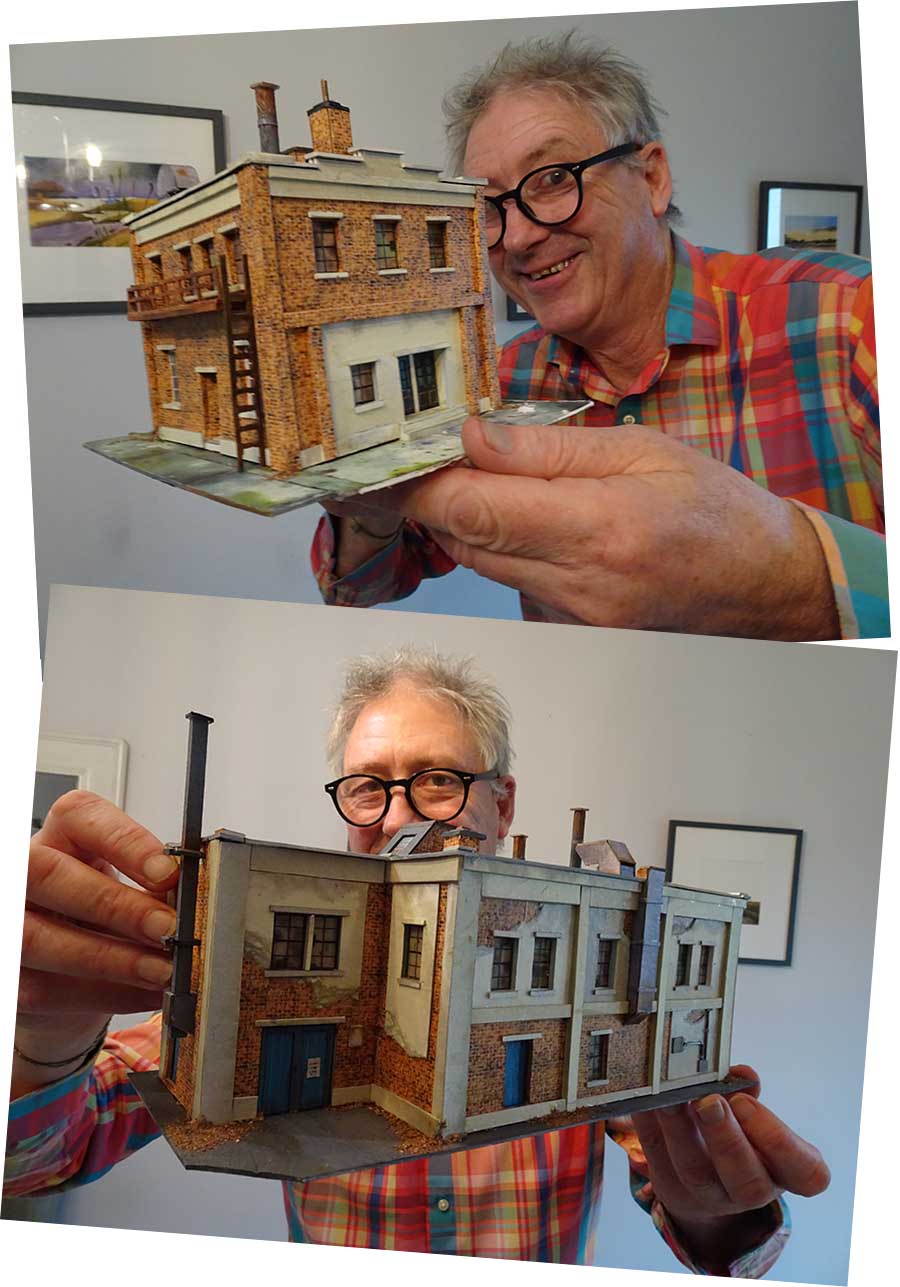
Here’s one from the archives, and another one from Dave:
“Al
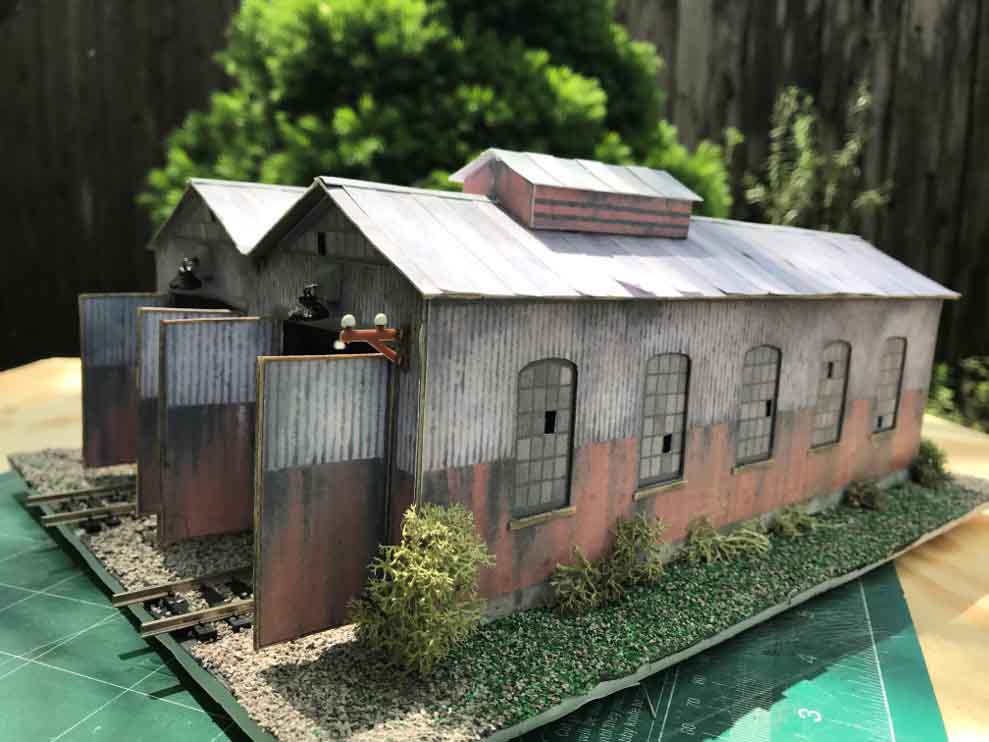
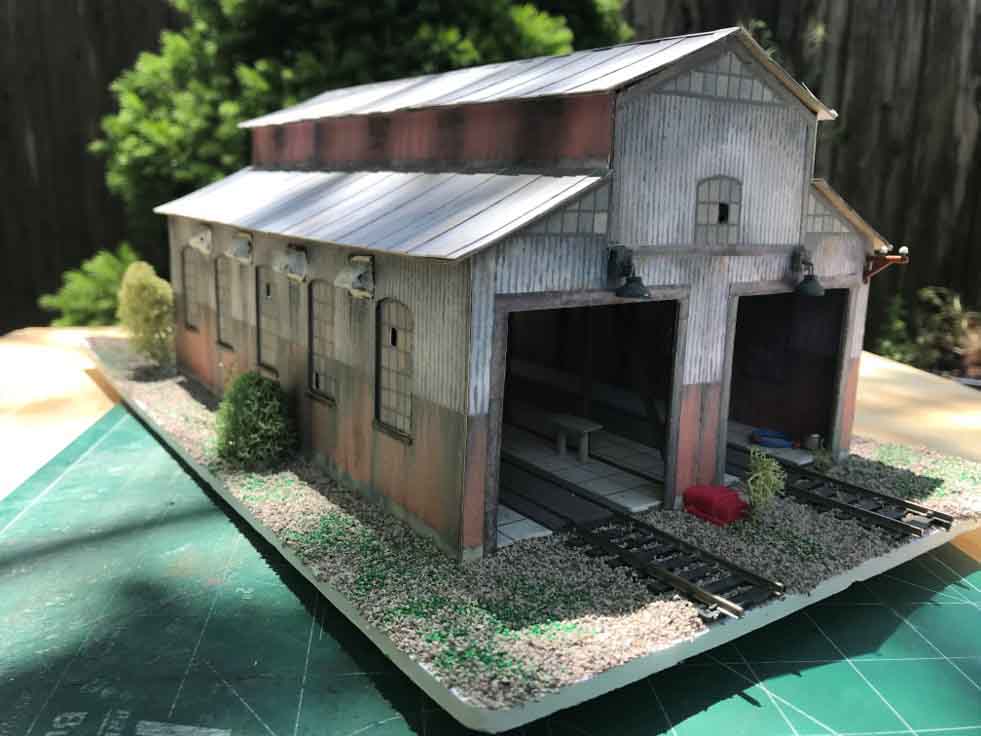
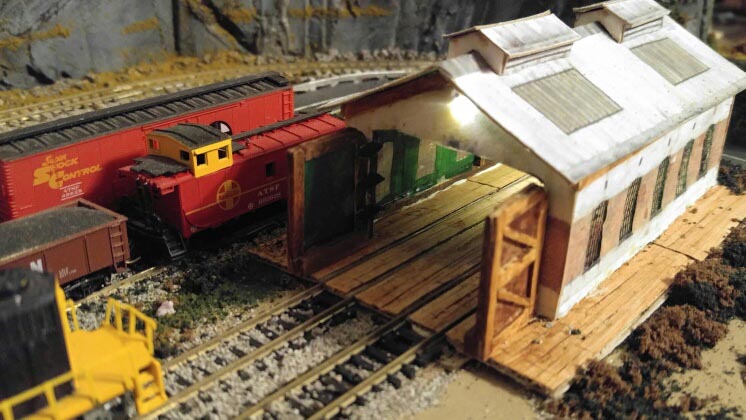
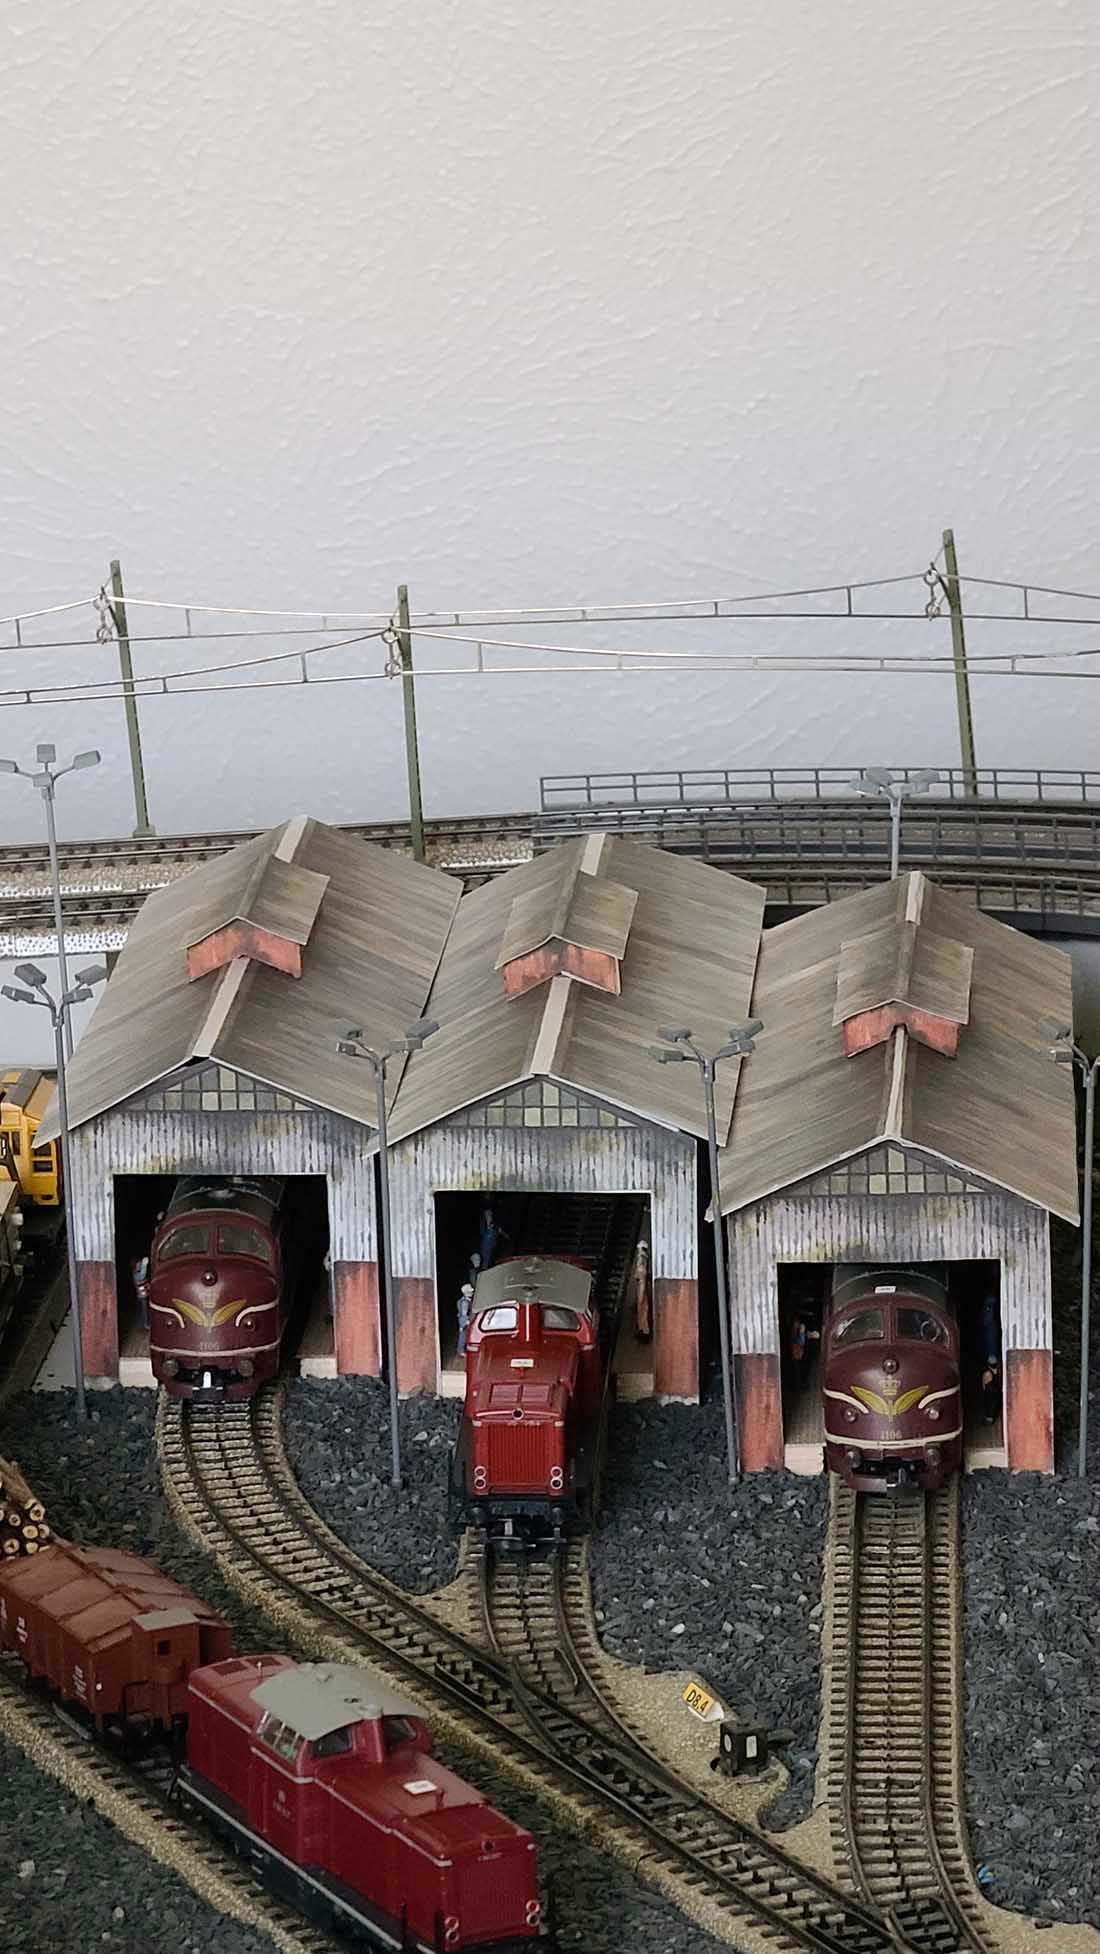
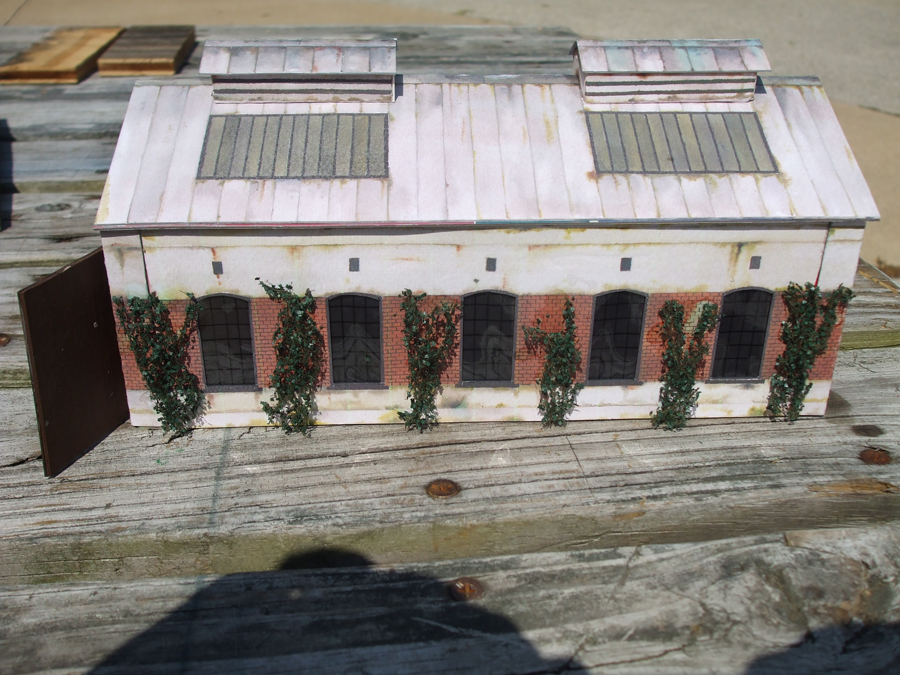
I have enjoyed your site for a long time, since I have retired had to find something to fill the spare time, I purchased one of your (Big Bundle Deal) and printed out one of the Engine sheds among many others.
I have created my own version of the Engine shed as shown in the pictures.
With added and above doors are my creation of lamps, LED lights.
Scratch built table and chairs with tools.
Interior detail.
Side walls have ventilation fan vents.
I have dreamed to set up a model railroad layout for a long time and when I started to make it a reality one thing came up after another, like kids, education, weddings and now I have time and room to finish the dream, but not much of a budget.
Best to all talented people like Hall of Fame Dave, talented hobbyists and their many beautiful layouts.
Ryszard”
(You can download all of the engine sheds here, with this bundle deal.)
Now on to the very same Hall of Fame Dave, who has also sent this vid in:
“Hi Al,
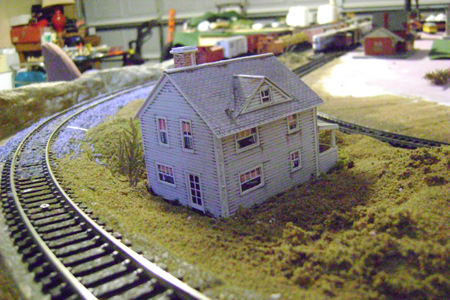
just uploaded video showing building that Railway cottage from your site, turned out not bad, and it was easier than what I thought, just a case of getting a decent piece of card to put the print on, then cutting to size.
Dave”
So there you go, if you don’t know where to start, pick a scene, build it, and see if you enjoy yourself. I suspect you’ll find it a lot of fun. Pottering over scenery for model trains is relaxing too, just go at your own pace and enjoy it.
What’s more, there’s never been a better time to make that start. The silly sale gets you the Beginner’s Guide and 36 printable buildings for just $9.
I’ve never given away so much for so little – just $9.
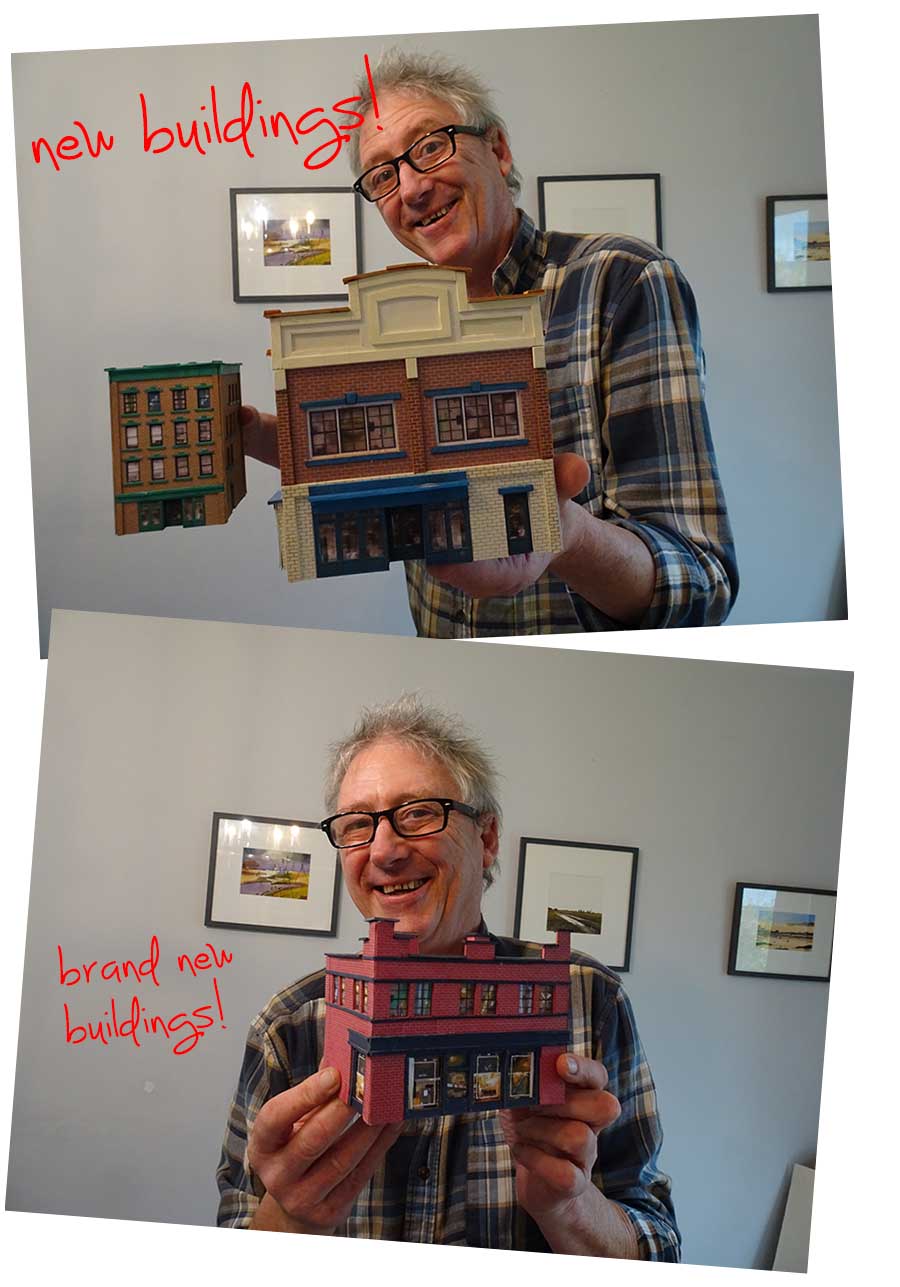
Even if you already have the Beginner’s Guide, there are still three brand new buildings.
What’s more, you also get the warm and fuzzy feeling of directly supporting the blog, which at the moment, is struggling somewhat.
Course, I’m biased, but the three new buildings on there own are worth $9 each – that’s what they sell for in the store.
So please don’t miss this offer – you are saving £342.
What’s more, It will never, ever, ever be this price again.
Grab it right now before it disappears – it’s just $9 for the lot.
Are you really going to miss out on this crazy offer?
Here are some of the buildings on your layouts:
“Al, like you I have been retired for some time now.
I have gone back to my American Flyer, s Guage boyhood train.
I have had “n guage, HO, G scale”, and this American Flyer has been the most fun of all. I guess it takes me back to my parents basement where my 4 x 8 foot layout was back in the early 50’s.
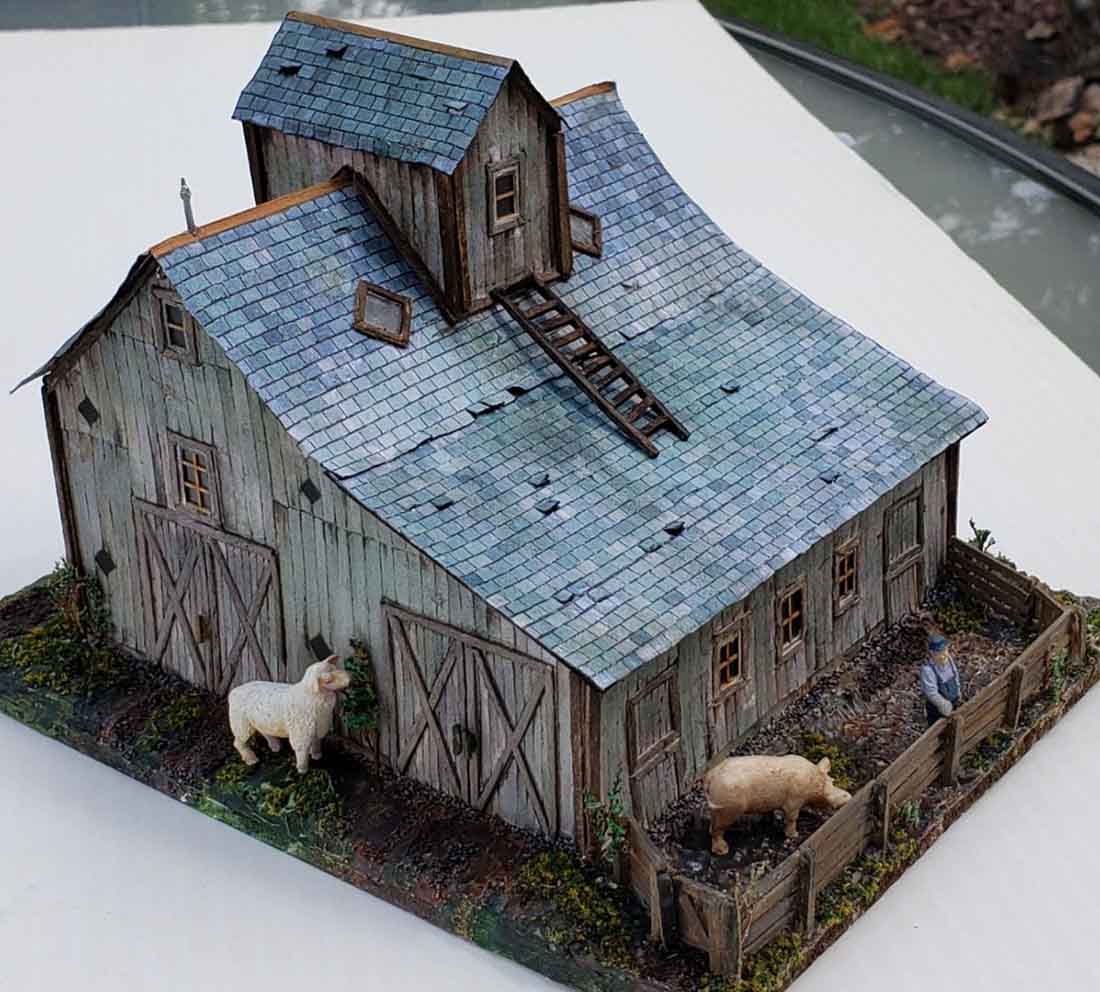
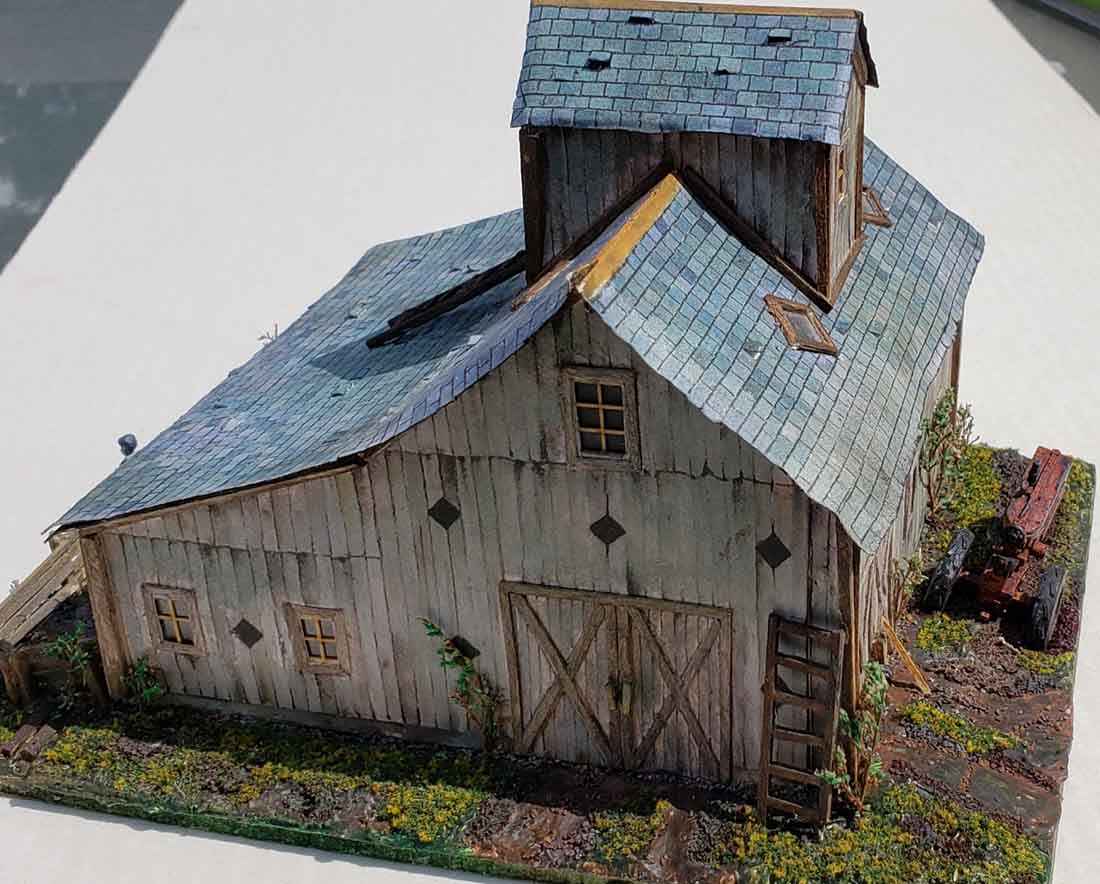
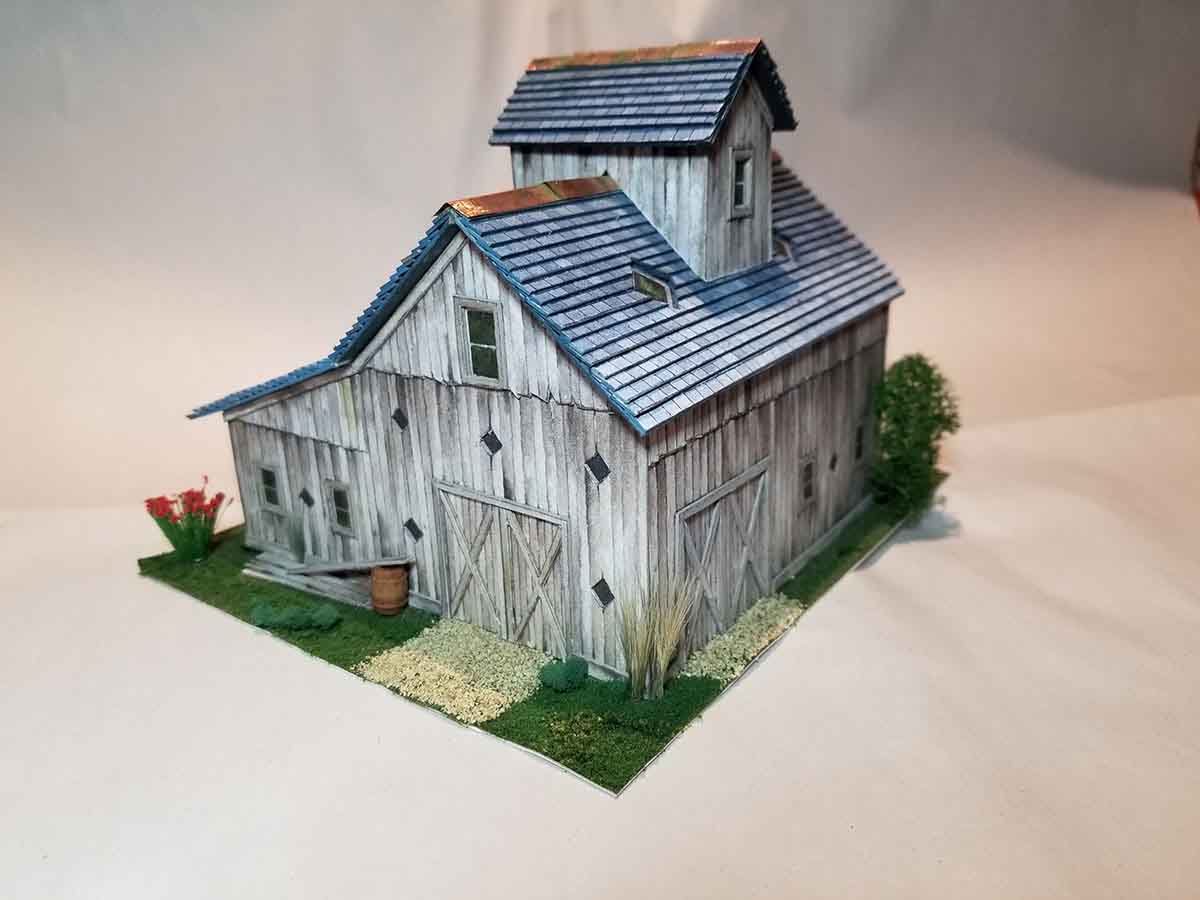
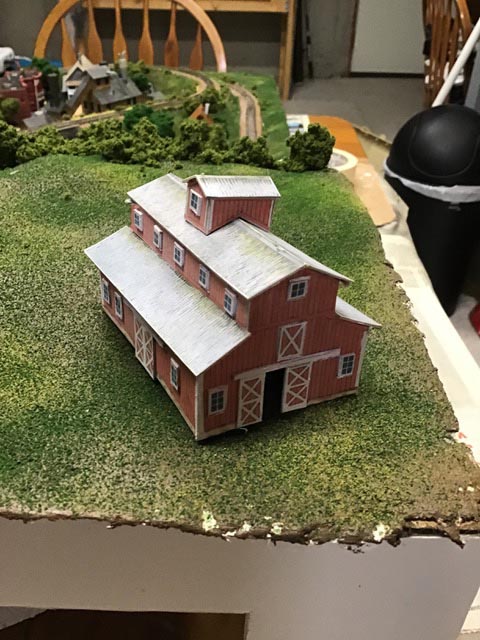
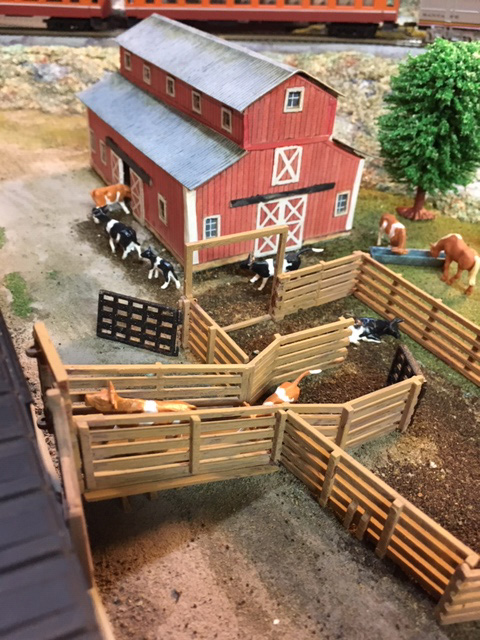
I resized your wonderful old barn and had so much fun building it. Here are some pics. Hope everyone enjoys it as much as I have.
Jerry from Illinois, USA.”
“Al,
Great project and a lot of fun. The barn is on it’s way to the Railroad Club.
Charles”
“Al
I have enjoyed your site for a long time, since I have retired had to find something to fill the spare time, I purchased one of your bundles and printed out one of the Engine sheds among many others.
I have created my own version of the Engine shed as shown in the pictures.
Side walls have ventilation fan vents.
I have dreamed to set up a model railroad layout for a long time and when I started to make it a reality one thing came up after another, like kids, education, weddings and now I have time and room to finish the dream, but not much of a budget.
Best to all talented people like Hall of Fame Dave, talented hobbyists and their many beautiful layouts.
Ryszard”
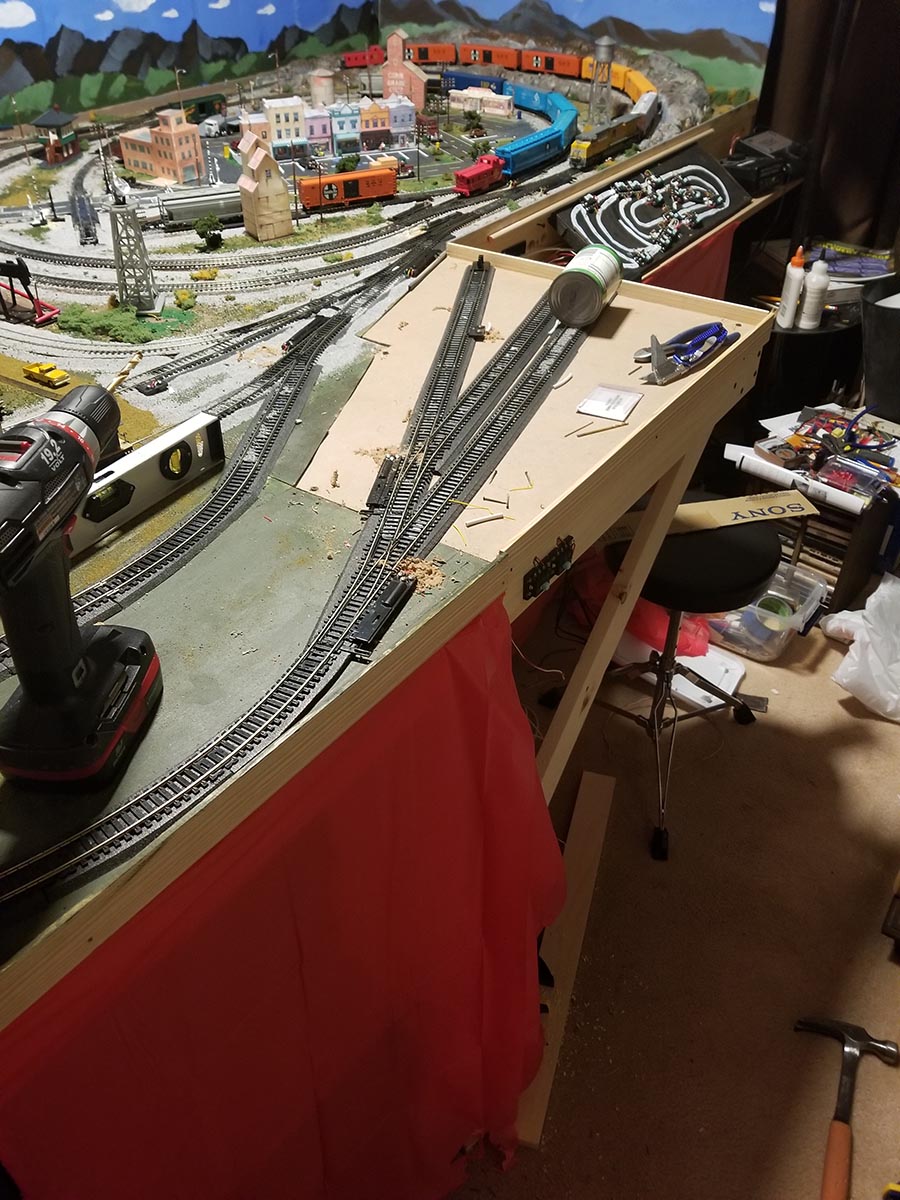
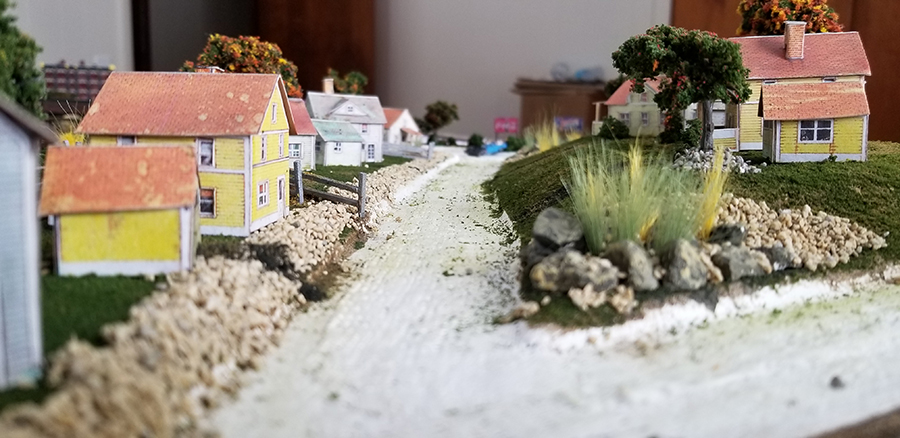
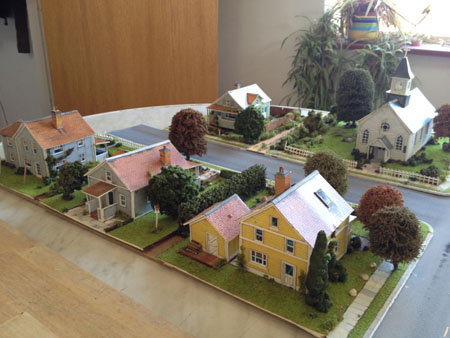
And of course, there’s lots of the printable buildings on your layouts.
Here some pictures of them:
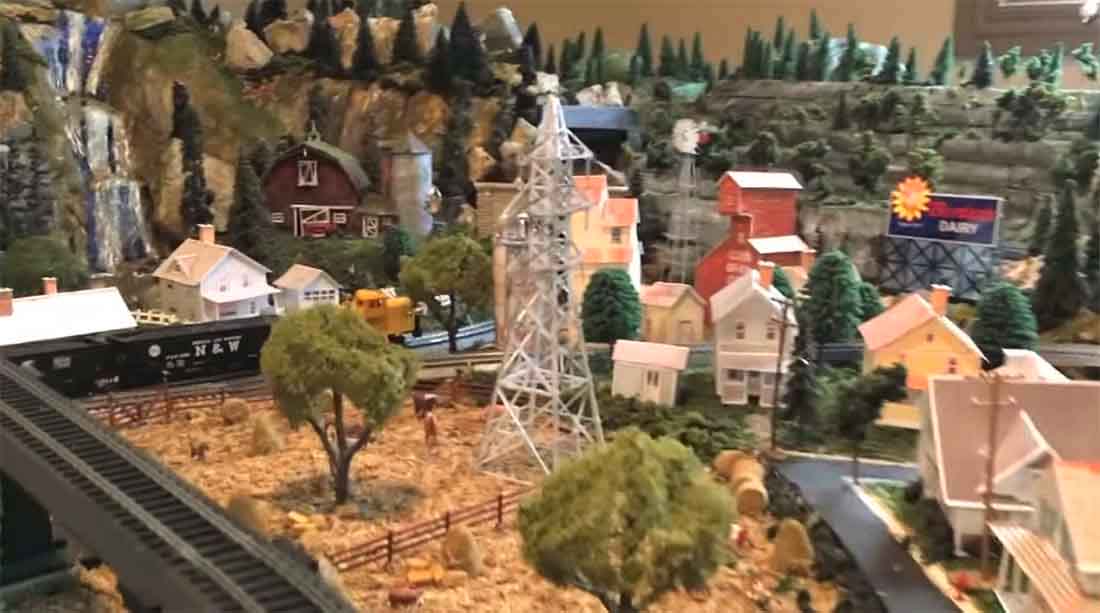
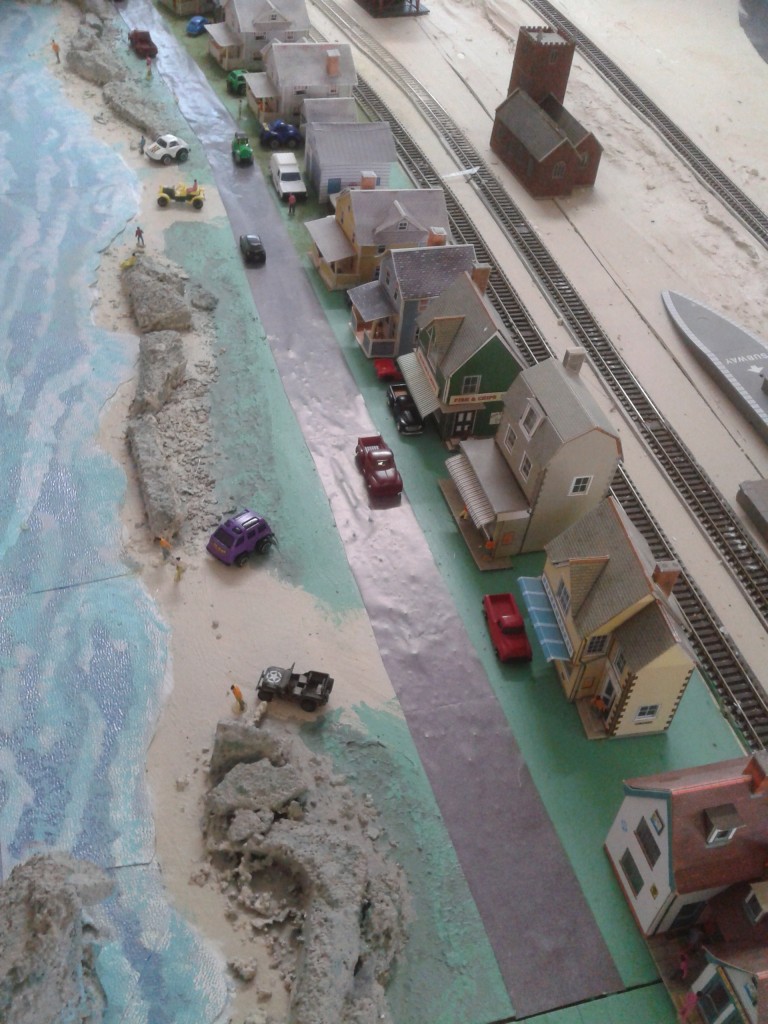
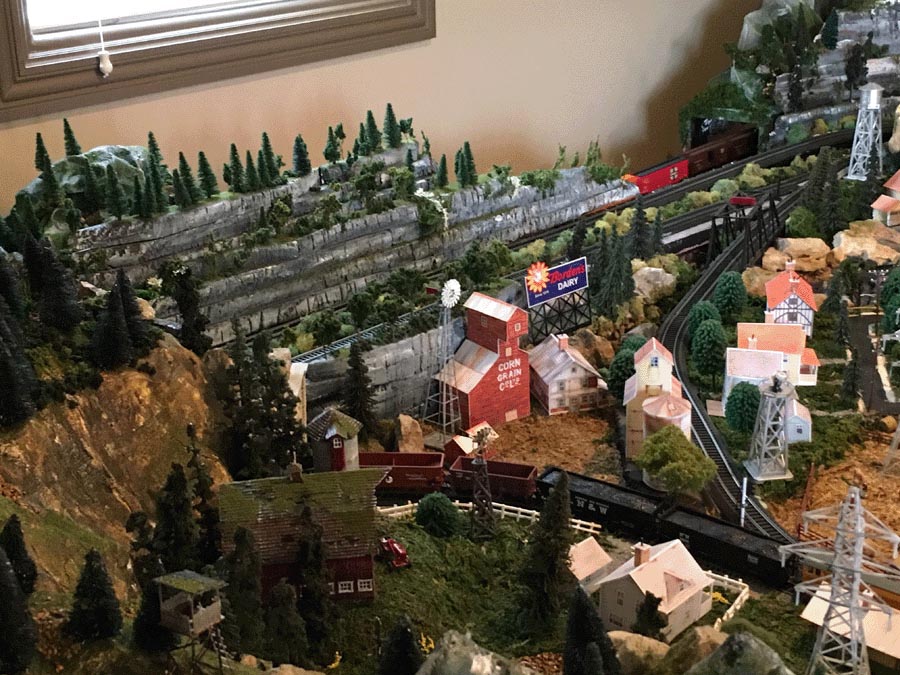
Mike has used a lot of the houses and grain elevators (not featured in the bundle – just using a print out example).
Rick’s has also made quite a bit of the printable buildings for his layout:
Rob has also created quite a few of the houses:
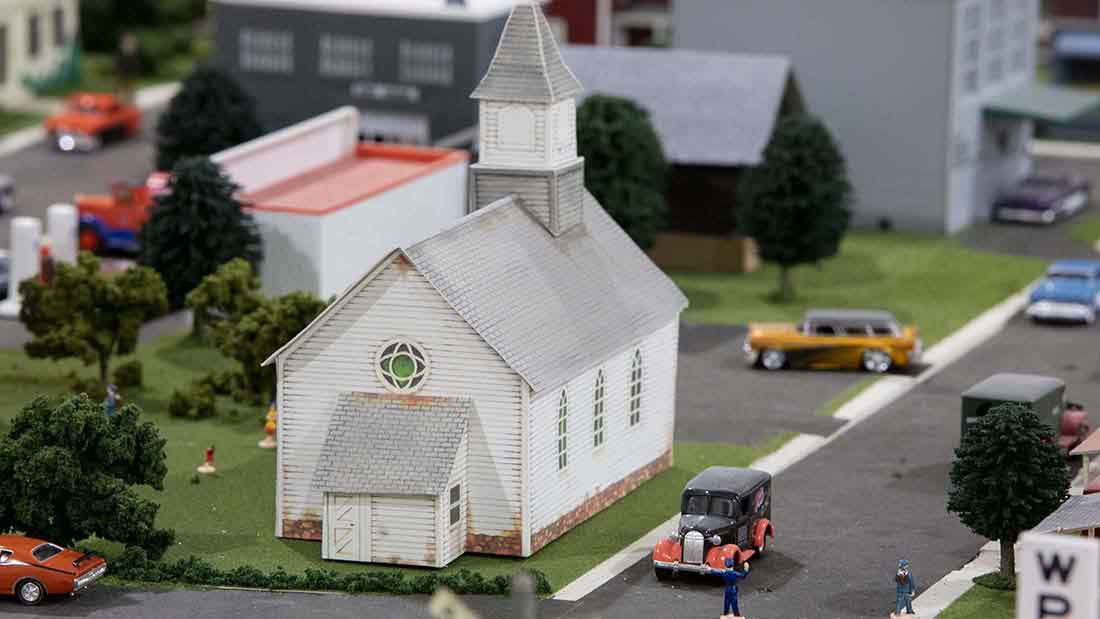
Cecil did a fab job on the Church:
Again, the church doesn’t feature in this bundle but you get the idea.
Lita has started the scenery with the houses.
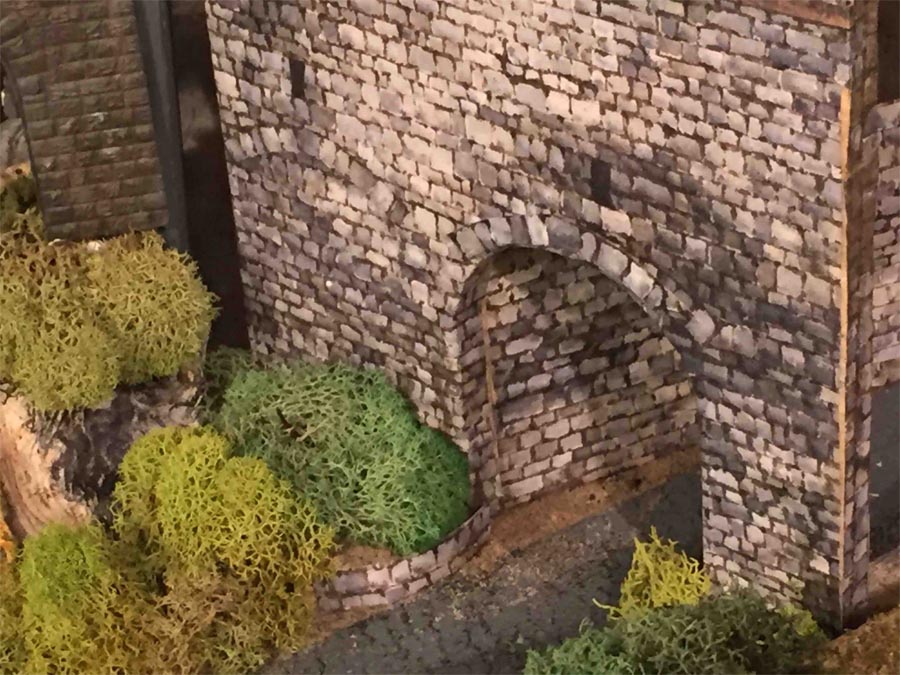
Here Glyn has used the viaduct print for a bridge base.
Gene adds a light to his engine shed and houses.
Rob adds a tunnel to his layout.
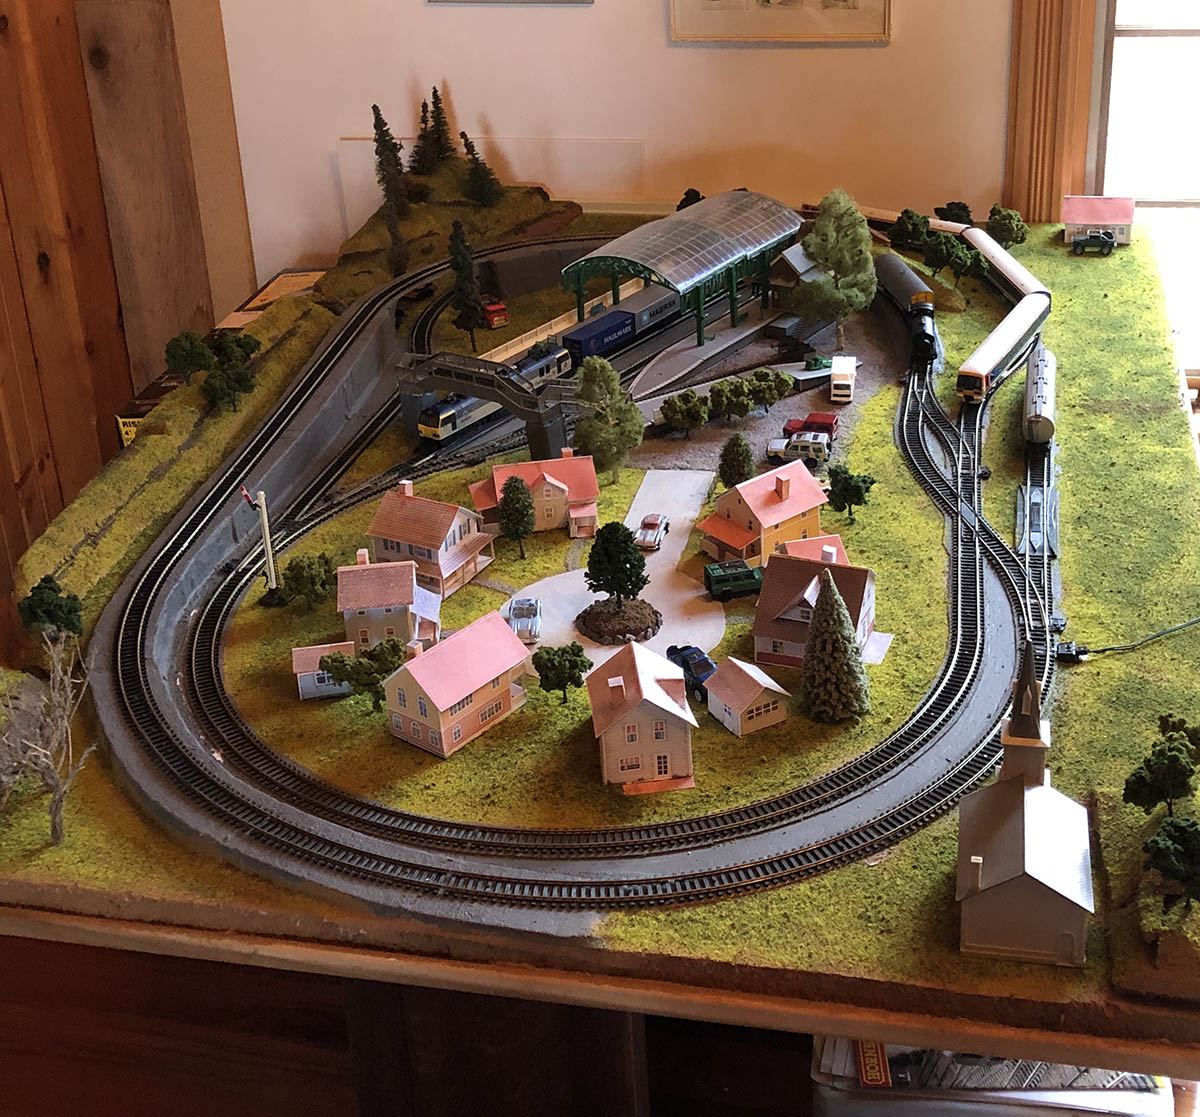
Nick’s simple layout looks fantastic.
Dana’s engine house (It’s on the bottom one of this one).
Peter’s Viaduct (it’s on the bottom of this post).
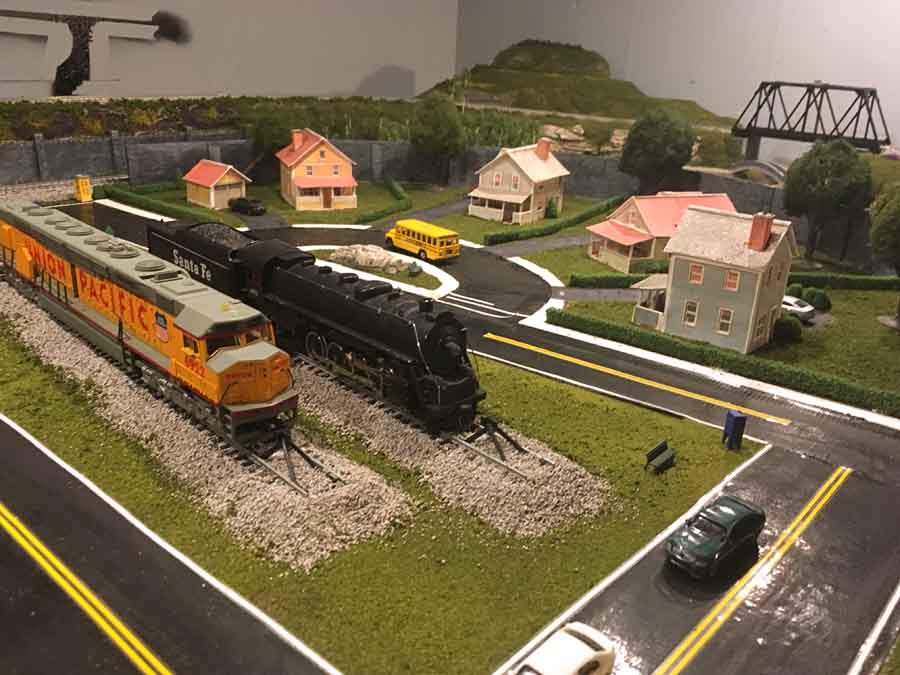
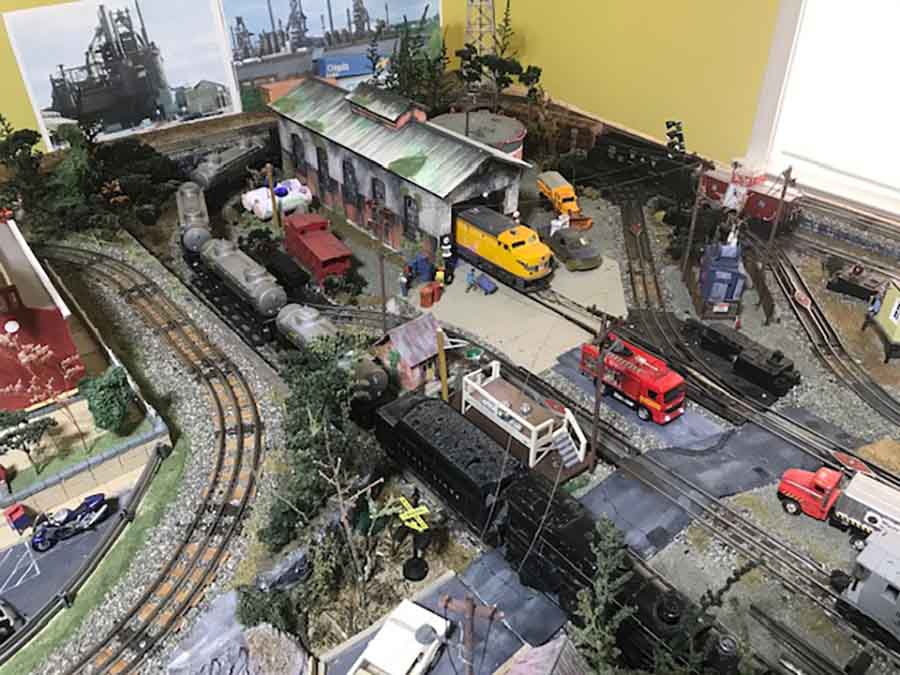
Richard’s layout has lots of the printable buildings!
Mike’s layout also has lots of the printable building on.
Stephen’s layout is another one with the Engine House.
Michael has done a great job on the houses.
Lots of the printable buildings on Bob’s HO scale
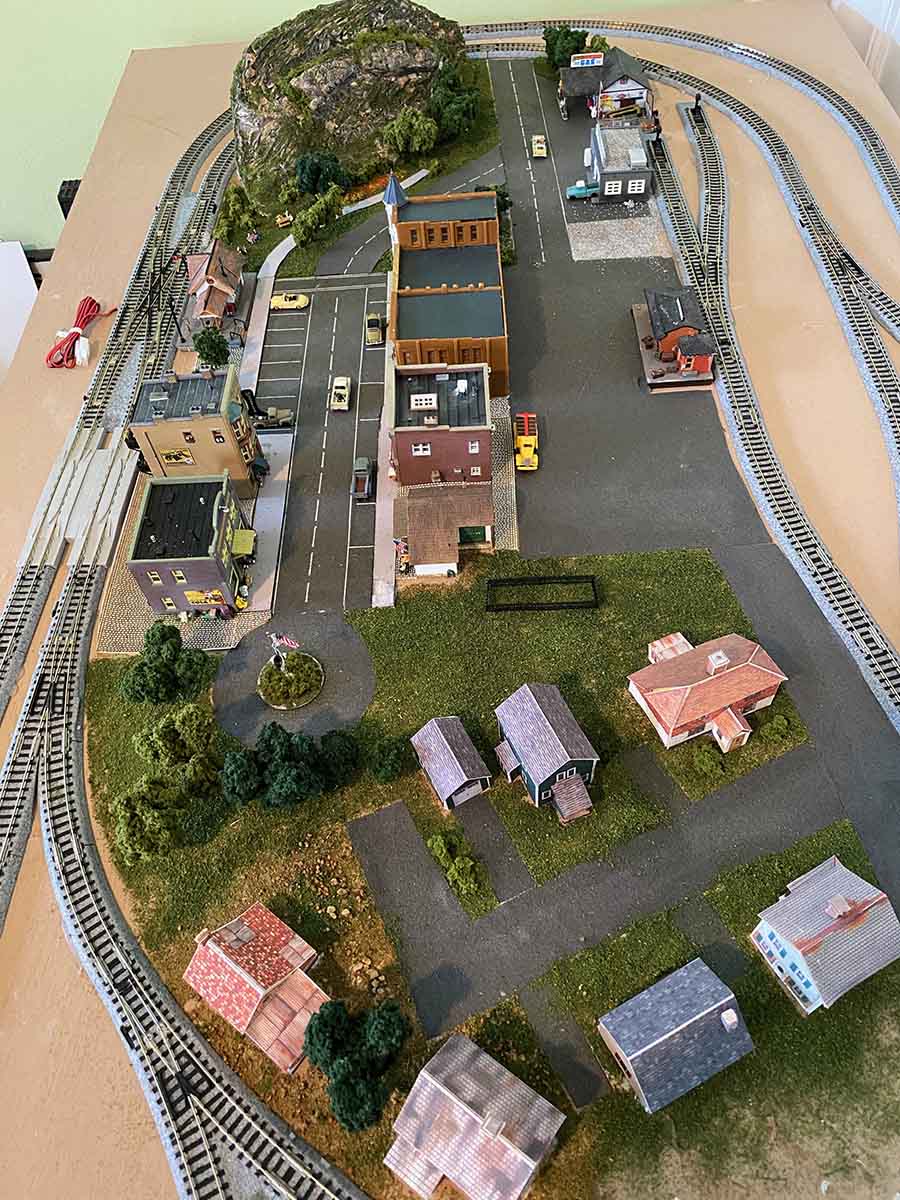
John’s printable building street.
There are many, many more on the blog. It really does make my day when I open my inbox and see some on a layout.
Also, they are a great way to make that all important start – and that’s what it’s all about.
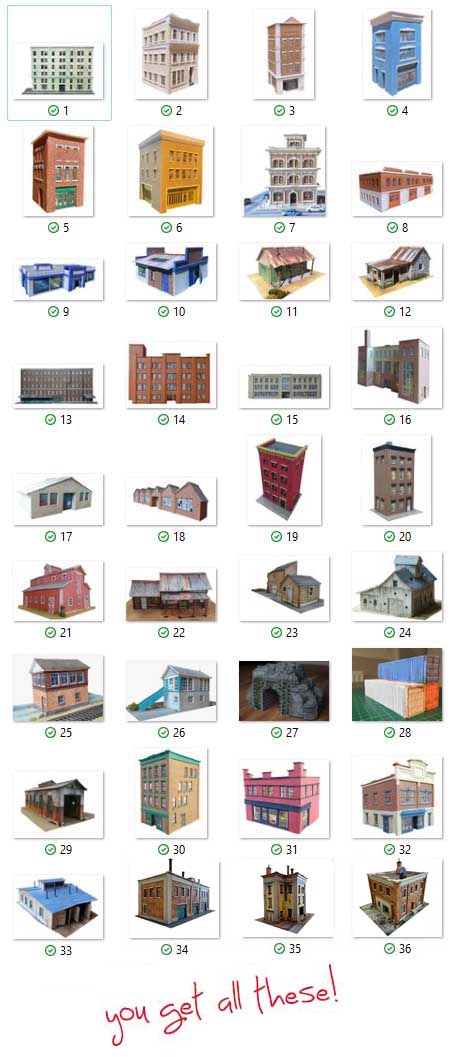
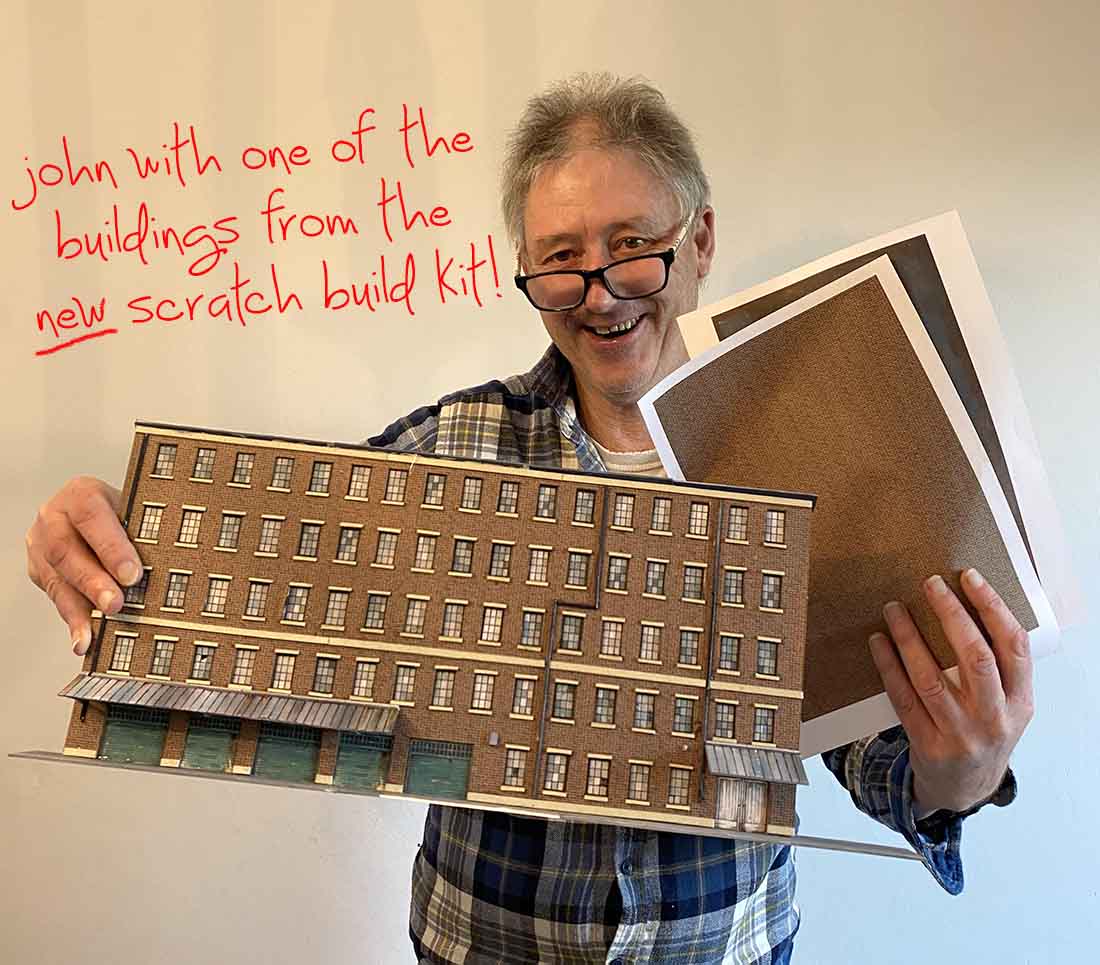
Right now, until Monday, you get 36 free printable buildings with the Beginner’s Guide for just $9!.
Here’s what you get:
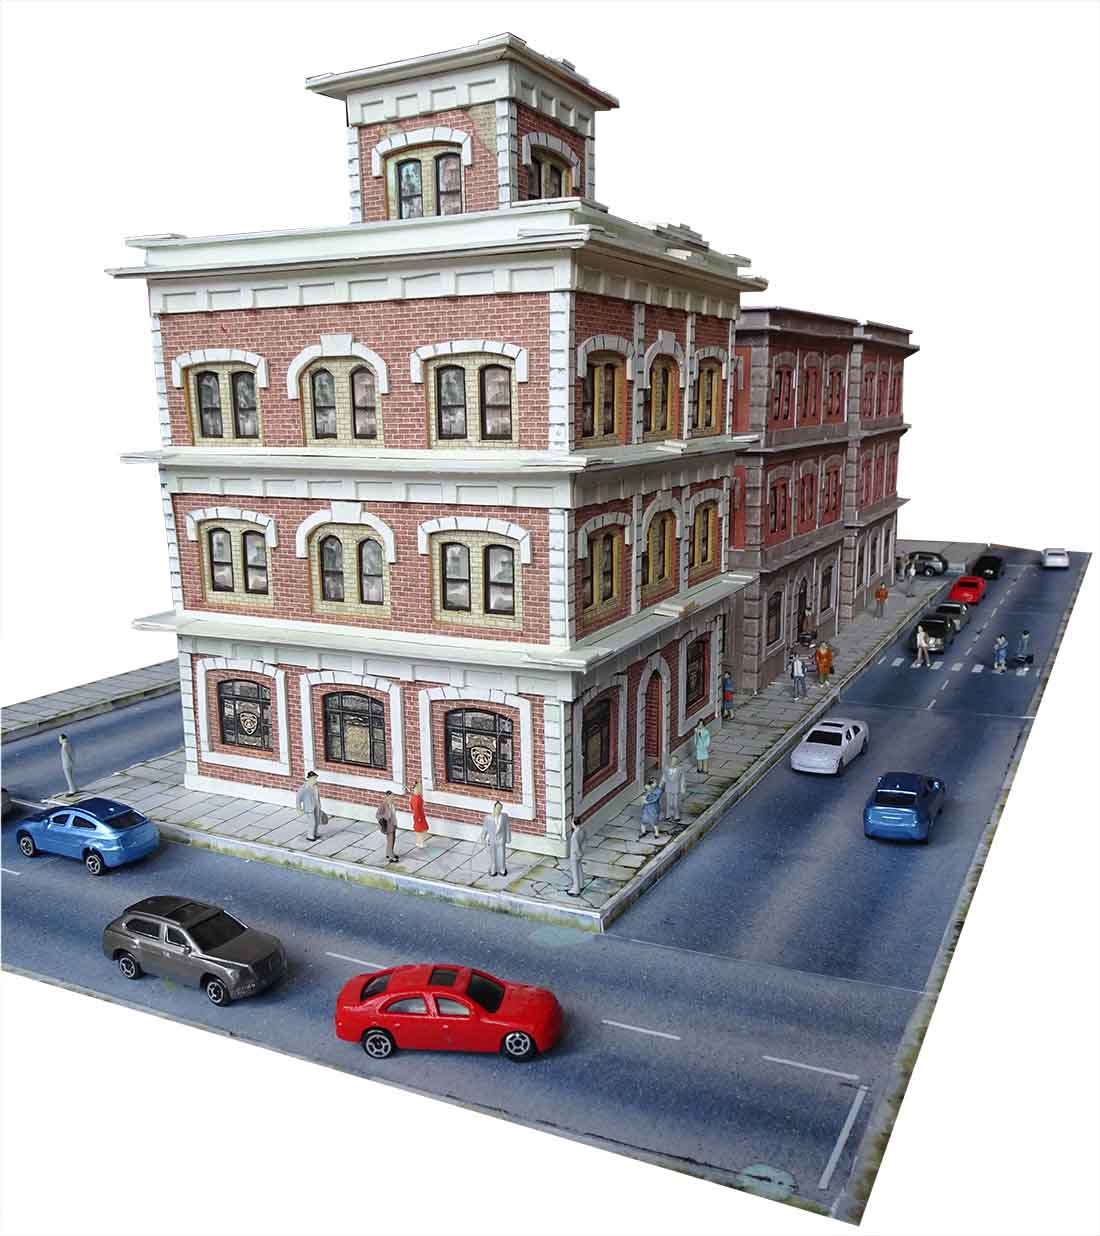
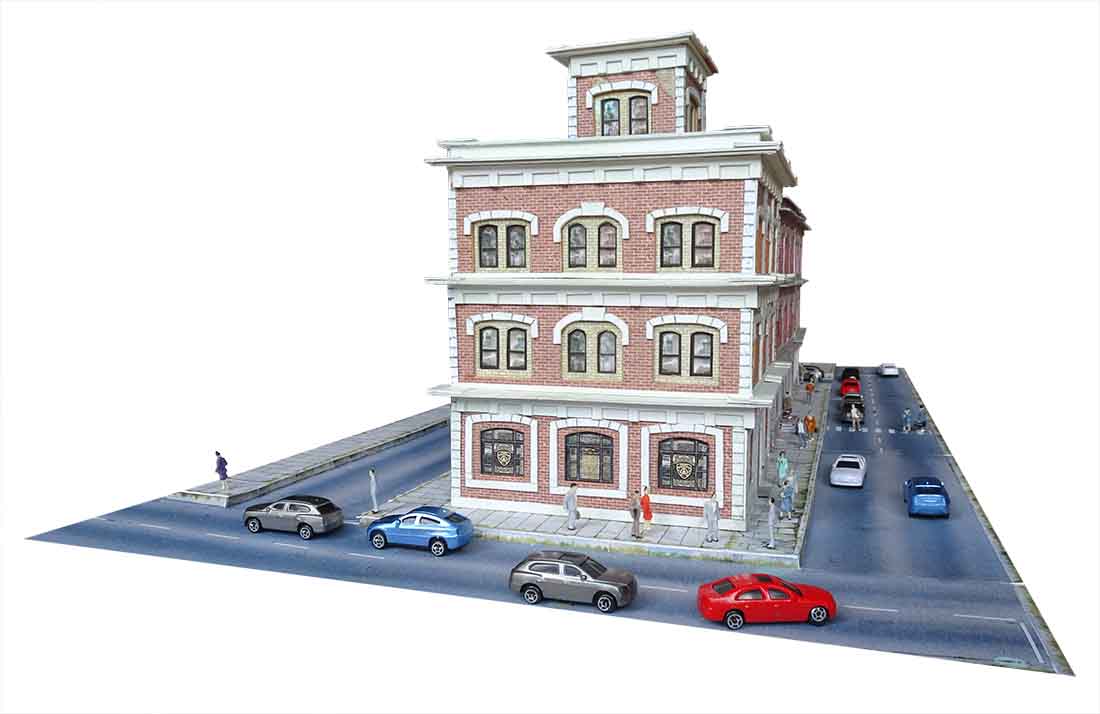
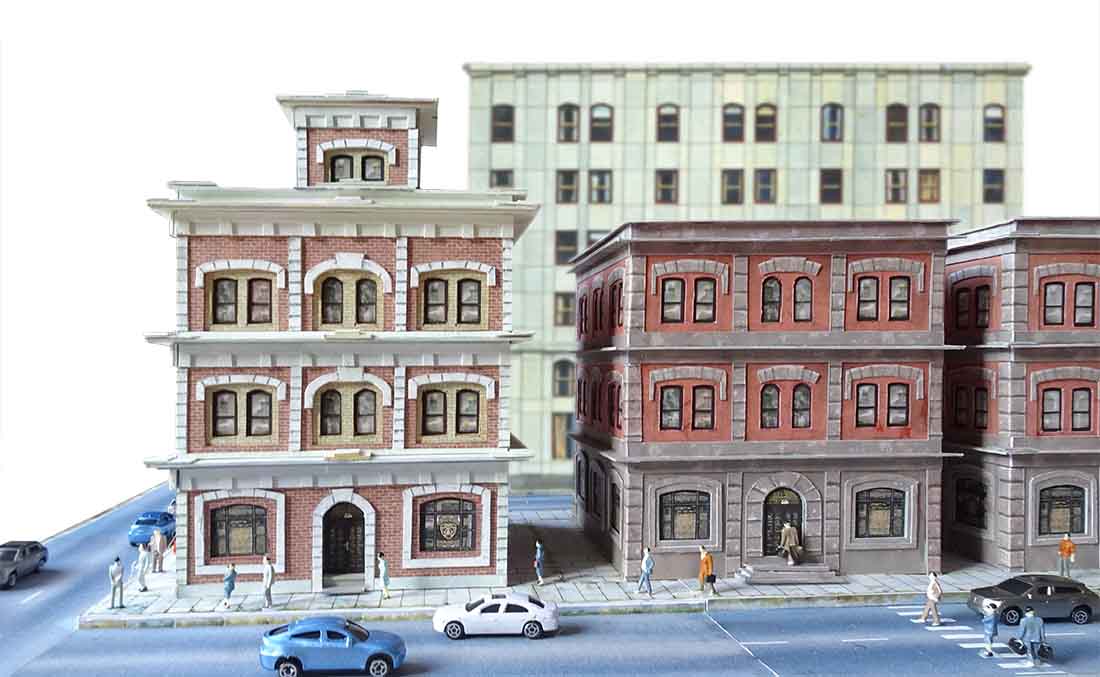
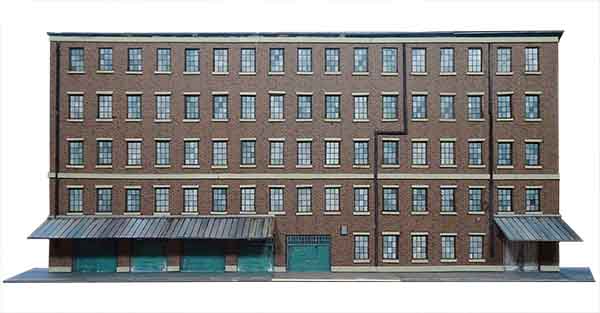
And these are the buildings made from them:
All of these buildings are made from the same print.
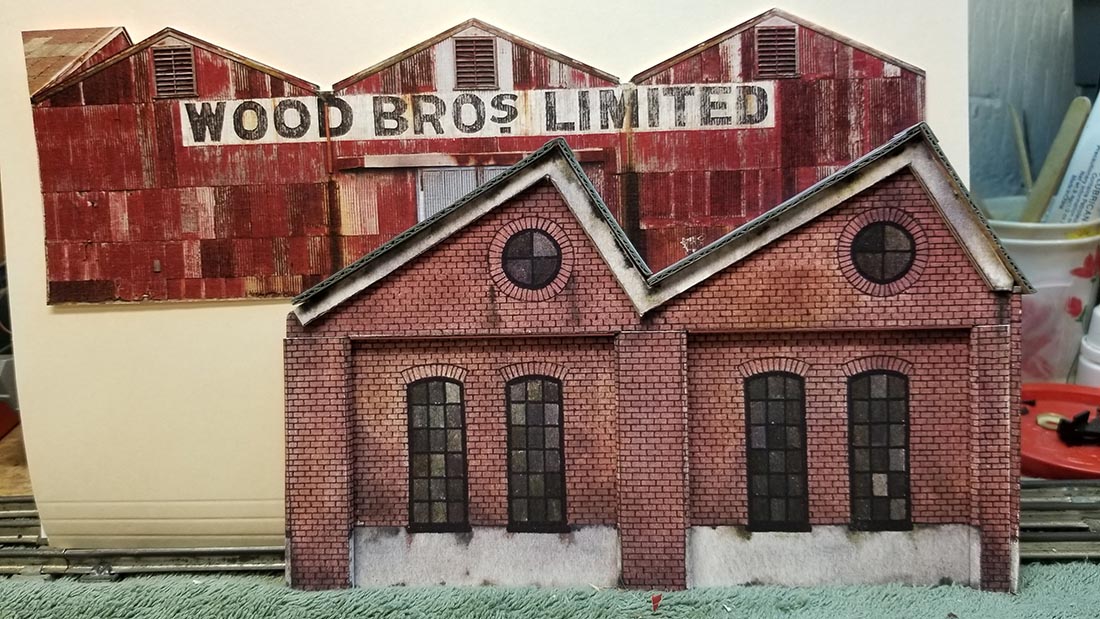
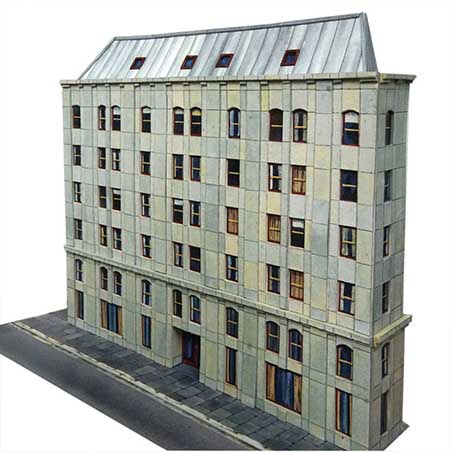
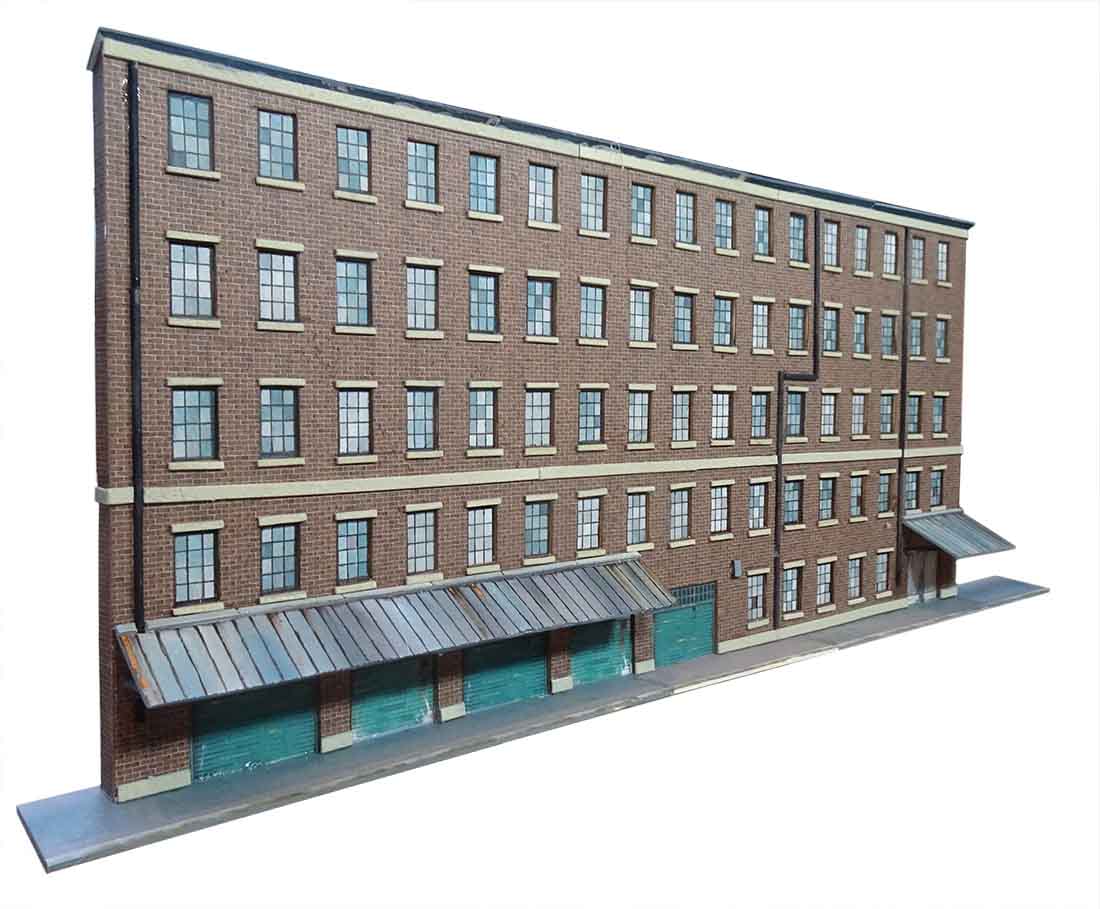
And in the one below, a different building has been dropped in to make a back drop:
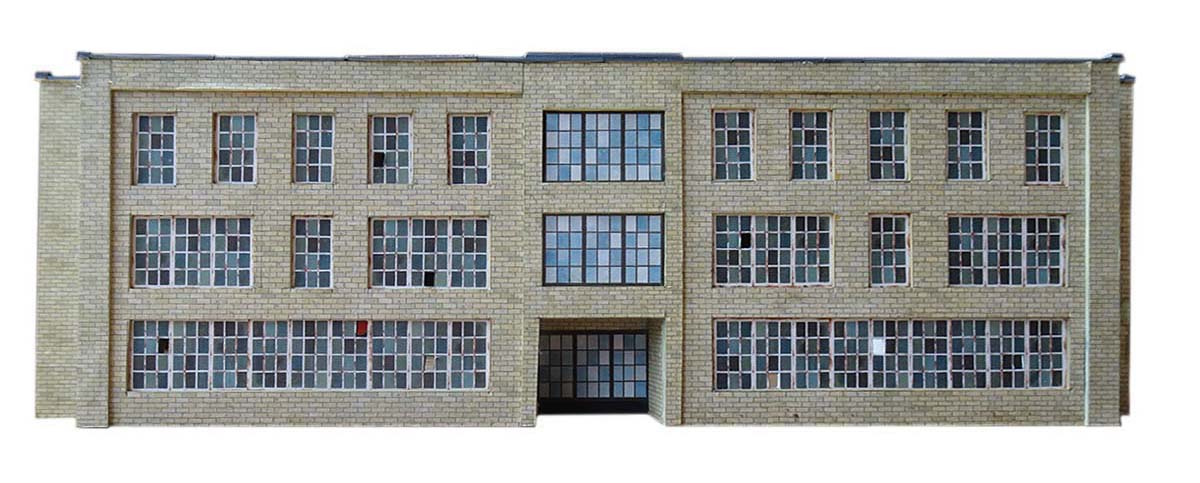
This building has been added to the free bundle too:
So you get 36 printable buildings and the Beginner’s Guide for just $9 – but only until Monday.
And here are some better pics of what you get – all for $9.
The prints make up a ‘scratch build kit’, and you are only limited by your imagination.
Here’s an example of the backdrops you can build.
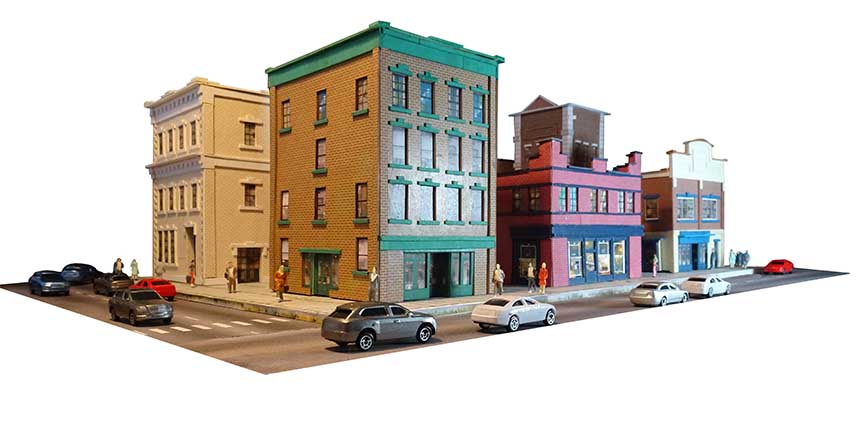
But don’t forget – it’s not just the printable buildings you get – it’s the Beginner’s Guide too:
Of course, I’m biased so here’s what others say about it:
“Al,
I really like the Beginner’s Guide. As a true beginner it helped me quite a bit. The Guide answered questions I didn’t know enough to ask.
I haven’t gotten to the building prints yet, still working on my terrain.
Bruce”
“Hi Alistair,
Your print out building kits have saved me hundreds of dollars on buildings and they provide the unique option of being able to customize the builds most any way I desire.
Until I came across your kits, I was very limited on what I could add to my planned N-scale layout. Commercial building kits are way too expensive for a retired person’s budget.
I now have the ability to not only build nice scenes, they don’t require weathering. Something I’m not terribly adept at accomplishing. Also, as a 70 year old kid, working in N-scale can be challenging for clumsy arthritic fingers. Your kits eliminate most of those issues. All I need is a sharp blade, scissors, glue and my imagination.
Also, your beginner’s guide is invaluable. I’m a retired network systems architect, so tech is not scary to me yet surfing the web for information can be tedious. I was a pre-teen the last time I played with model trains, and a lot has changed in the hobby since the early 60’s. You’ve solved all of that by providing one source for virtually all my basic needs, plus your daily email blog covers it all. What an incredible resource you are to this hobby.
Thanks for doing all of what you do.
Best Regards,
Ken”
“Hi Al
I really enjoyed the beginner’s guide book. I’m new to the train world. I have just retired and trying to make an attempt to start a hobbie with HO scale trains. You and your followers have encouraged me for the last two year’s. I Thankyou and your followers for sharing their train world
Sam”
Of course, I’m very biased, but I think the Beginner’s Guide and all these printable buildings bundled free are a real steal.
I think Ken’s quote above puts it best:
“Your print out building kits have saved me hundreds of dollars on buildings and they provide the unique option of being able to customize the builds most any way I desire.”
You get 25 printable buildings with the Beginner’s Guide (although with a bit of imagination you can make, many, many more).
You’ll see these buildings sell in the store for $9 each or more.
And the Beginner’s Guide sells for $27.
So you are saving a massive $342 on this deal.
You’re also getting the track plans PDF too.
What’s more, have a look at throught the store and you can see it’s a real, genuine, saving.
But please bear in mind, this silly sale is only for a few days, and then it’s all goes back to normal.
I do like to think that when I have a sale it’s genuine, and there is real value.
So if you fancy this bargain before it disappears like a shadow in the night, grab it right now.
Or, I know some of you good people just buy it to support the site. God bless each and every one of you.
Whatever your reasons, the Beginner’s Guide for $9 and the free printable buildings make it easy for you to make that all important start.
And that, my friends, is what it’s all about. Making that start.
If I can help you do that for $9, this sale will have been entirely worth it.
And whatever start you make – have fun.
Best
Al
PS This offer will end abruptly – please don’t sit on the fence if you are mulling it over.
PPS There is also a 60 day money back guarantee, you have nothing to lose!





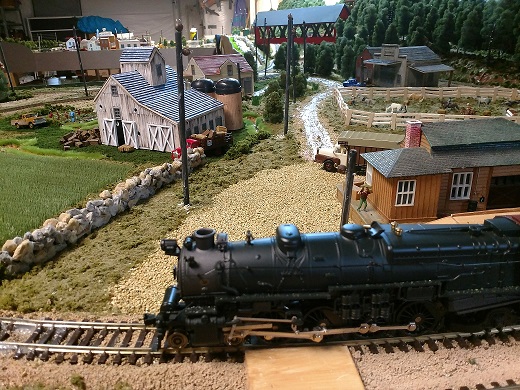
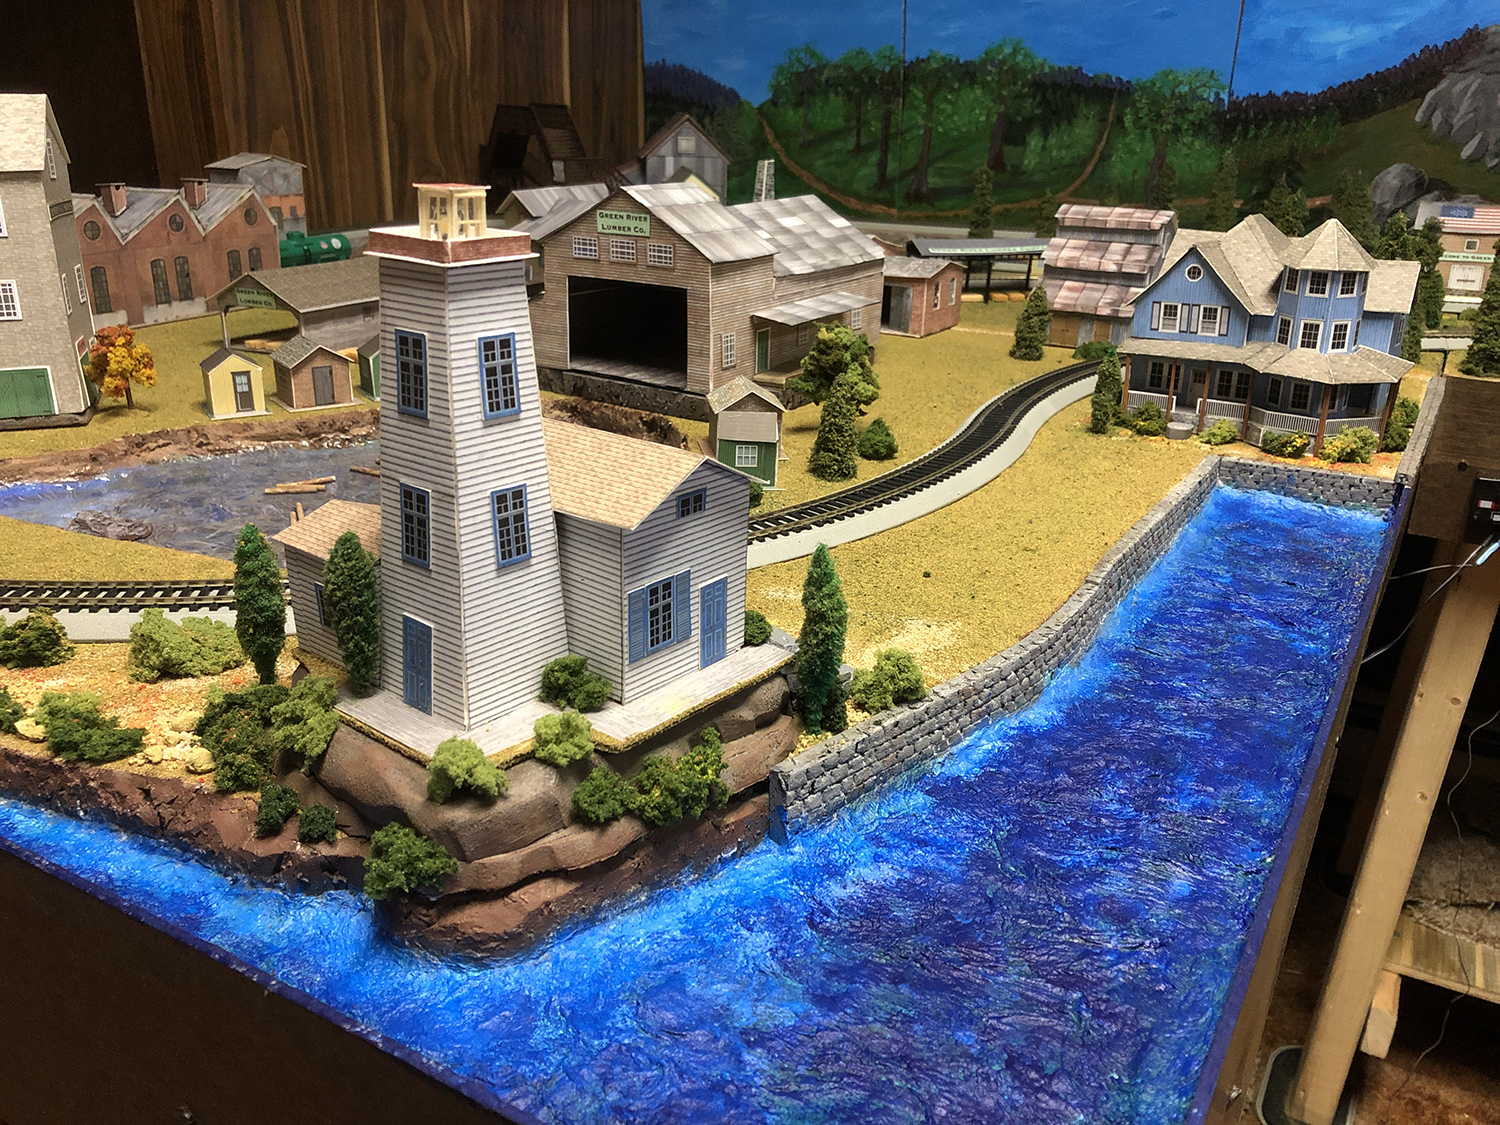
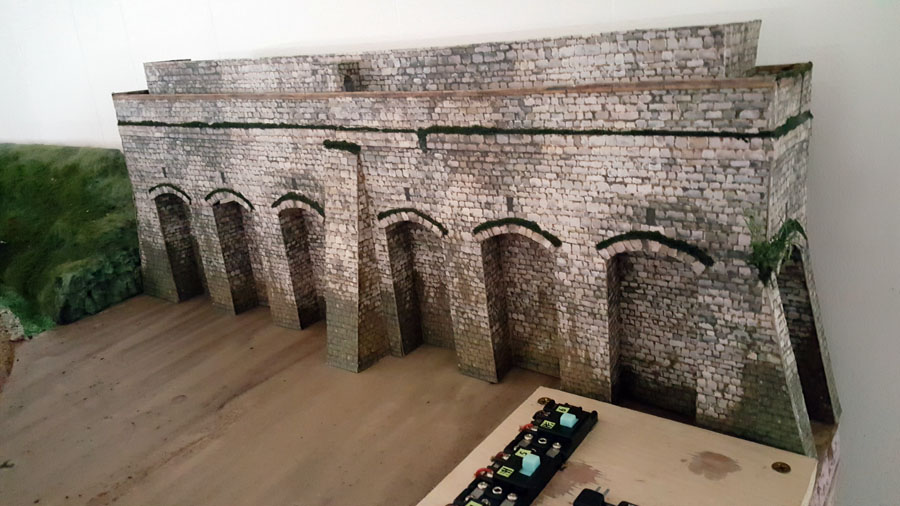


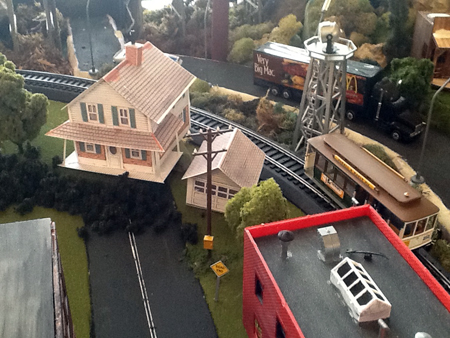

Dave. Thanks again really good subject and expert guide.
Dave,
You brought a tear to my eye with your farm scenery. Yes it looked so real to me I was looking for my (long gone) apple orchard full of trees. Hate to sound so melancholy, your post came at a time when I needed to reflect. I got that 100% from that one scene. Thanks. To many of us it’s not just “running the trains” It’s the microcosm that exists in a given model train set up. thanks again Red
Great tutorials Dave! Always enjoy your work greatly !!
Excellent video production and great ideas. Step by step, add some patience and the end result a winner.
I got some great ideas here!
Great post, great ideas. But what is Mudrock?
I can’t figure out what “Mudrock” is.
Dave
Many thanks for the time & effort to mentor people like me who dont get the scenery quite right. Love your your videos.
Ryszard
Nice job on that train shed. The interior details are what separates the amateurs from the pros.
Which brings up a dilemma for me. I have been trying to get scenery items to put outside of buildings such as crates, junk, barrels, tools, etc in either O or S scale and find that even if I find it it is crazy expensive and most times I just cant find it. There are those who have & do 3D printing but I’m not going there. Just a rant-thanks for listening. I feel much better.
Ryszard, A lovely engine shed. Your details really make it enjoyable. Dave, Great how to. Excellent detail on how to add scenery to any model railroad/railway. I like how you broke it down into manageable steps, making it easy to follow for those new to the hobby or ready to branch out and dabble with scenery for the first time. Good work, sir.
Rob McCrain – Farland Howe
Dave……. your videos and instructions are always great. Wow do I love your layout.
Ryszard…….great job on the engine shed. Really good detail and wethering.
Thanks Dave your always give us food for thought. Your videos are great and very informative, I’ve learn so much from them.
THANKS AL FOR THRE SITE.
Thanks Dave. You do amazing things. I especially like the train ride in the first video.
So much good stuff.
Dave’s scenic tutorials are great!
Very nice engine shed as well.
I love the inspirations.
Thank you all for your comments , as for the query from Paul and Thomas ..the word is Modrock as In (model rock) a lot know it as plaster bandage made up of plater Paris on a bandage …pfobably my accent again …but in the Uk it is known as Modrock…thanks again ..Dave
Thank you Dave for providing this tutorial, which I’m sure has simplified the process for many viewers.
Well done! And as always, thank you Al for your dedication to this “family” of worldwide enthusiasts!
John, Phila. PA
Ryszard, what a great looking engine shed, the detail is wonderful!
Dave, That video was very helpful and you’ve given me several ideas on how to improve my scenes by using the static grass. Thank you for posting! And, I love to watch your trains run, you have such an awesome layout!
Great video Dave.
Pleasing to have experienced hobbyists share their techniques like this.
Also good to see a steady camera so we can concentrate on the action.
Dave, great how-to video guide. Thanks
outstanding
really nice diorama.
Brilliant blessings!!! One and all!