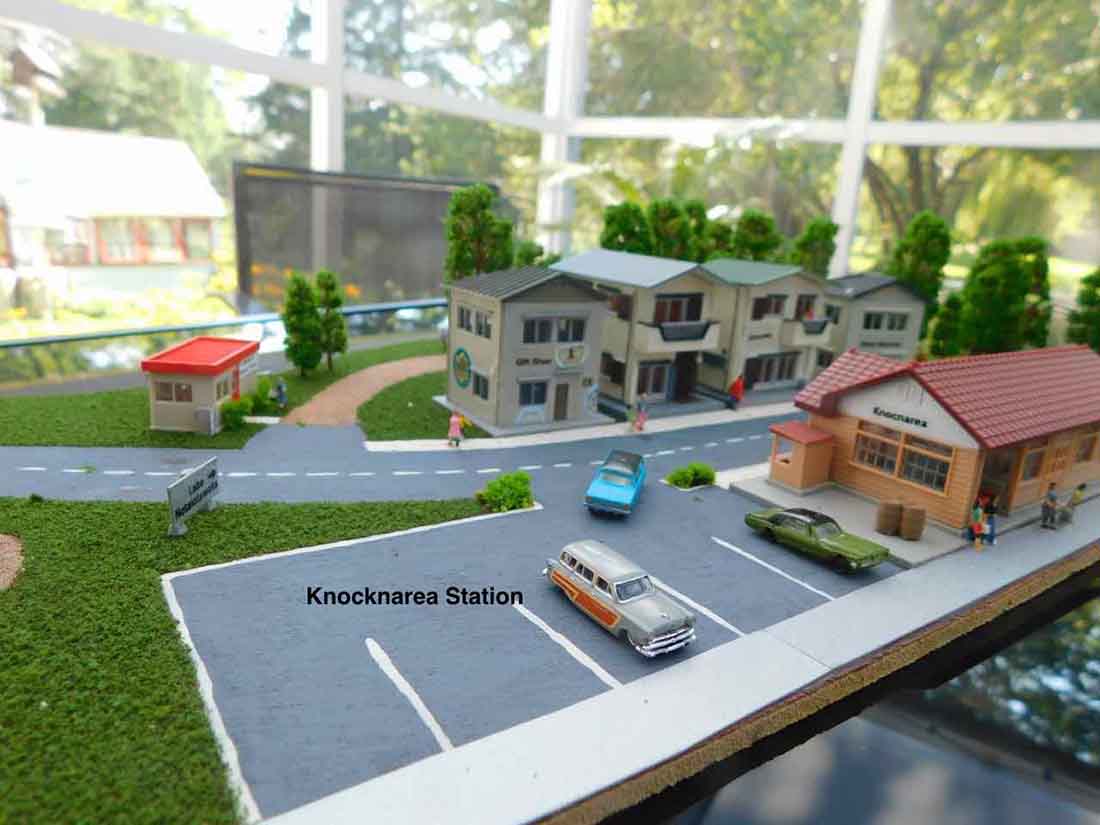
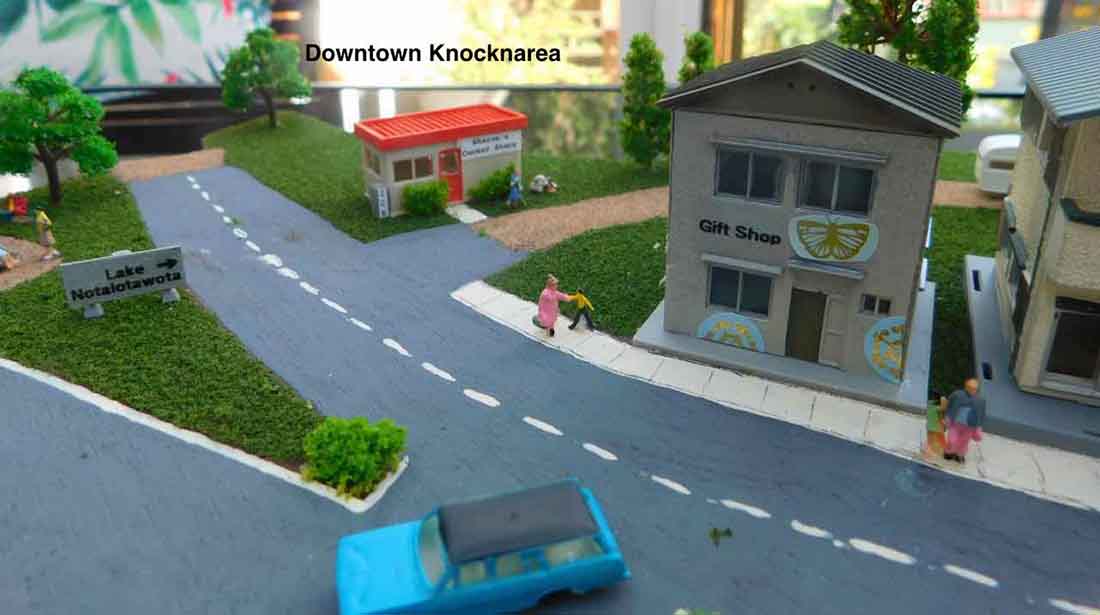
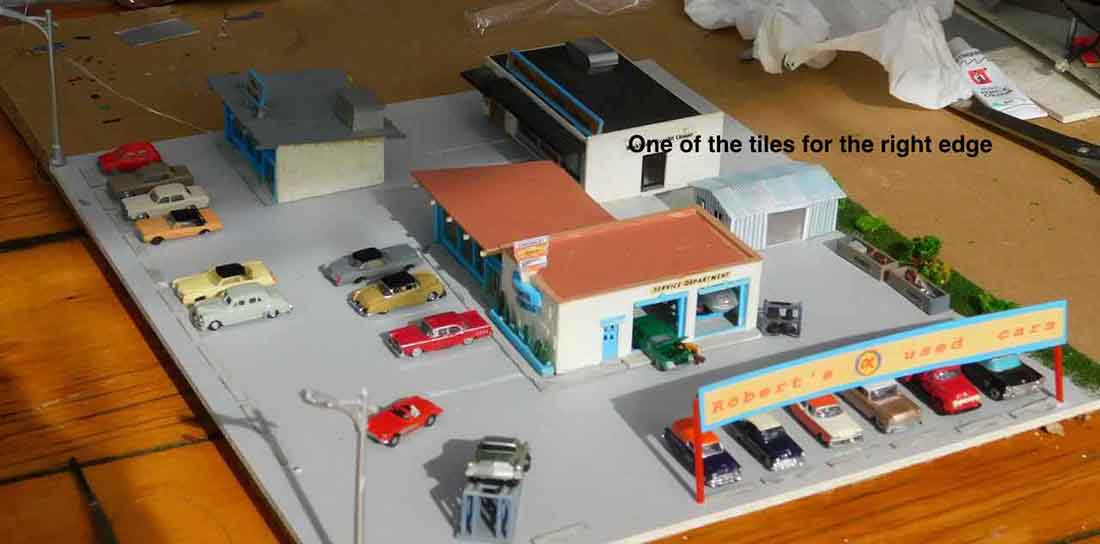
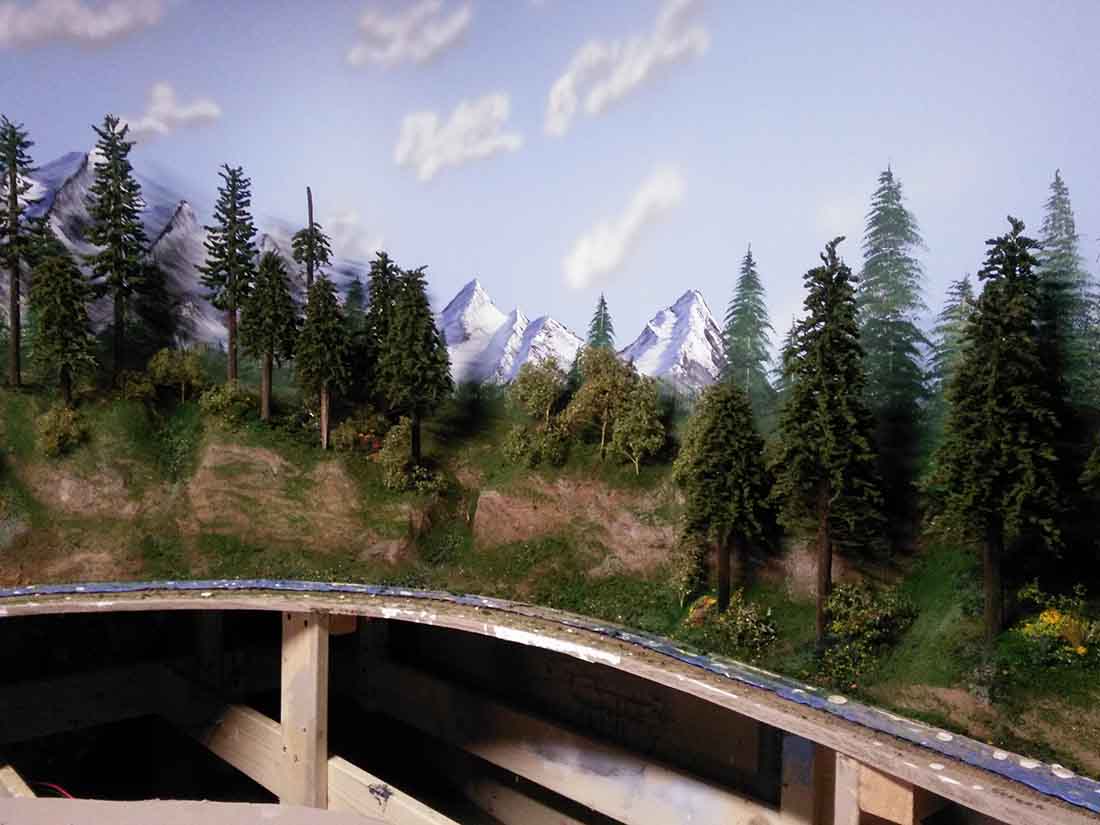
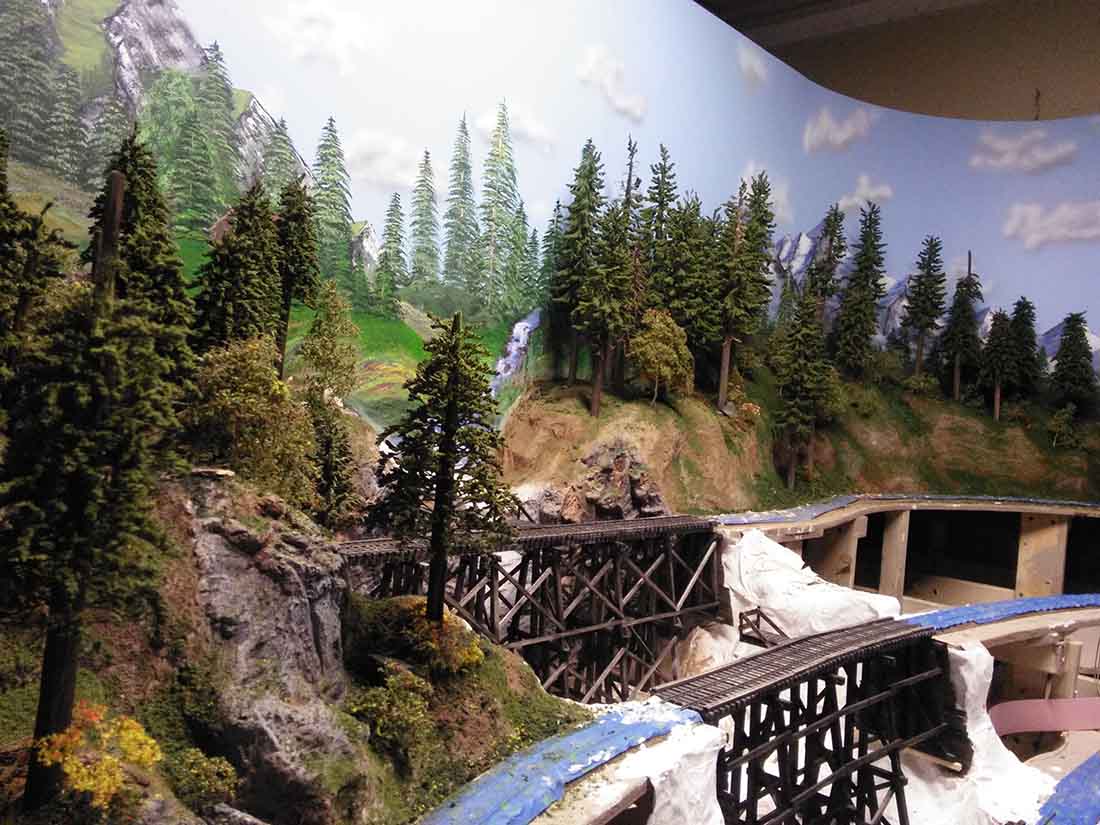
There have been quite a few model train backdrops on the blog over the years – but take a look at Jeffs:
“Hi Al,
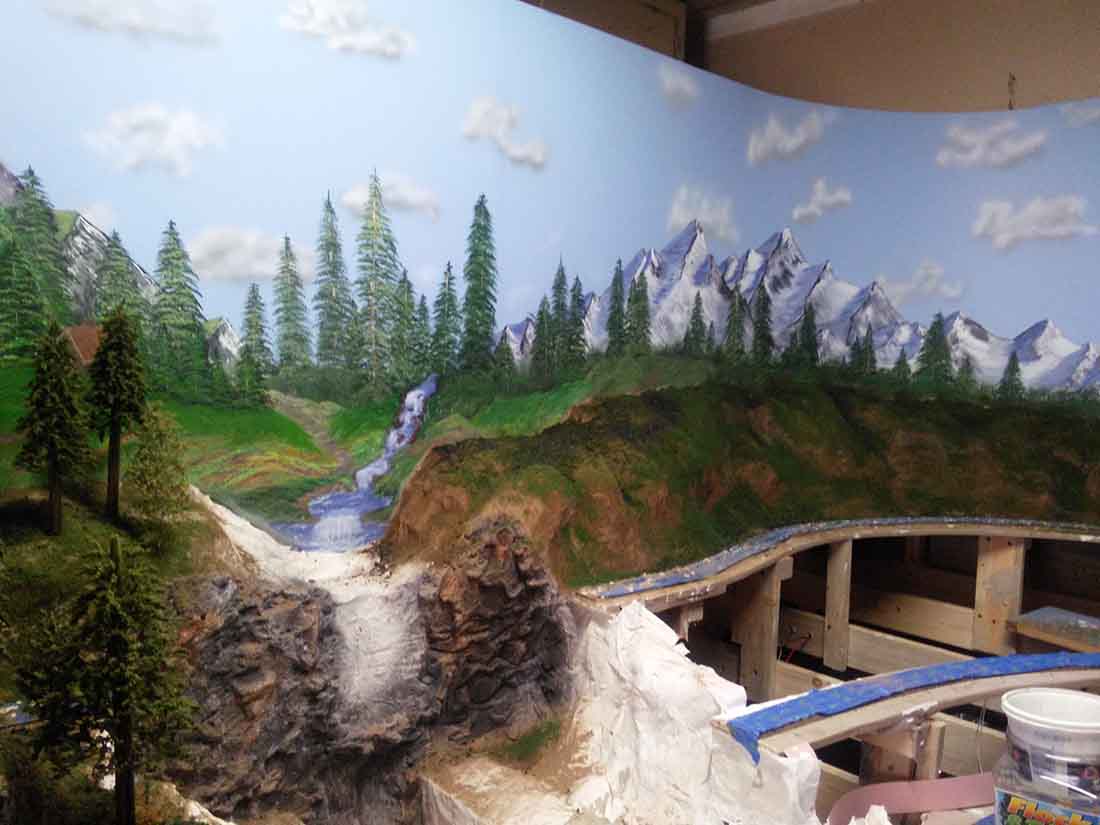
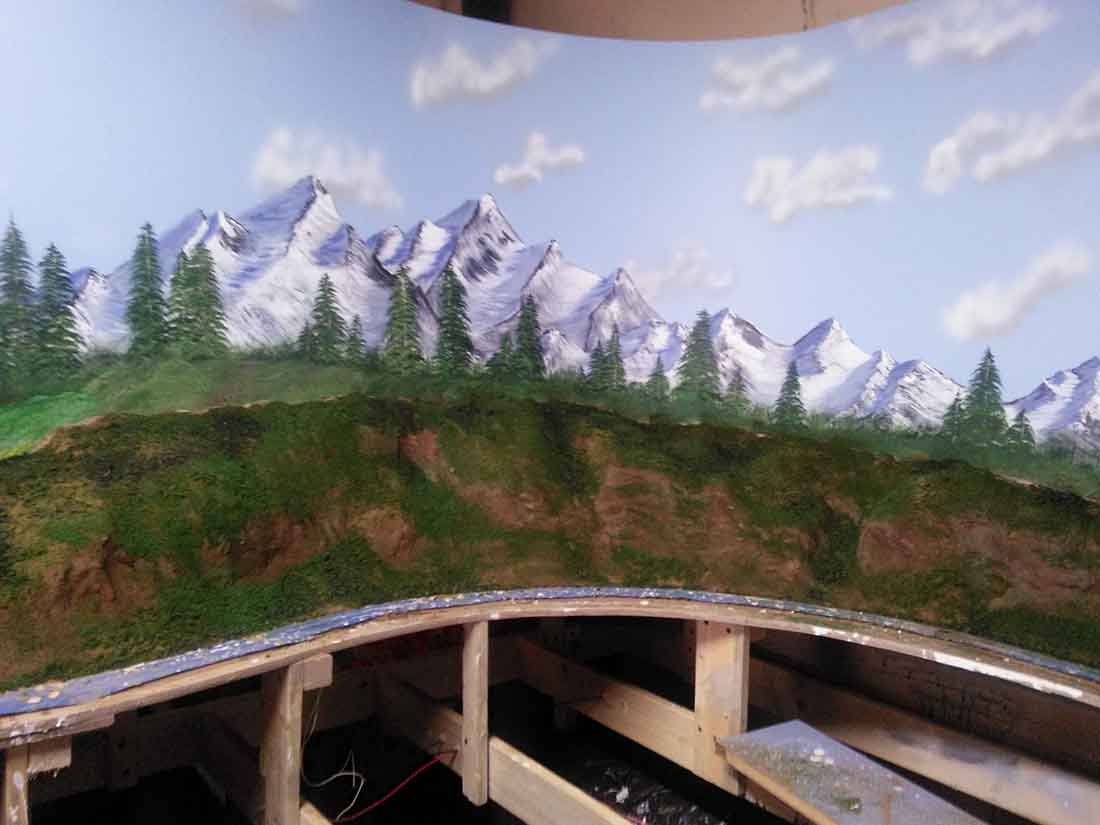
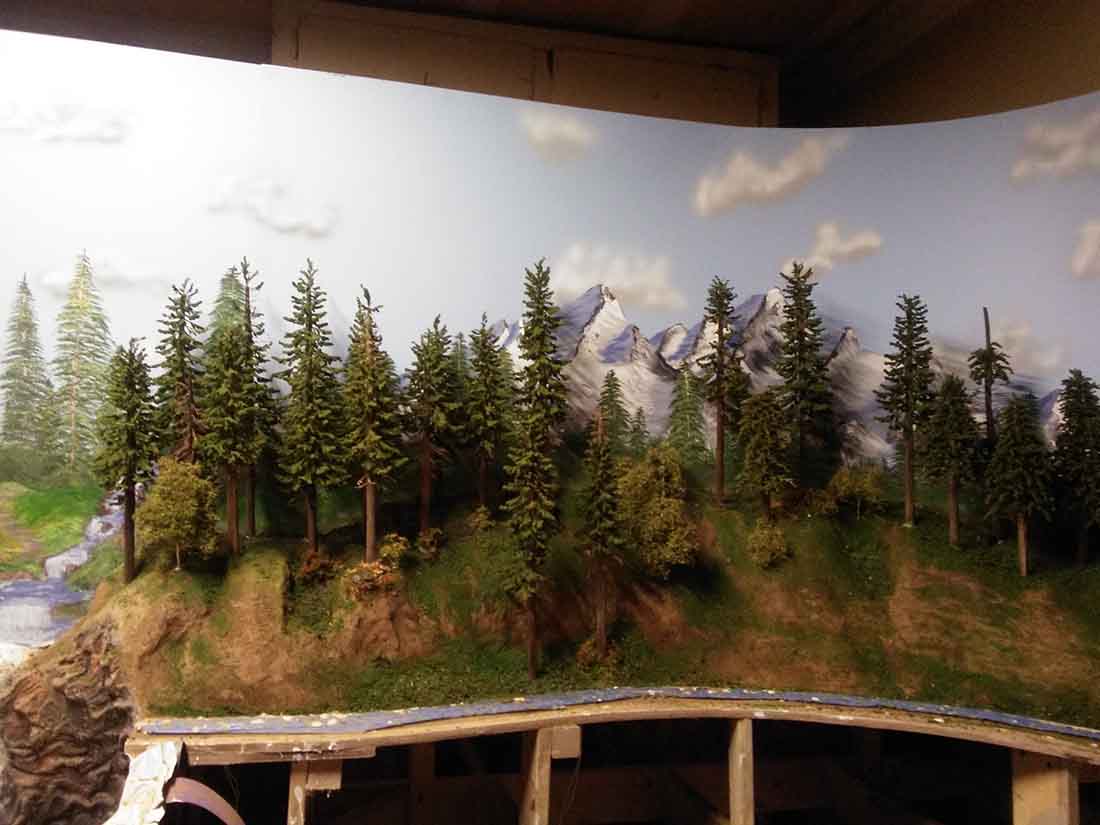
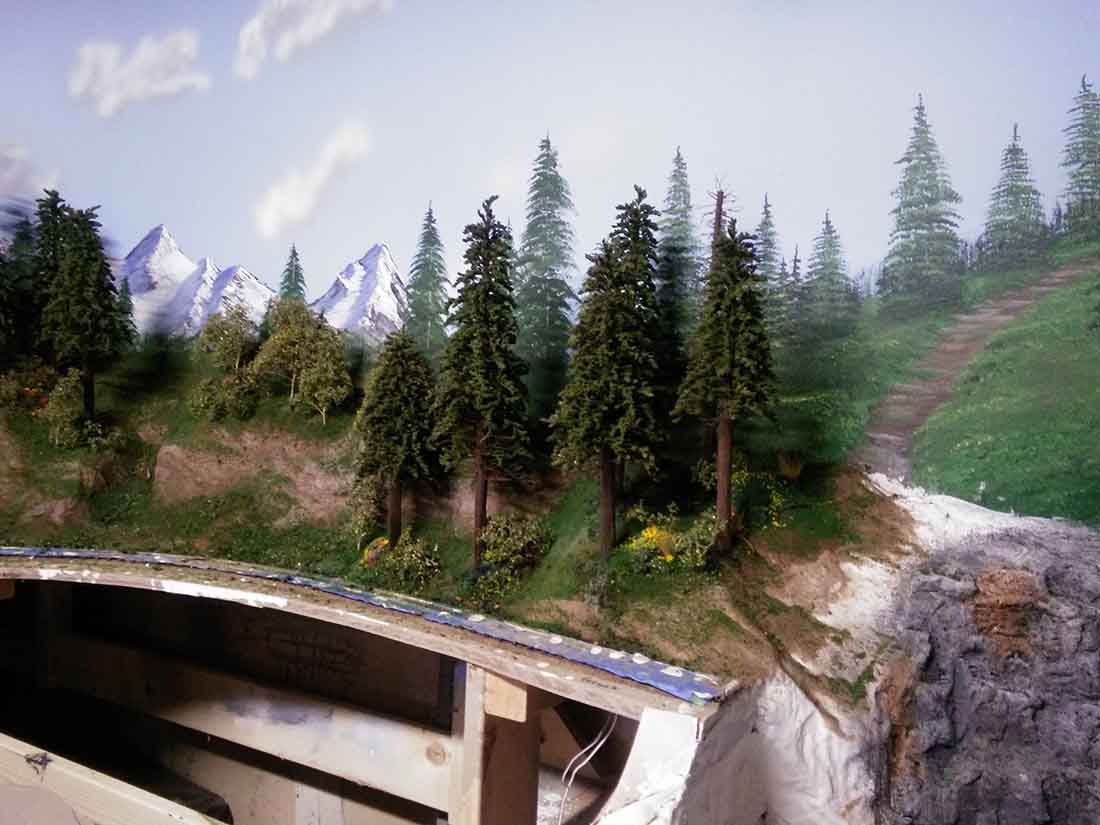
Today I installed more ground work. I use sanded earth colored grout for the soil.
A mix of scenic express ground foam for the forest floor.
Glue all down with a 50, 50 white glue solution, I will let this dry and start to install trees and brush.
Have a long way to go.
Thanks
Jeff”

A big thanks to Jeff, it reminded me of Glyn’s post:
Scenic backdrops for model trains.
Now on to Mike:
“Hi Al,
About a year ago, you published some pics and explanation on the start of my layout. A year down the line, I thought you might like an update. I hope you like it enough to publish it.
Before I get into that, though, I would like to remark on how useful your blog is.
I am about to make some rocks for a bit of the layout that I won’t later be able to get to easily – I am trying to lay the majority of the track before doing the scenery where possible – and was considering the best way to do it when I read Eddie’s recent blog about using expanding foam.
This reminded me that when I first started, some 2 years ago, I had some expanding foam & put it aside for just this purpose but had completely forgotten about it! Thanks Eddie.
So onto my layout. Considering the limited amount of time I can spend on it, I am quite happy with the progress I am making.
I have had a train running to test all the track I have laid, using a borrowed ECOS 50200 but now have my own & am starting to programme for real.
As I don’t have the time to edit the video, like some of your contributors such as Dave – I really admire his work & wish he lived nearer me – it is in its raw state but hopefully OK.
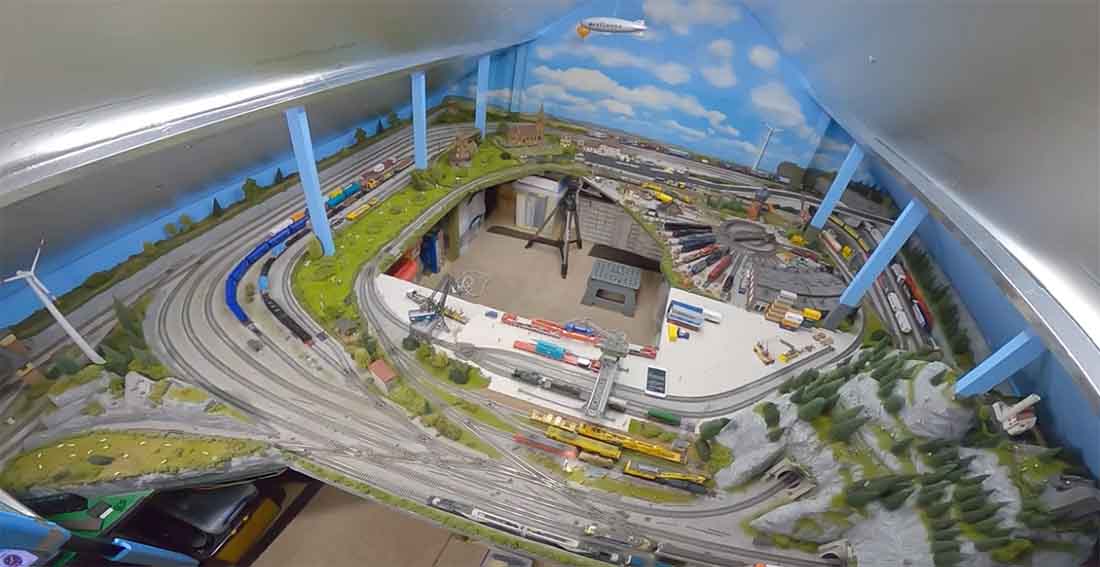
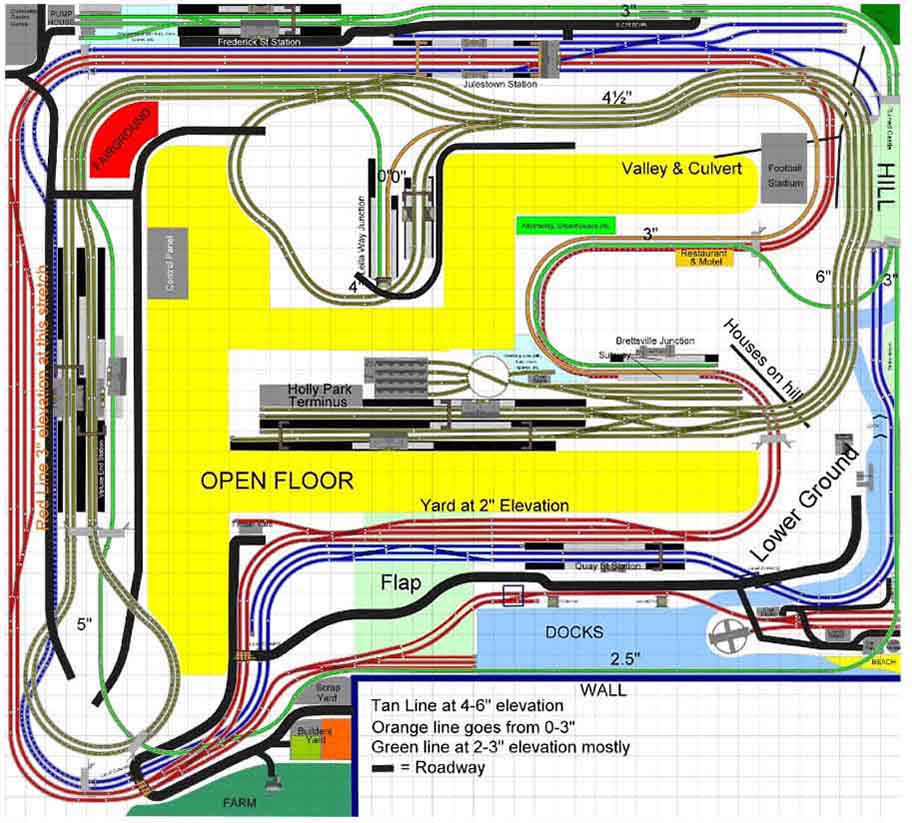
I have also attached again the track plan, as I don’t think you included it last time.
On a personal note, I am still fighting the cancer & am reasonably well at the moment, although it has spread a bit & I am having a new course of treatment. I will win!
Anyone else out there with cancer, always keep your chin up & stay positive.
Mike”
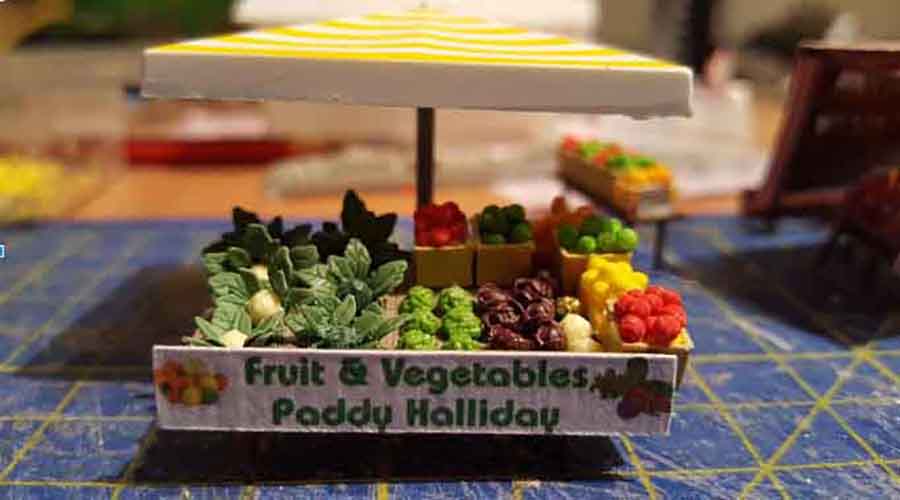
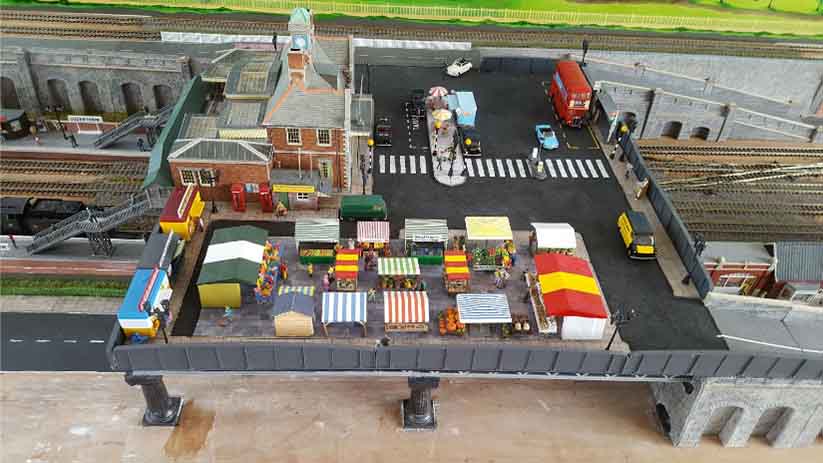
A close up of one of the stalls
The Diesel Yard with Coach Washer

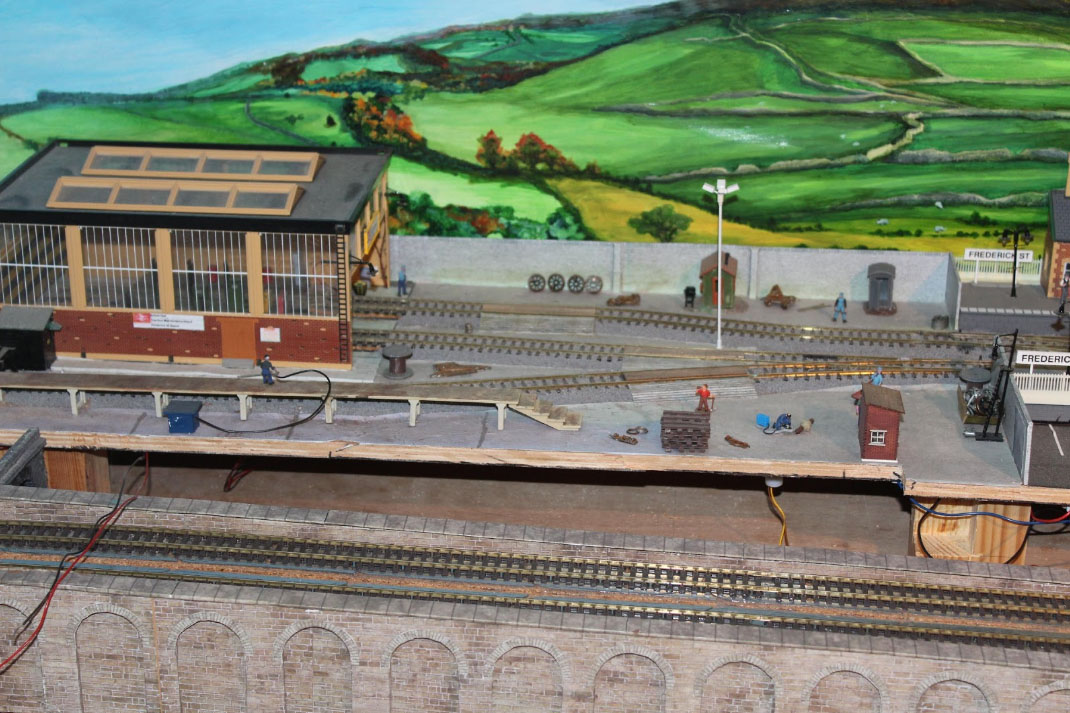
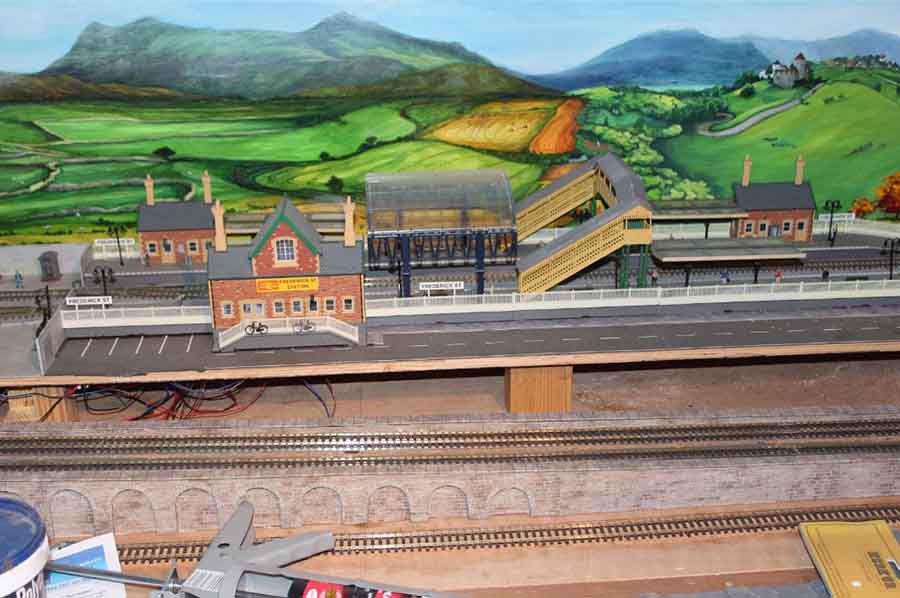
Frederick St Station
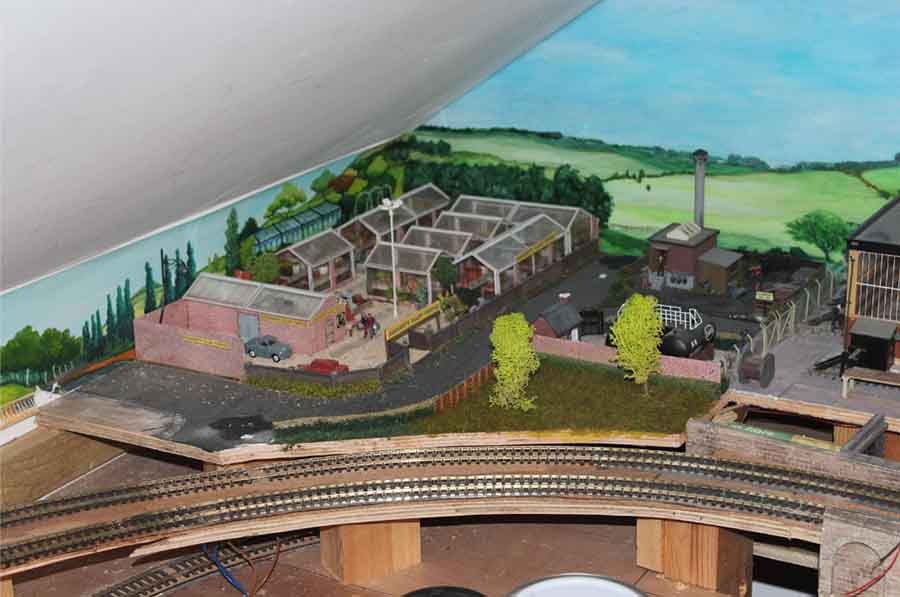
The Garden Centre & Pumphouse
Track Plan
Thanks for the good work you do.
Mike”
A huge big thanks to Jeff for adding to the model train backdrops on the blog – and to Mike too
That’s all for today folks.
Please do keep ’em coming.
And if today is the day you get going on your layout, the Beginner’s Guide is here.
Best
Al
PPS More HO scale train layouts here if that’s your thing.
Need buildings for your layout? Have a look at the Silly Discount bundle.